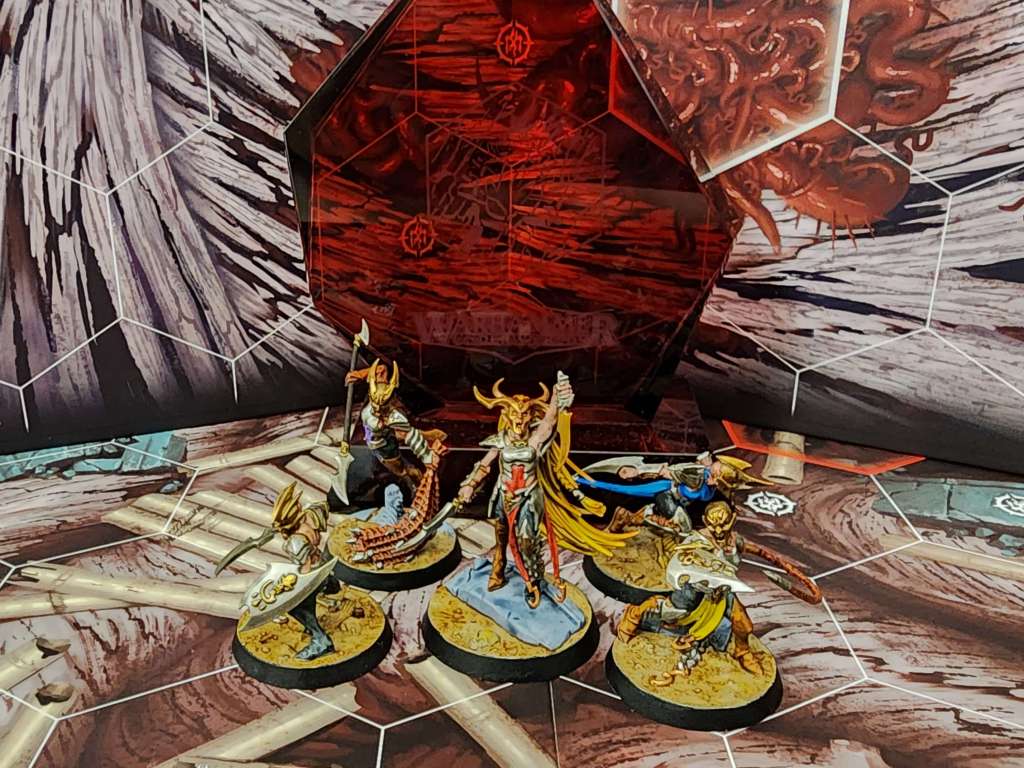
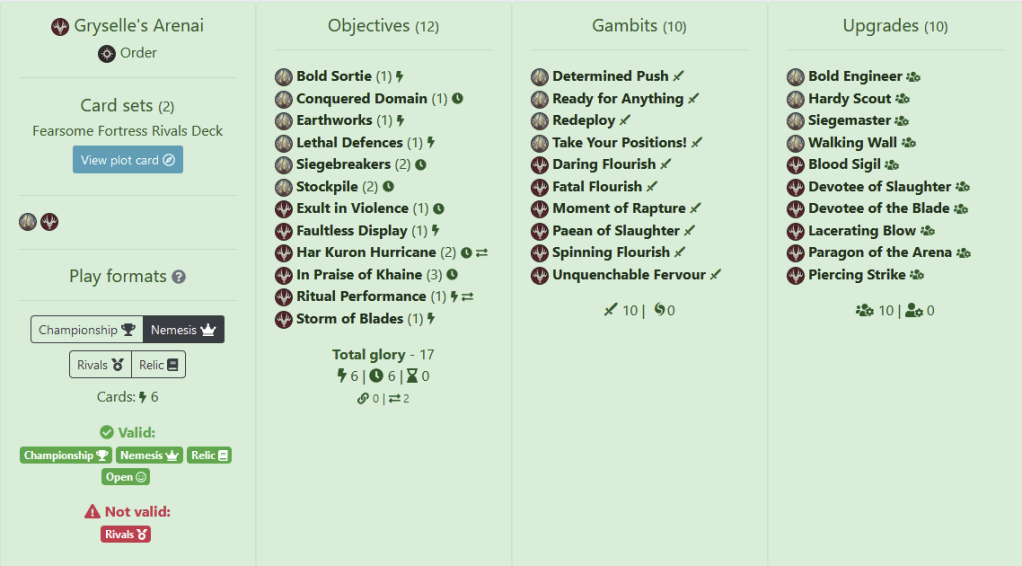
Welcome back to the next installment in the Sleek’s Bowl Series, the third entry in our Arenai Collaboration. You may remember the Arenai project that was announced on the Underworlds Underground Podcast – the three of us had a mad scientist idea to take an underappreciated warband – Gryselle’s Arenai – and pair them with different Rivals decks to see if we couldn’t make some lemonade out of that lemon. Mr. Sleek put together the Tooth and Applause deck, I kicked the tires on the Gladiaterrors, and Saxthom, the principal host of UU, decided to pair them with Fearsome Fortress in his Fearsome Floruish deck. How cool is it to take such an off-the-wall pairing and bring this project in an entirely different direction! Thomas used very different cards than I usually do for Fearsome Fortress, and also made some different choices from the Arenai pool as well. Read on below to see what he’s been cooking, but I’ll warn you; it’s fearsome.
Initially, the idea behind this project was to prove that the Arenai are both reasonably strong and (more importantly) incredibly fun to play. I wanted to try to brew with a less-than-obvious pairing to show that they don’t need to be pigeon-holed into only running ultra aggro builds.
An important note is that many of the games I played with this deck were before the 12/29/23 errata. Most of the intent behind the deck stayed the same after, but I will call out anything substantial as it comes up
Surges
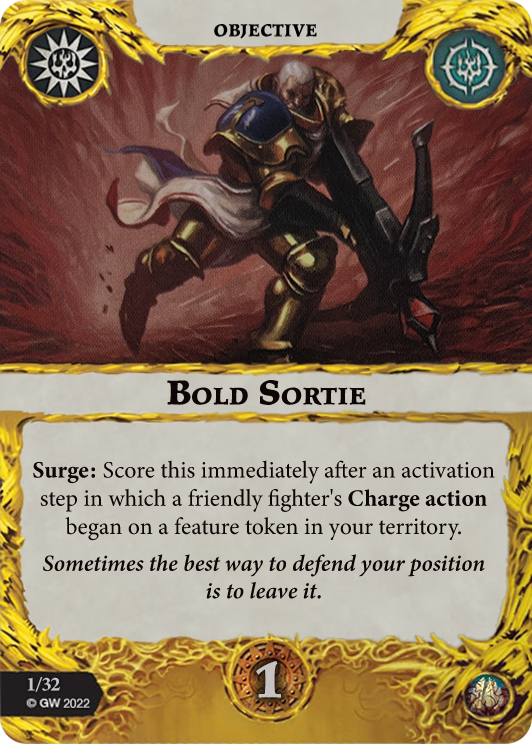
Bold Sortie
This is basically free in round two as long as you’ve kept it in mind. Take Your Positions, Bold Engineer, and Walking Wall are the only ways we are getting this off in round one.
Earthworks
If needed, a fighter taking the guard action to score this is generally worth it, as long as it doesn’t otherwise disrupt your plan. Guard tokens are of great value for most of the warband anyway. This generally won’t be possible in round one, though. Siegemaster can help a bit here, but can take some finesse to set up. Ideally we are scoring this with Paragon of the Arena.
Lethal Defences
We are very likely to be brawling in the midboard anyway, so this will often feel like it just slots in with the greater plan. Obviously any of our accuracy or damage tech will make this easier, but we are plenty killy without them, and should generally be able to score this even in round one. Remember that only the feature token needs to be within one of no one’s territory, so the enemy fighter can be within two hexes of no one’s. Walking Wall sets this up fairly easily once it is online, but Bold Engineer can bring the token adjacent to the enemy fighter if there wasn’t one already.
Faultless Display
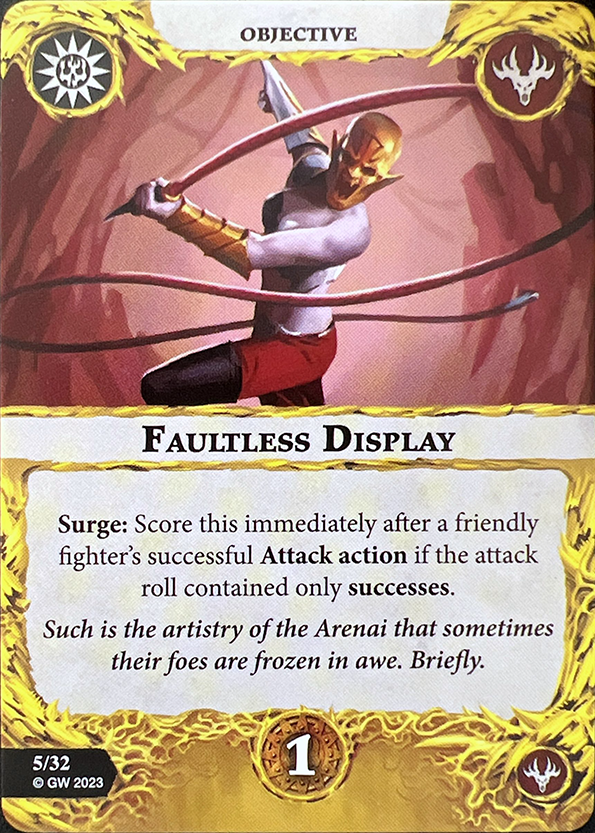
This is a dice game. Pray to the Dice Gods. Interesting anti-synergy with Daring Flourish and Paragon of the Arena, so keep that in mind. Paean of Slaughter will help, as will just making as many attacks as possible, especially with Combo or Spinning Flourish.
Ritual Performance
Are you still praying to the Dice Gods? Don’t forget that the second mode of this card exists. Though I have found that just landing a critical hit is often what scores this card for me, since it doesn’t have to kill the enemy fighter. Again, just making as many attacks as possible will make this more likely, but at least Daring Flourish and Paragon of the Arena actually help with this one.
Storm of Blades
Even without power card support this should generally be trivial to score (at least while you still have most of your fighters alive), but Combo upgrades or a well placed Spinning Flourish will go a long way toward getting this out of your hand as early as possible.
End Phases
Conquered Domain
We have enough bodies to try to shoot for 2-3 points fairly reliably in the first or second round. Ranged attacks make it easier to charge onto a token, but it is often worth using the last action in the round to simply move onto an objective to add a point to this card, especially if you went second. I know Khaine demands his blood tithe, but don’t let tunnel vision for attack actions blind you to an opportunity for an extra glory. Also, many of the FF cards in our deck help facilitate this card in a lot of ways. Determined Push, Redeploy, Take Your Positions, Bold Engineer, and Walking Wall can all be cheeky ways to add to your tally for this card outside of an activation. Don’t forget the updated plunder rule to hopefully add another cover token within one of no one’s territory. The more tokens we can get within one of no one’s territory, the easier this gets to set up.
Siegebreakers
This one can be a little hard to play for and will often be match-up dependent. Keep it in mind when choosing your attack targets and try to kill or drive back anyone that dares cross the line of scrimmage. We don’t really have card support for this one (other than accuracy and damage buffs), so you may have to accept that it isn’t possible sometimes. Consider running Makeshift Bombardment if scoring this card proves difficult, or just cut it if you prefer something else.
Stockpile
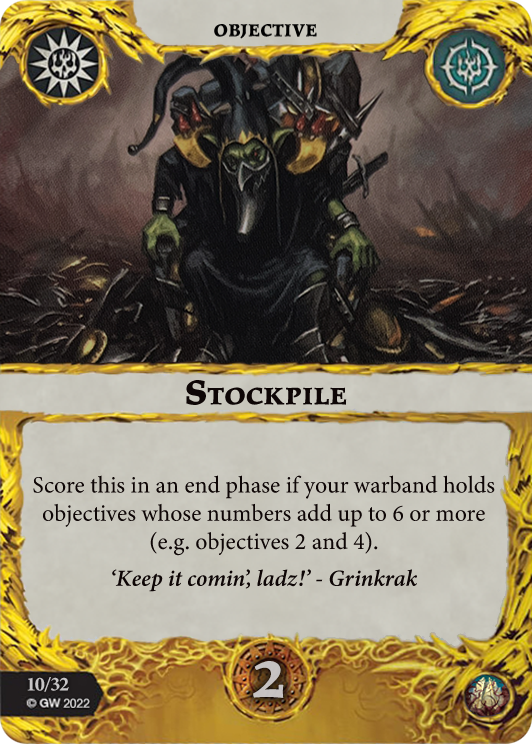
Standing on tokens without dying is hard enough, standing on specific tokens is even harder. Playing for this card can feel bad at times, but we aren’t exactly spoiled for choice with end-phases in this pairing. Cut it if you hate it (Warrior Faithful or Blood on the Sands are probably your next best bet…), otherwise keep it in mind while analyzing when and where to use Bold Engineer, Take Your Positions, Redeploy, or Determined Push.
Exult in Violence
In most match-ups Thrialla will automatically inspire round one, Retaria should be fairly easy, Gryselle and Kalexis will be a bit harder, and Traxia is nearly impossible before round 3. There isn’t a lot of power card support for this one either, outside of strategically using accuracy buffs on Gryselle, Retaria, and Kalexis. At the end of round three this will be free as long as you have two fighters alive, but I understand that can be a lot to ask for in some match-ups.
Har Kuron Hurricane
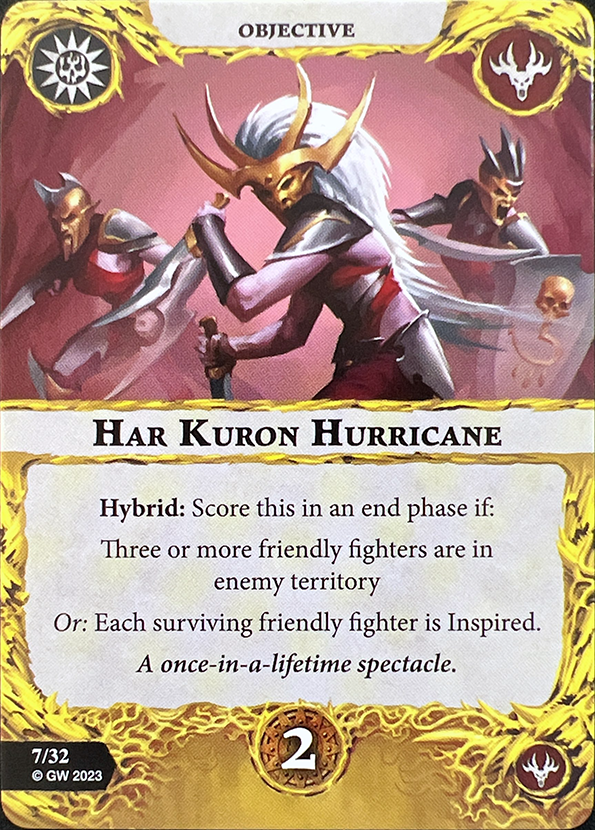
Play for the first mode in rounds one or two if you can, Redeploy and Determined Push can help a little (but not a lot). In round three just play keep-away if necessary to ensure one fighter survives till the end of the game.
In Praise of Khaine
This can be hard to play for at times, but it usually falls in line with the game plan. Rounds two or three this might just happen for you, but keep an eye on trying to drop a damage onto enemy fighters that won’t end up with charge tokens. I like to live dangerously and generally bring boards with lethal hexes anyway, but they are necessary as insurance to score this card if you table your opponent too fast, and still have full health fighters with no way to get a charge token. (First realm problem, I know, but 3 glory is enough to make this important to remember.)
Gambits
Determined Push
This is generally going to be used to help us get on objective tokens to score FF objectives, but it can be useful to set up crucial supports or get a fighter in range for subsequent attacks. The reaction window for this gambit can be the same as the one in which you would make a follow-up attack, so you may have to choose carefully when to play this. However, keep in mind that you can use this one after the follow-up attack, which won’t be true for the upgrade reactions we discuss later.
Ready for Anything
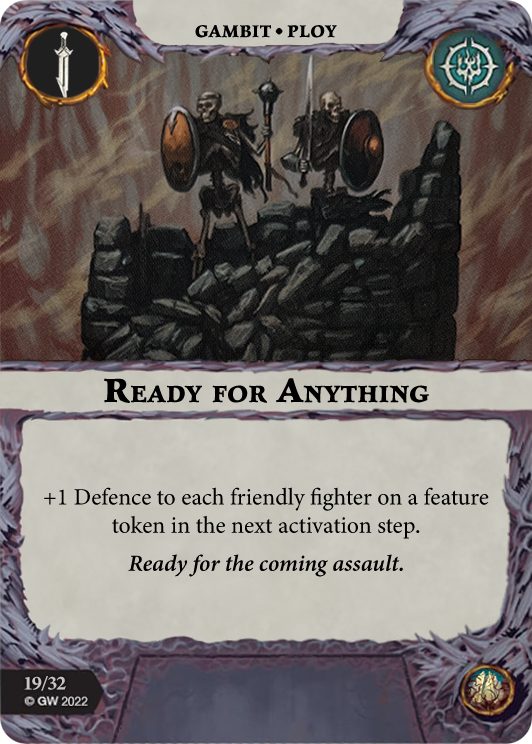
We have squishy fighters with decent defense characteristics, boosting their defense is compound value, and especially so, when you factor in more chances for Acrobatic to trigger.
Redeploy
In addition to the scoring potential mentioned above, this card can help us set up some insanely long range charges, especially when coupled with Take Your Positions.
Take Your Positions
At a minimum this gives you value with Ready for Anything, Redeploy, and Siegemaster, but it can also guarantee Bold Sortie, and depending on your deployment options and charge positioning could even give you up to two additional chances for adding points to Conquered Domain.
Daring Flourish
I find accuracy can sometimes become critically important with this warband. This card will help a lot with inspiring Kalexis, Retaria, and Gryselle, usually with no downside.
Fatal Flourish
I wouldn’t blame you if the downside scared you off this card, but +damage is really hard to find in nemesis and this warband needs it more than most. As often as possible, couple this card with an accuracy buff and don’t stop praying to the Dice Gods.
Moment of Rapture
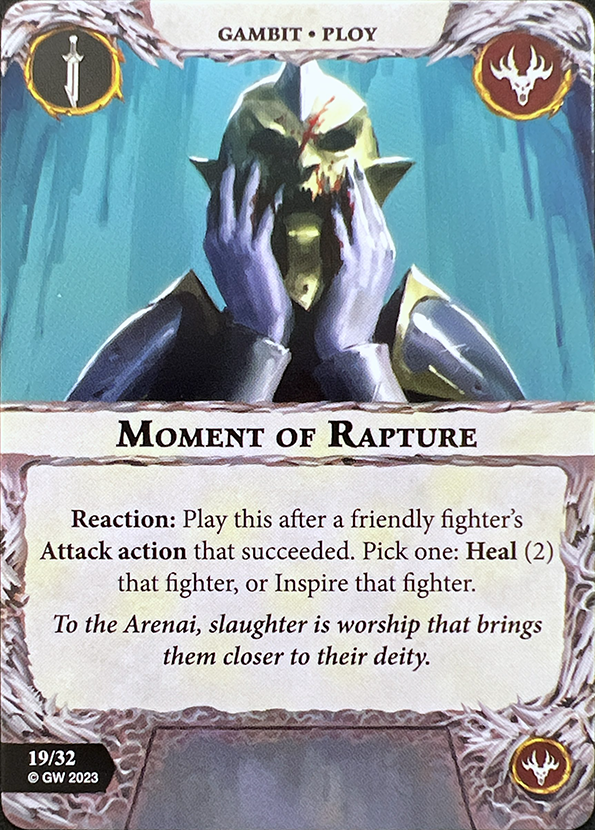
Unless you really need it to score Exult in Violence or Har Kuron Hurricane you can just forget the second choice on this card. More often than not, this card essentially says “Heal(2) Gryselle” and I am plenty happy with that. Again, if you use this reaction after your Combo attack, you won’t get to follow-up, but as long as your follow-up hits you can use it after. After the first of a series of scything attacks hit would be the most satisfying time to use it.
Paean of Slaughter
As mentioned, many times, accurate attacks are a major part of our plan. Keep in mind this card won’t affect any of your follow-up attacks (since they happen in the reaction step and not the activation step), but will buff every attack in a scything super-action.
Spinning Flourish
Speaking of scything attacks… Keep an eye out for opportunities to drive back enemy fighters into valuable scything setups. Remember that fighters that activate while already having a charge token (via the “Charged-Out” rule) cannot make attacks with scything while they have more than one legal target. Additionally, Thrialla’s combo attack is Range 2 so it doesn’t lose combo and this card gives her follow-up attack scything. This is niche and is generally less valuable than using it on Gryselle if possible, but could really catch your opponent off guard if the stars align.
Unquenchable Fervour
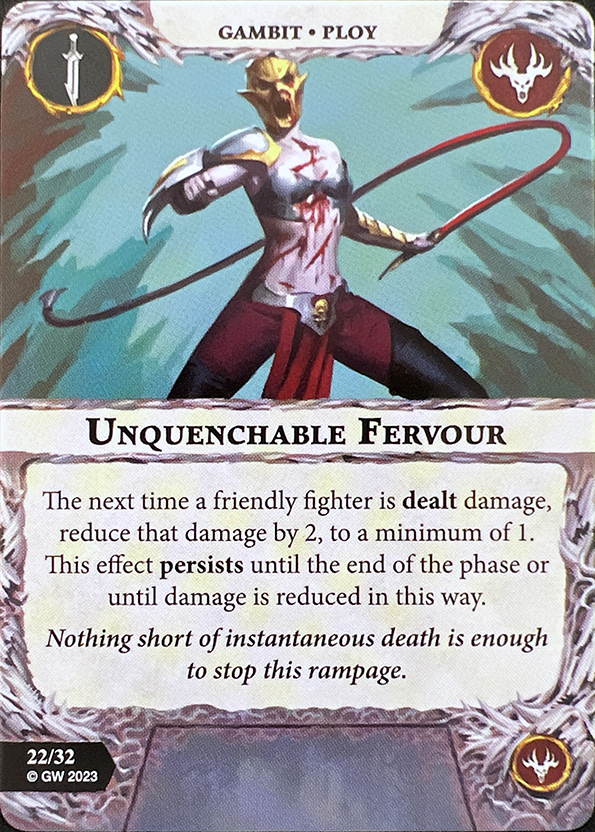
Anything to help keep our squishy elves alive is value, and -2 damage is basically unheard of. Don’t forget that you get to decide the order your effects take place. Ex. if you get hit for two damage and roll a single dodge for acrobatic, while Unquenchable Fervour is persisting, acrobatic can reduce the damage to one then Unquenchable Fervour doesn’t reduce it any further and continues persisting. Another Ex. if you get hit for three damage and roll a single dodge for acrobatic, you can have Unquenchable Fervour reduce the damage to one, then have acrobatic reduce it to zero, which then technically changes the attack from having succeeded to having failed.
Upgrades
Bold Engineer
The 2 move can be helpful at times, especially for bolting onto a long distance objective at the last minute. However, we run this card for the reaction. Push an enemy off a token in the activation step, then move it under your fighter in the reaction step. Or, move a token that is two away from no one’s territory to within one of no one’s, opening up various avenues of scoring potential. This could even score you Bold Sortie fairly easily. Keep in mind that this reaction also canabalizes the same reaction window as Follow-Up attacks, so you won’t get to do both. This can make for some tough choices, but again don’t let Khaine’s incessant demands for blood blind you, make the choice that is going to score you points.
Hardy Scout
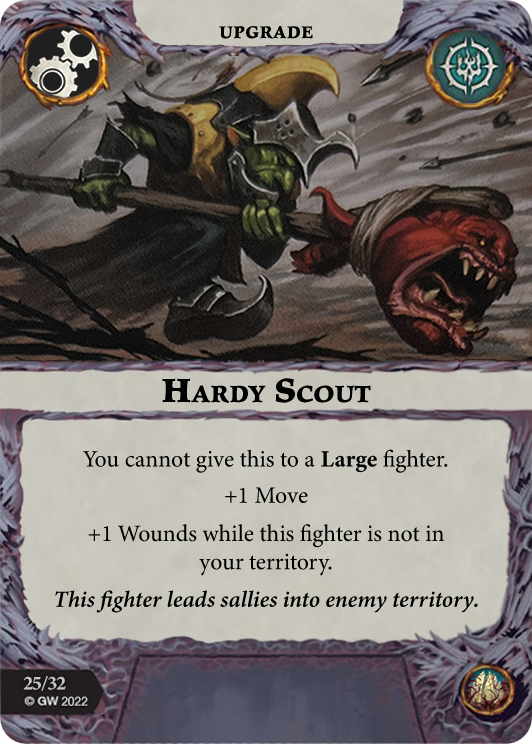
Now this +1 move is actually pretty useful since it can be made as part of a charge. This card generally won’t be going on Gryselle (unless that +1 move is REALLY going to make the difference before the upgrade breaks), but +1 wound is a survivability buff, and all survivability buffs are huge value for this warband.
Siegemaster
Another survivability buff, though this time with more hoops to jump through. Yet again, this reaction eats the window when you could otherwise make a Follow-Up attack, but guard tokens are incredibly valuable in this deck. Try to tune out Khaine’s demands, he isn’t real, he can’t hurt you. Remember that only the fighter taking the reaction needs to be on a feature token within one of no one’s territory. The two you choose to give guard tokens to just need to be on feature tokens anywhere (including the imaginary one granted by Walking Wall).
Walking Wall
We’ve already discussed many of the things this card does for us. Namely, anything with the FF symbol that says “feature token” on it. Seigemaster, Redeploy, Ready for Anything, Bold Sortie, Conquered Domain, Earthworks, and Lethal Defences. It can even be the “nearest feature token” for Take Your Positions or Determined Push.
Blood Sigil
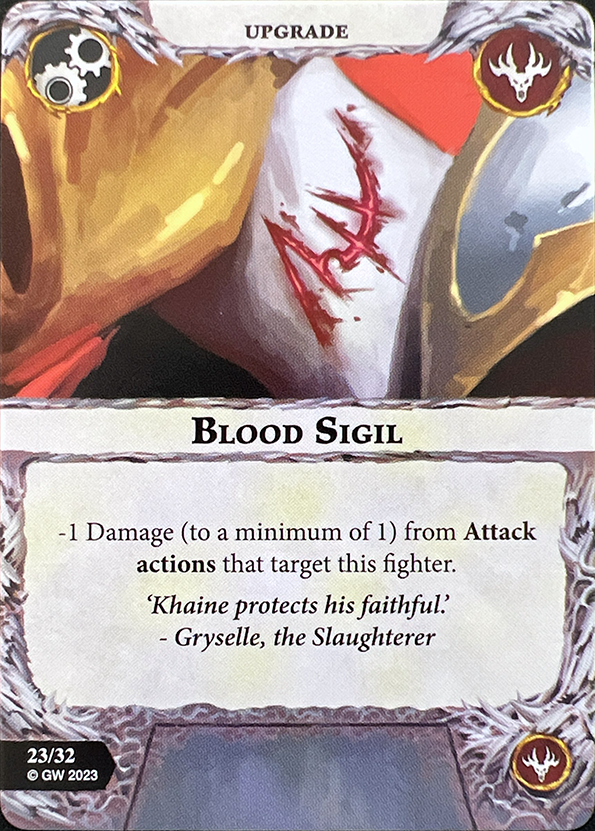
Another amazing survivability boon. Generally I will put this on Gryselle if she is alive, but it is great on anyone. The order of operations with Acrobatic matters now, for the same reasons as Unquenchable Fervor, meaning that a fighter with this upgrade that rolls two dodges can reduce a 3 damage attack to 0. (In magical Christmas land anyway. I mean, two dodges! Come on!)
Devotee of Slaughter
This is essentially Hardy Scout without the movement buff, and the versatility to chase someone back into your own territory if needed. Similarly amazing value.
Devotee of the Blade
While Cleave is an exciting bonus, changing a fighter’s defense characteristic from dodge to block is a massive survivability buff and the main reason we are taking this card. Two block, with Acrobatic, can be a tough nut to crack for even the most accurate fighters. We will nearly always put this on Gryselle if she is alive. (You may be beginning to see a bit of a pattern here.)
Paragon of the Arena
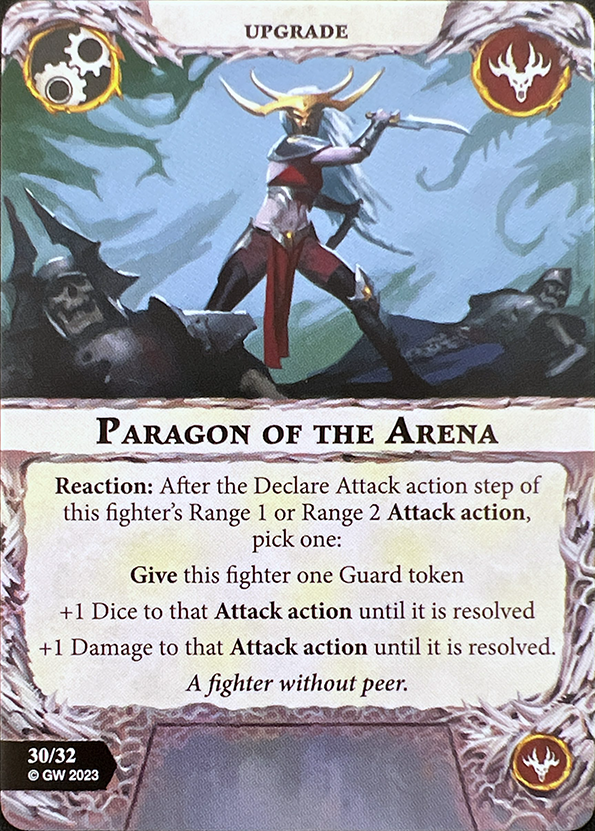
This is my single favorite card in this deck. It is powerful, it is unique, it is so much fun and frequently game changing. It also combos (get it?) well with the Combo and Follow-Up mechanic, allowing a fighter with a Follow-Up attack to make the reaction on the upgrade twice (or a fighter with scything potentially even more). The first option can score us Earthworks, but honestly it is worth doing frequently just because putting a two dodge fighter on guard for free, and repeatedly, is massive value. The second and third options can also be great when you need to lay some hurt down. I am sure there is fairly simple math about when +1 dice with grievous is better value than +1 damage, but I usually just go with my gut. Again, we will want to put this on Gryselle as often as possible, but any of our fighters can make great use of it if necessary. This is another card that might have you hearing Khaines siren song of slaughter, but take a beat, take a deep breath, and consider that sometimes it might be better to miss the attack and have a guard token after, than to land the attack and not have one.
Lacerating Blow
This may not be a surprise to anyone, but this is another upgrade that should go to Gryselle first, if possible. Since her Combo attack is range one, we don’t mind that the Follow-Up is as well. Additionally, another attack with grievous gives us more chances to spike her damage with all the accuracy buffs we are wanting to stack on her anyway. If you find that she really needs the range two Follow-Up, or that she is already dealing enough damage (but what does “enough damage” actually mean? can you ever really deal “enough”? …or maybe that’s Khaine talking…) then feel free to give Gryselle Piercing Strike and anyone else can still get plenty of use out of Lacerating Blow.
Piercing Strike
Ideally this upgrade should go to Retaria. Range two attack with a range two Follow-Up gives her plenty of room to maneuver when it comes to deciding where to land on a charge. Her Combo attack is fairly accurate and gives stagger, making the Follow-Up (which already has cleave) all the more likely to hit. Though, again, if Retaria is dead or just not in a position to utilize it, don’t feel bad giving this upgrade to someone else, it’s a good attack that anyone can make good use of. I have found the cleave from Piercing Strike to be incredibly valuable, but if the meta shifts hard toward dodge fighters feel free to swap this card for Kruiplash.
Honorable Mention
Tanglebriar
I really enjoyed this card pre-Deathgorge, so I am glad to see the errata made it playable again. Not only playable, actually quite good! Putting the token under a friendly fighter gives you cover on demand as well as facilitates all the other cards in the deck that need a friendly fighter on or near a feature token. The biggest risk to running this card is that there very well may not be any available feature tokens left, “brick”ing it in your hand.
There you have it! Thomas’ Fearsome Flourish, and again you can see the deck here. Really interesting idea to try and use an invading-aggro, high-mobility, fragile force with the ‘hold firm in the middle, take a punch and give one back’ rivals deck. That said, he has done very well with them in his local scene, even winning red glass with them, so there’s something here. Sleek, Saxthom and I will update you all once we have had our Arenai-Robin contest and will celebrate the true Paragon of the Arena. You can expect to see that here on Spent Glory in the coming months, and we will also be covering it in detail on the Underworlds Underground Podcast. For more content like this, make sure to check our the Sleek’s Bowl tag, and if you have a crazy deck to share with the class, hit me up (or send an email to UnderworldsUnderground@gmail.com). Now grab your favorite gladiator elf nemesis pairing, and spend some glory!


Leave a comment