
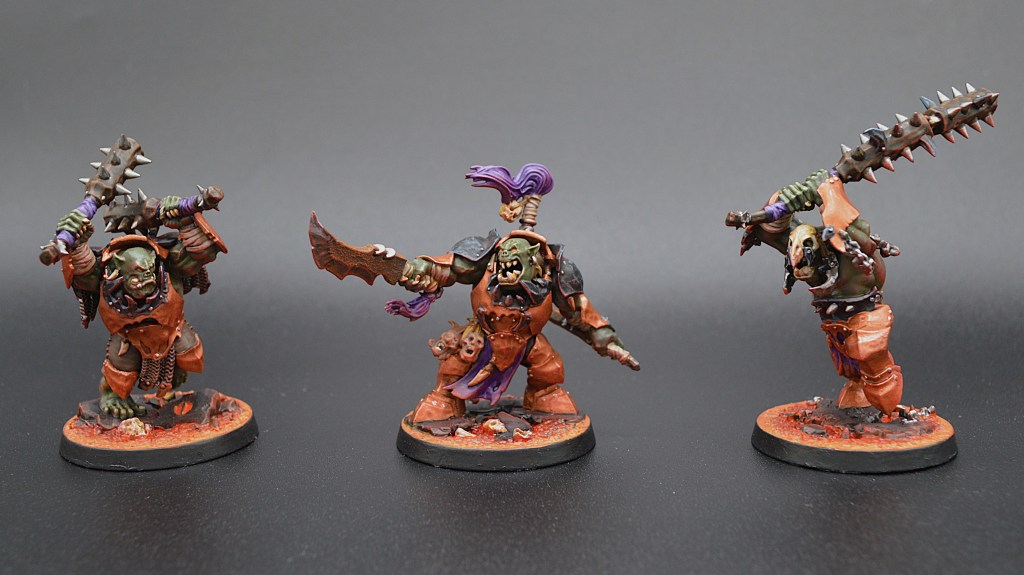
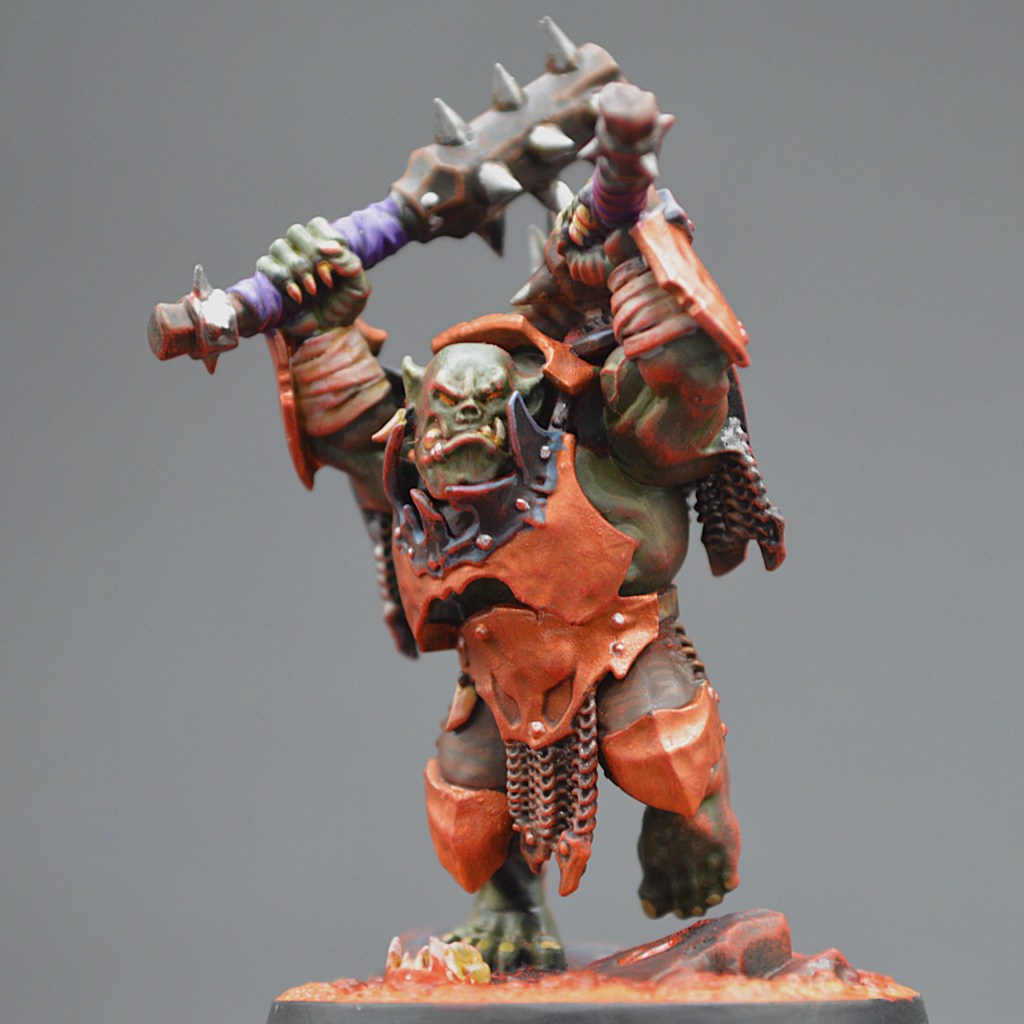
Liten ‘ere, ya zoggin’ gits. Morgok’s Krushas is a 3-fighter Elite Strike warband for Warhammer Underworlds that debuted in Beastgrave during 2019 and was re-introduced for Second Edition in the Brutes and Bandits 2024 Grand Alliance box. Spent Glory wasn’t a part of the Games Workshop Creator Programme at the time and never gave them a proppa review, and it’s high time you learned about the ‘ardest boyz on the scene. While Morgok himself likely never checks his rear-view mirror, I’m going to take a look back for him and give them a retrospective analysis. ‘Ere We Go!!
Click here to see a Master List of all warbands in the game
Morgok’s Krushas: Lore
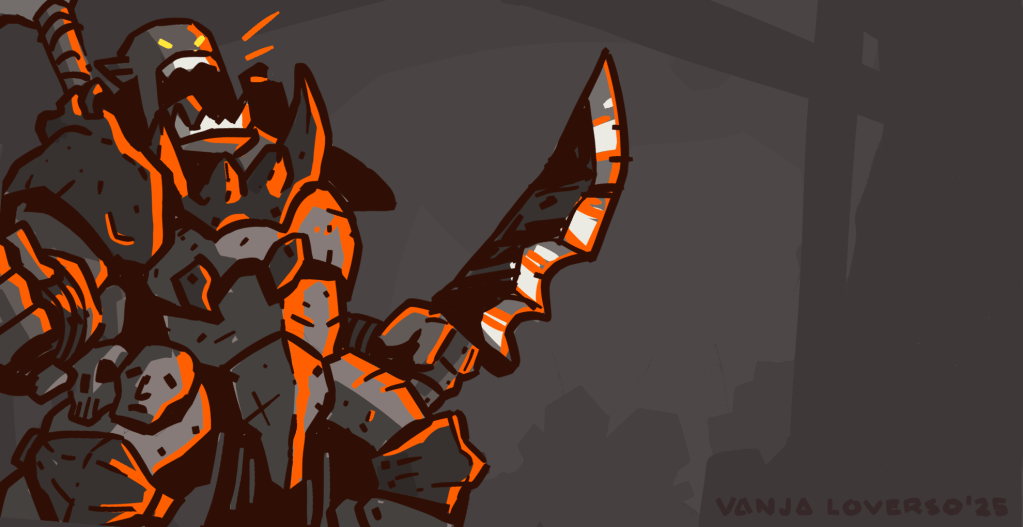
“Belligerent even for Ironjawz”, Morgok and his boys love a good scrap and are on the hunt for anything and anyone willing to give them one. The lore doesn’t run all that much deeper – they just love fightin’. The Underworlds are where the fighting is at, so they stomp around there, making attacks and taking them back, fueling the green god’s glory as waaagh energy floods their veins.
Morgok’s Krushas: Warscroll
Inspire
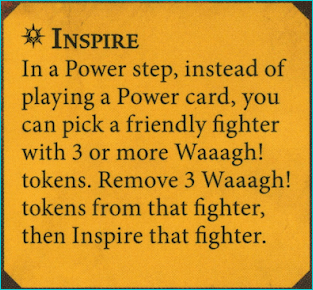
We will touch on what Waaagh tokens are and how you get them in a bit, but if you happen to have 3 or more on a given fighter, you can discard them in a power step to inspire that fighter. I generally do this right away unless I have a good reason to save them for an ability in the near future. What’s nice is it can be done in any power step, so you can get your offense or defense boosted when you need it.
It’s also interesting from a design perspective because your opponent may want to slow down inspiration on a key fighter, and the best way to do that is to not attack them. Alternatively, they might want to get those attacks in before they inspire and their defense goes up, but this might just tip the scales on timing and allow you to then make a subsequently inspired attack. Lots to think about for both players on who to target when and adds a fun puzzle to your standard aggro arithmetic.
WAAAGH! Energy
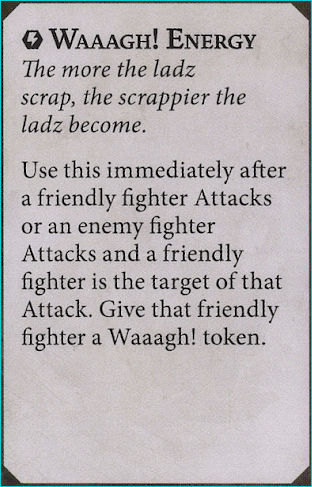
Every time you make an attack with a fighter, give them a Waaagh token. Every time a fighter is attacked, give them a token. The tokens stay on that fighter, and if they die, the tokens are gone. As we saw above, you’re looking to get 3 with a fighter to inspire them, which can be done in any combination of ways; Generally you’ll attack with each fighter and they will attack back, so by your fourth activation (when you’re charged out and making your second attack with a fighter) you should be able to inspire one.
This is accumulated after any attack, so out-of-sequence and power step type attacks will count. Whether you’re hurling a spear in the power step with Improvised attack from Cataclysm, or your Kurnoth’s Heralds opponent is doing a double shot with Lenwythe, you’ll be accumulating Waaagh tokens.
Inspiration is not the only way to spend them though, so let’s peek at the abilities on the right side of the warscroll
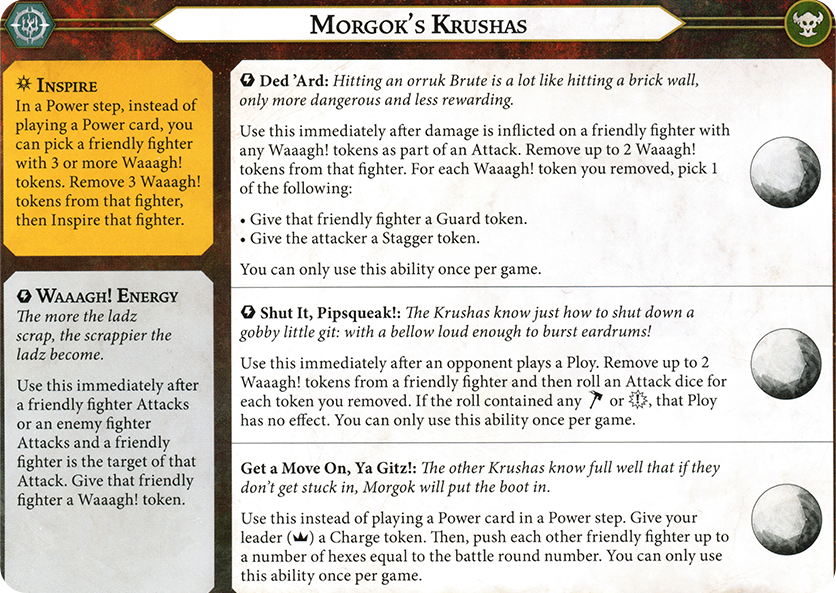
Ded ‘Ard
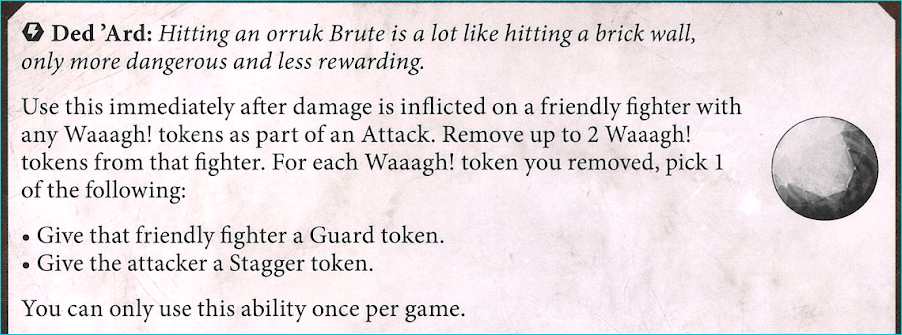
Once per game, after a fighter is damaged by an attack, you can spend 1-2 of the Waagh tokens on that fighter. If you spend 1, you pick to either give your fighter a guard token, or you can choose to give the attacker a stagger token. If you remove 2, you get to do both.
One excellent use of Ded ‘Ard comes when you’re having a fighter slain in the early activations of a round. Per the rulebook, when an enemy fighter successfully attacks you, you take damage, then check if you’re slain. That means when you would die from an attack, you can spend a Waaagh! token to stagger the fool who hit you before you go down. The fighter is about the be removed from play and those Waaagh! tokens are about to be gone, so you might as well spend them. Saving them for Shut it, Pipsqueak or inspiration is generally their better use, but I have had some good success with saying “sure, you just killed Thugg, but he staggered you back on the way out and now ‘Ardskull is going to have a much easier time laying into you.”
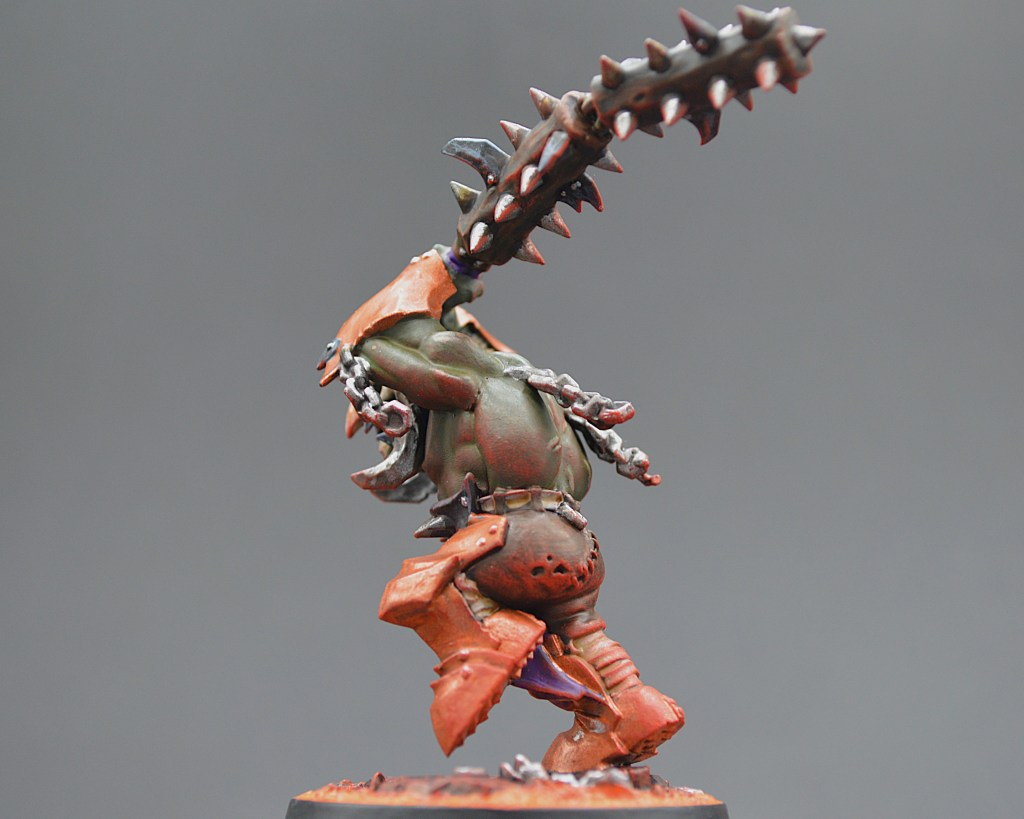
Another way to enjoy the stagger token is when you know your opponent really doesn’t appreciate the stagger condition, such as when facing +++Blood of the Bull++, as it will prevent them from generating Daemonforge dice. If you’re only going to be using one of these abilities in a situation where you got hit and your fighter survived, however, I prefer to opt for the guard token in most cases.
Guard is nice because it boosts your defense a bit, and while your fighters all defend on shields and it’s less of a boon, the real money comes from knowing that a fighter on guard cannot be driven back. The timing of this ability reads ‘immediately after damage is inflicted’ – which comes BEFORE the drive back step. If you play Ded ‘Ard this way, you’ll stay put which is very important regardless of gameplan. You still hold the token you’re on if you’re playing a flex/hold strategy. They cannot overrun and snag your token if you’re playing to counter hold or delve playstyles. You won’t be driven away so you can make a range 1 attack immediately afterward. Many reasons to love this option.
Additionally, if you spend only 1 Waagh token, you’re about to get it ‘refunded’ once the attack is completed, so it costs you pretty little. If you can save this until you’re inspired more’s the better, but in the right circumstances popping this early can really throw a wrench in your opponent’s plans.
Shut It, Pipsqueak!
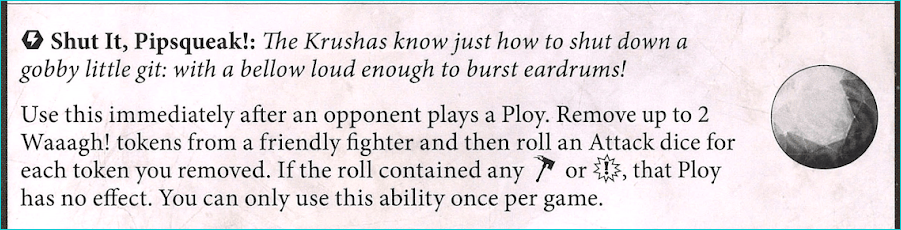
Shut It, Pipsqueak is a marvelous ability in both theme and effect, and getting the most out of it is the key to success with this warband. You have the ability to spend 1-2 Waaagh! tokens to potentially make the ploy the opponent just played take no effect. It’s dice based but the enemy has no recourse. Spend one token and you have a 50% chance to cancel the Ploy outright, and that number jumps to 75% if you spend 2.
You may want to look over the Rivals decks that you expect to face and look for the 1-2 ploys in each that would be most impactful to the game state and ‘wait’ for those. Things like Sidestep, Fireproof, Get it Done, Reckless Attitudes, Lure of Battle, Twist the Knife, and so on. Of course, you might feel the need to block a given card based on the current situation you find yourself in, but having a shortlist is handy.
You can always wave Shut It, Pipsqueak around as a deterrent too – don’t blow it too early! In some games can make people wait to use their good card until they’ve seen it spent. It’s a fun head game to hold that sort of staring contest. You can even go so far as to say ‘are you sure you want to play that card? I might use Shut It…” and sometimes the opponent, well, shuts it. You didn’t even need to use the ability. In most situations, I found that spending your tokens is not worth delaying an inspire for. Since you can spend anybody’s Waaagh, spend it from somebody who is already inspired, somebody wildly out of position, somebody about to die anyway, etc.
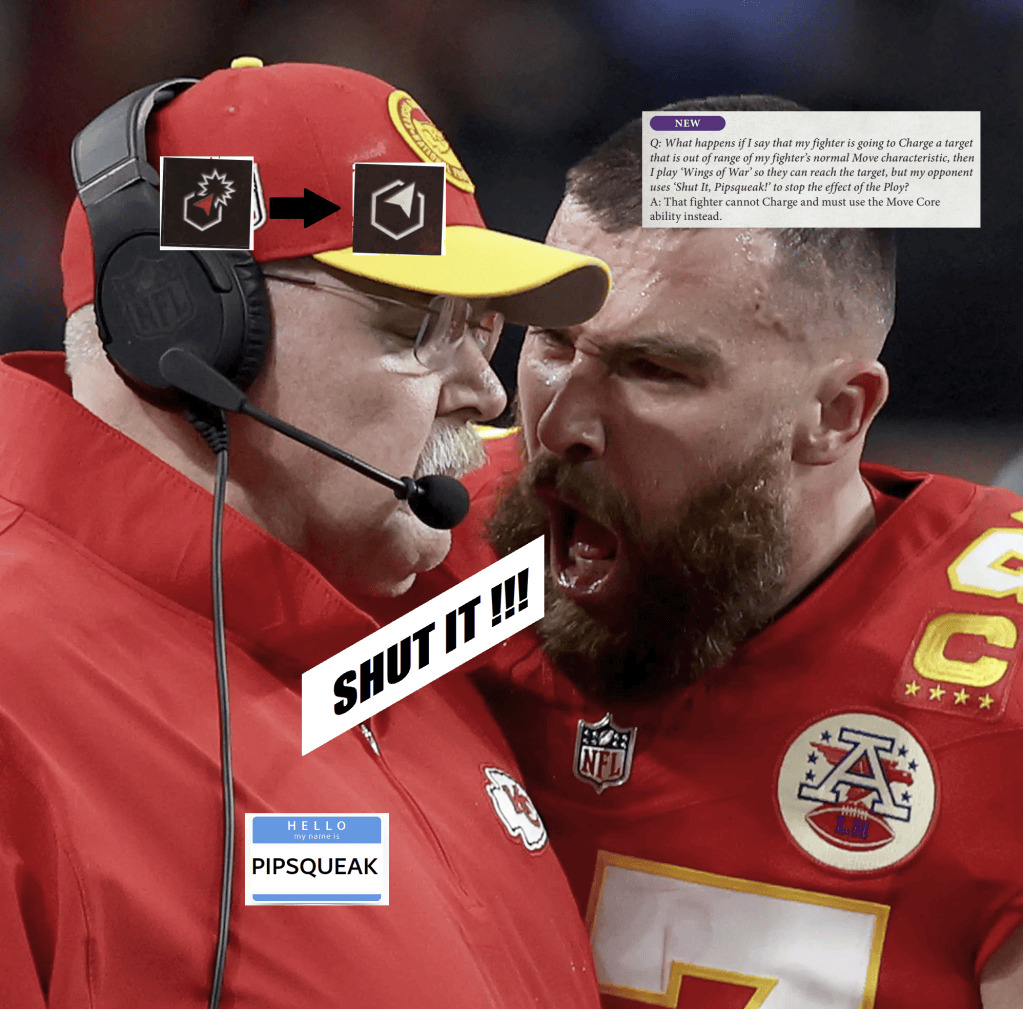
There is an incredibly niche FAQ that talks about what happens when somebody plays Wings of War then gets pipsqueak’d. They get a move token and a charge token and it’s weird, but the real reason I am bringing this up is because it gave us this lovely meme:
Note: this can ONLY be used to block Ploys, so you can’t burn it on warscroll abilities or Upgrades. Wouldn’t that be a dream though…
Get a Move On, Ya Gitz
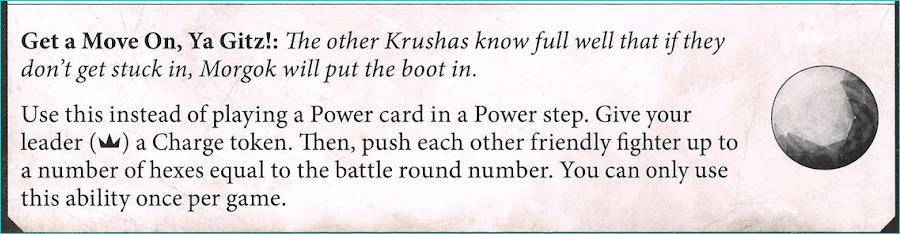
Here’s our one ability that doesn’t care about Waaaagh tokens, but it’s a huge one. Once per game in a power step, rather than playing a card, give your leader a charge token and then push your other fighters up to a number of hexes equal to the battle round number. YIKES!
You leader has to be alive, and you have to give them a charge token, then you need to have at least one other fighter alive and getting some benefit from being pushed, but this is potentially a ‘push two horrifying fighters 2-3 hexes at once’ ability. There are a dozen awesome uses for it.
Get a Move On, Ya Gitz has often made a difference in my games, and it definitely helps when it is needed, especially with Reckless Fury. Even in other decks it can catch people by surprise! The first limitation is that Morgok needs to live, which he sometimes doesn’t, and the second is that for it to be the meaningful there has to be somebody else alive who you also want to push.
There are four (six) general use cases for it:
- Use it in round 1 after Morgok has already charged activation 1 to allow the other two to push closer to an enemy and get their turn 1 charges on a passive/smart opponent who is sitting too far away
- Use it in round 2 after Morgok has already charged so that your charged out other fighter can get another swing or two in
- Use it when out of position with Morgok (or when there are no enemies left to attack!) to become ‘charged out’. This helps get another attack out of anybody with any deck, but this helps you score Reckless Fury cards for manipulating charge tokens. I have scored Arena Mortis and Frenzied Rush this way in round 3 even after I had tabled my opponent, because it let me pop a charge token onto Morgok despite him having nobody to charge. You could also score Bloody Momentum or if you’re crazy enough, Unrelenting Massacre too.
- You’re playing some variation of Take and Hold (or counterplaying it) and you’d really enjoy being able to get onto a token or get close to a token for Holding/Delving/Covetous (in the case of Nexus of Power) scoring. Activation 1 charge Morgok onto a token, then in the power step push both your friends onto other tokens can potentially get you 3 treasures prior to your opponent’s first opportunity to do anything. Flex on ’em.
- BONUS – whenever you have Bloodbathed Rampager from Reckless Fury in your hand and need a quick way to get a second charge token onto your leader – something that’s harder to do in Nemesis now with Get It Done being forsaken. Krushas are among the only warbands (along with Thorns of the Briar Queen) with warscroll access to this benefit.
- BONUS – your opponent is the special kind of meanie who has taken a card or ability to give Morgok a move token, thus preventing you from charging out. You can just give yourself one, and then say something to the effect of ‘neener neener’.
Morgok’s Krushas: Fighter Cards
Morgok
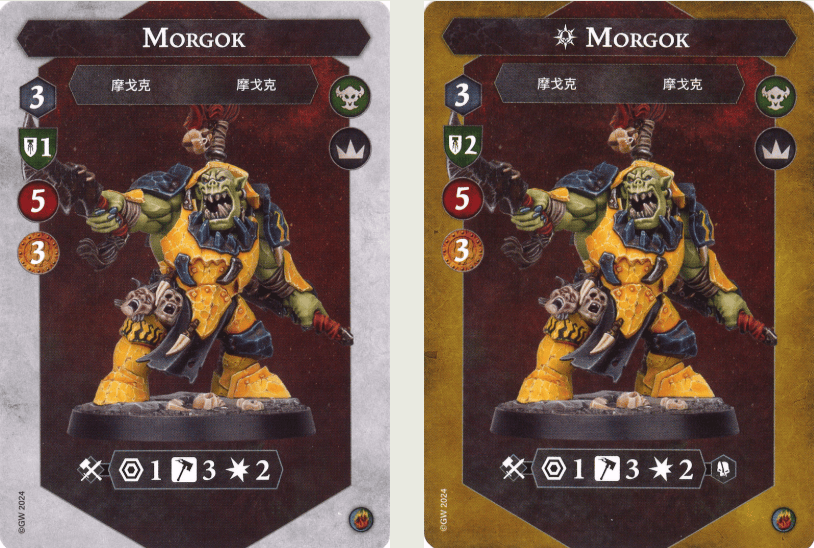
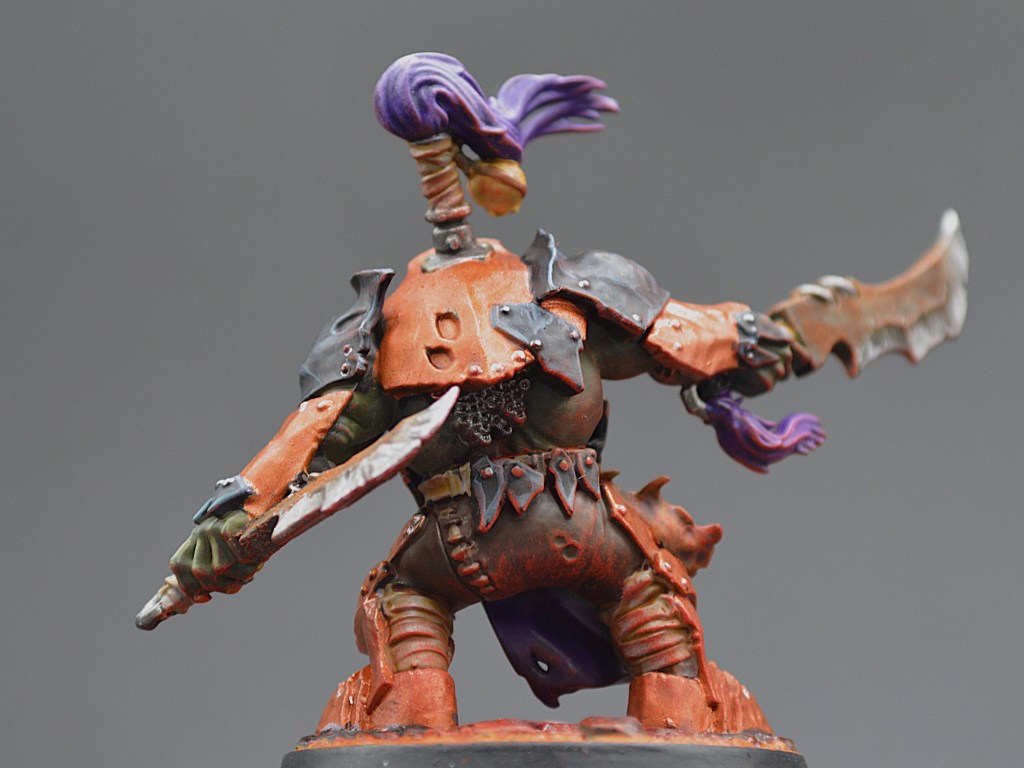
3 hammers is generally the breakpoint for ‘awesome accuracy’, and Morgok starts the game with that profile, even hitting for 2 damage. When he inspires, he picks up 2 shield (awesome) to boost his already solid 5 health, and gains grievous. 3 hammers for 3 damage is phenomenal. His biggest drawback is that he’s slow, but this dude is really good value even for 3 bounty.
I try to inspire him early for the 2 shields, but I’m not that sad if my opponent focuses on him since it means I get to try for that 3 damage swing earlier.

‘Ardskull
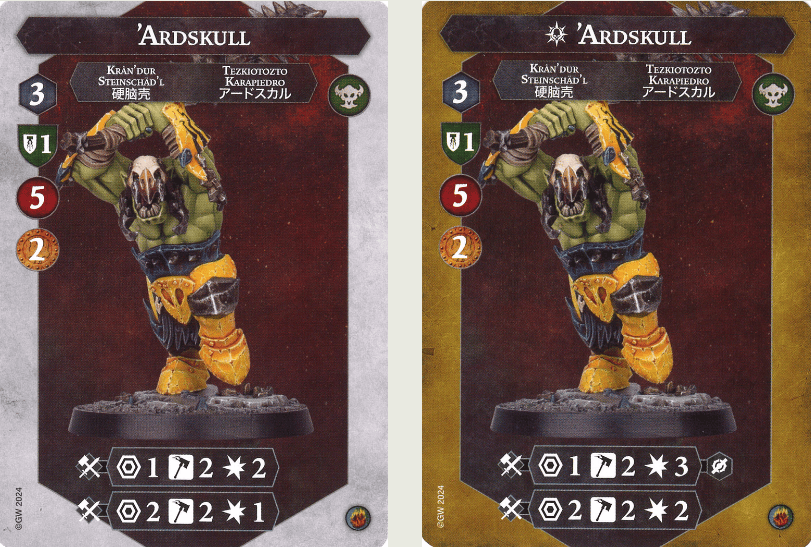
This thicc-headed and thicc-bodied boi is a bit of an enigma and probably your hardest piece to use well. He has range 2 which you’ll appreciate in nearly any matchup, but his accuracy on both attacks is only 2 hammers and does not improve with inspiration. His defense also is permanently 1 shield.
However, when he does inspire his attacks damage improves and he gains brutal on range 1, so 1/2/3 and 2/2/2 make you capable of doing a lot of work, assuming you have ways to give plus dice, rerolls, flanking and more. High priority for Keen Eye, Accurate, Hidden Aid, etc if your pairing gives you access to that kind of thing.
I usually inspire him last and use him as my Shut it Pipsqueak caddy, but there is a world where you give him grievous and enjoy 3 damage at range 2 or 4 damage at range 1. He is a touch easier to inspire since you’ll get more swings off with range 2 built into his card.

Thugg
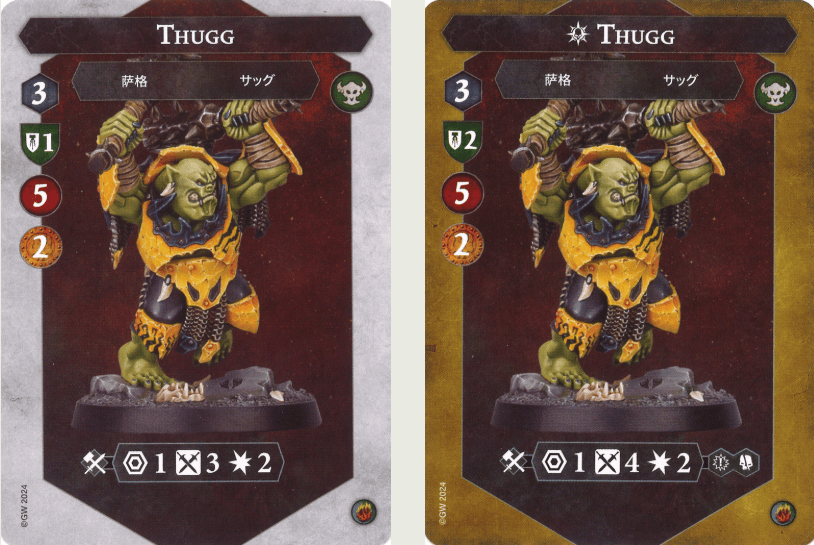
Morgok Junior in many ways, Thugg his on 3 swords instead when uninspired, then goes to 4 swords with crit grievous when inspired. This is less reliable than Morgok to be sure, but means that all three of your fighters have the potential to do 3 damage once inspired, putting Krushas at the top of the damage output list. Thugg also becomes 2 shields upon inspiring, which you always love to see.
Another benefit of the Krushas is that any of your fighters can be the MVP, which is great. In most games that will be Morgok, as once inspired he has good accuracy with 2 damage + grievous and is on 2 shields. The other will be opponent dependent – but generally I value ‘Ardskull inspired more because he can get 2 damage at range 2 – somewhat inaccurate, but since I’m bound to charge out and struggle for targets he has more flexibility than Thugg. If I was dealing with a Take and Hold horde Thugg’s stock jumps in value for overrun odds, and I have definitely had him be the solo hero on that 2 shield before.
Potential Pairings

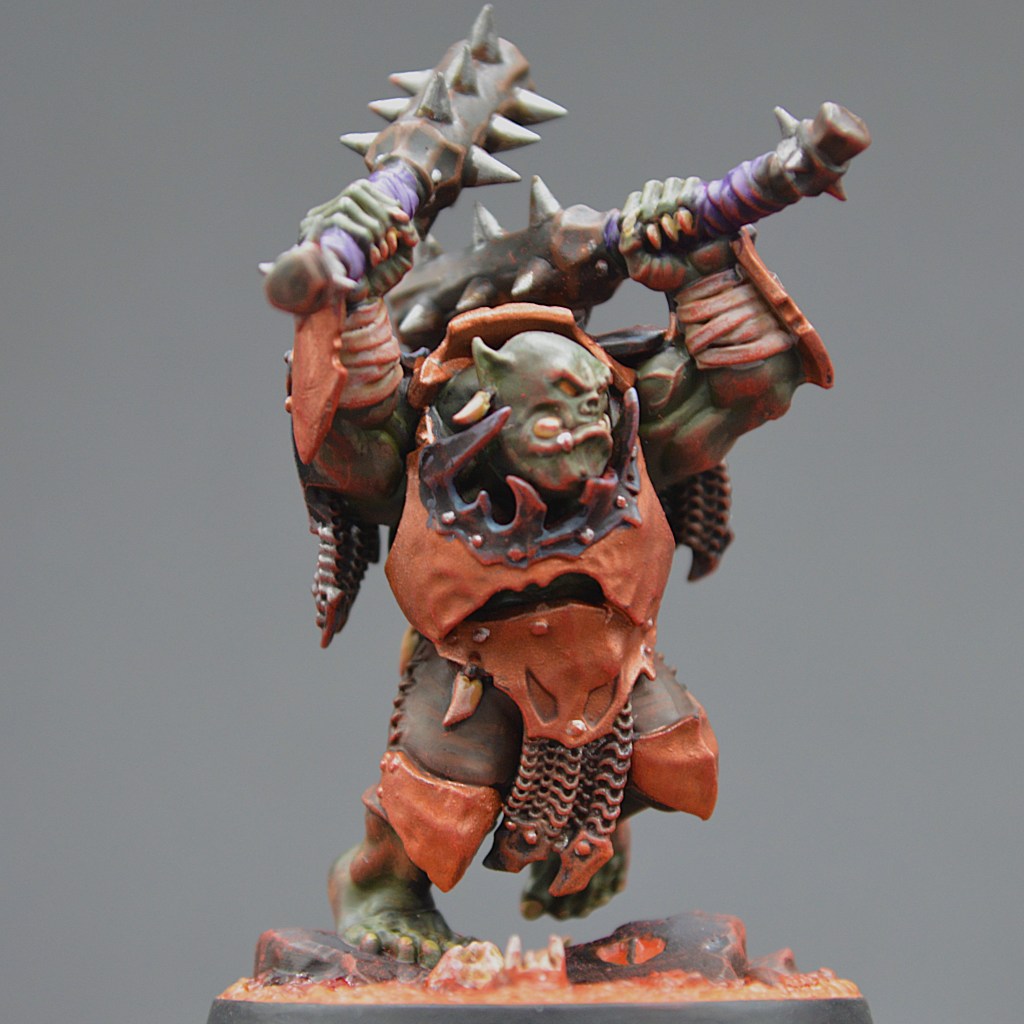
Morgok’s Krushas are a strike warband, and unsurprisingly love their strike options such as Blazing Assault, Reckless Fury, and even Raging Slayers (particularly because their leader is quite potent). RF is a special choice because of the ability to tack on charge tokens as described above in the Get a Move On, Ya Gitz section above.
However, you also can do quite well when augmenting that strike gameplan with supplemental accuracy and scoring flexibility in Countdown to Cataclysm, Wrack and Ruin, flexing a bit into hold or positional stuff as needed. Edge of the Knife is an option as you’ll get tempered eventually, and Pillage and Plunder can be spotted in the same flex/aggro way. I have even found some success with Realmstone Raiders considering how accurate the warband is which will allow for relatively consistent raiding.
One thing you might not expect is that Morgok’s Krushas can actually do quite well with Take and Hold. The option to get guard tokens in the warscroll as well as a multi-push means that both Emberstone Sentinels and Nexus of Power are legitimate options.
They really can play nearly anything and have a surprisingly higher degree of flexibility than you’d expect from elite strike.
In Practice
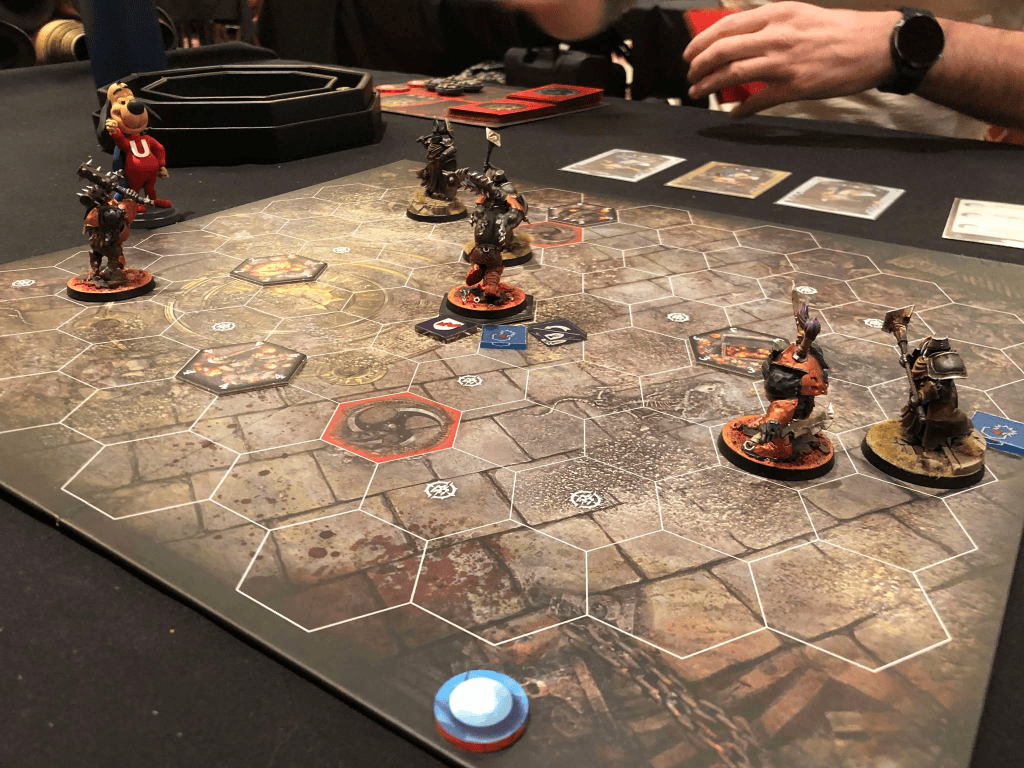
Data from the Nemesis Statistics Project suggests that across the edition, Morgok and the boyz are winning only 46% of the time, primarily with BA/CC. However, they’re at 60.8% since Spitewood dropped, and I’m assuming that’s mostly based on response rates rather than any under or over-performance of the warband (since they get reported out remarkably rarely compared to other warbands – please consider submitting your games!). They seem pretty middle of the pack to me. In recent times their best win rates have come with BA/RF and surprisingly ES/NP.
I personally have played this warband 15 times and am 9-6 with a 60% win rate. I’ve played against them another 16 times and am 10-6, so they’re again sitting somewhere around the middle competitively which is what we like to see. When I lose to them or win in close matches, they tend to do best with BA/CC, BA/RF, BA/DS, and BA/Edge. I’ve played them to success with CC/RF, BA/RF, and RF/RS.
I had a lot of fun playing around with RF/RS and wrote up this deck guide. While the plot card has changed since then, the pairing still works for Krushas and the deck should still hold up well, perhaps even a little better.
Jake from Goonhammer Tabletop Battles has spent a ton of time on this warband and plays them in really interesting ways. He went midrange/Take and Hold with them at adpticon this year, and has this article describing his use of an ES/NP deck that’s super interesting.
Here’s Jake’s “Hold 2” Emberstone Sentinels / Nexus of Power deck link direct for you folks who’d rather get to card shufflin’ rather than book readin’ (Morgok approves)
The Classic BA/RF combo does well with this warband was expected. Here’s a deck Rob C from the Netherlands took to WTC 2025
Wrap
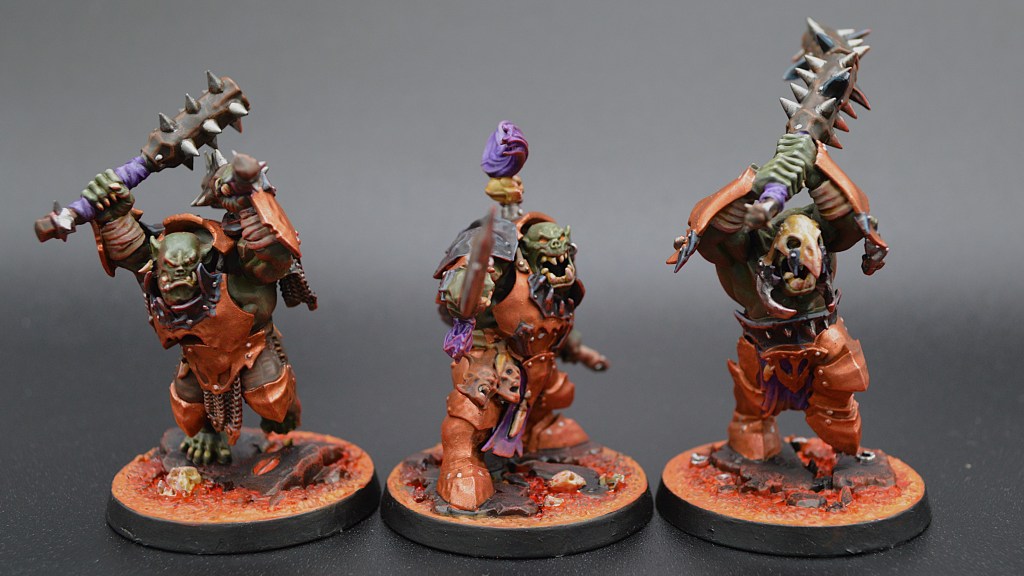
This is just my perception, Morgok’s Krushas are both criminally underrepresented in the meta and have a unique ability to leverage Reckless Fury – though it’s not the only deck they can have fun with. You can even hold?! The warscroll gives you loads of options and allow you to show a lot of skill expression once you get your practice in. If you want to take them for a spin, please do! I bet you’ll have a laugh and half like I have, and KRUSH your opponents while you’re at it.





Leave a Reply