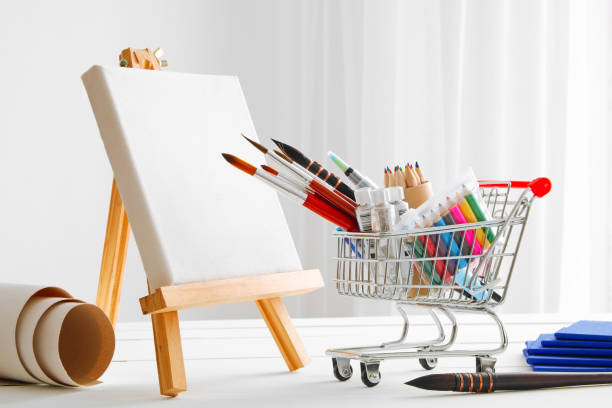
Continuing our beginner-oriented series on The Hobby, today we will be looking into what supplies you might want to pick up to get started on painting miniatures. I’ll write up my general thoughts below, but if you want to hear from like, actual skilled painters, watch this video from Vince Venturella or this one from Ninjon to see what painting gear you might find most useful.
Other articles in this series:
The Benefits of The Hobby
Building Underworlds Models
Paints
The first thing you will need to paint miniatures is, well. paint. Where do you start? The most important thing is to choose a paint line that is specifically formulated for miniatures, and NOT craft paint like you’d find at a department store. The cheap paints in big bottles are great for terrain projects or whatever, but they will simply be too thick, too densely pigmented, and hard to apply smoothly. Your models will look streaky, clumpy, and just overall bad because the details will be filled in and you’ll get a smoother model with less depth. So ditch the Apple Barrel, FolkArt, or Delta Creamcoat. But what do you get instead?
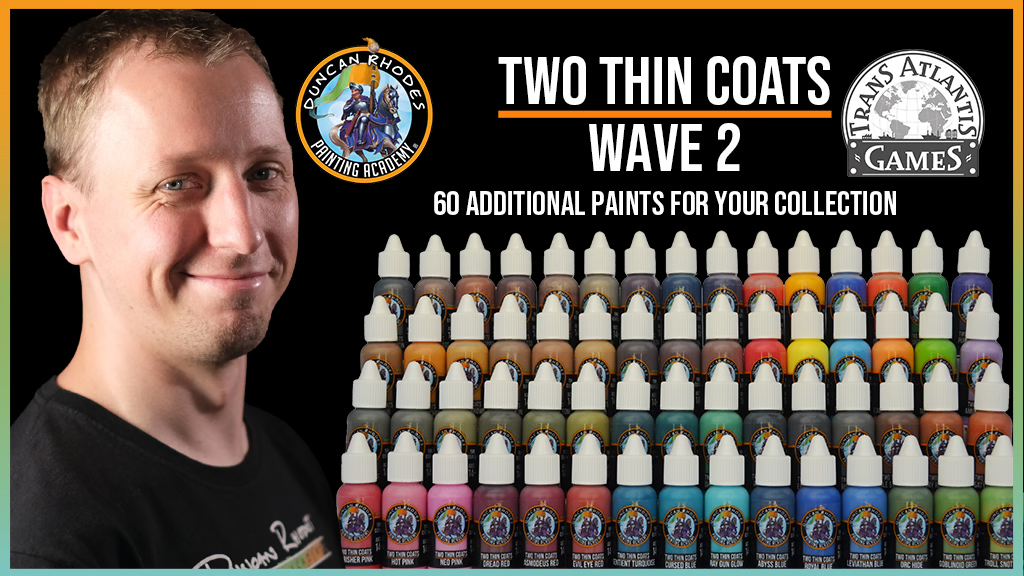
Different brands have different pigment densities, flow properties, drying times, and more traits that make them different. You’ll hear somebody swear by a given brand, while others will say it’s trash and to use this different one instead. The thing is, different paint strokes for different paint folks. None of these paints are bad; they each have a purpose or style. The real key is to just try lots of different paints and see what works with your preferred and comfortable painting style and gives you the look you want. I personally use Citadel (Games Workshop) paints for almost everything, with some Turbo Dork Metallics here and there. Other popular brands are Vallejo, Army Painter, Reaper, Darkstar, Scale 75, Minitaire, Warcolours, Two Thin Coats, Artis Opus, P3, and Pro Acryl. I’m not an experienced enough painter to give any further advice than just pick a handful and see where it takes you. But probably choose from one of the brands that are specific for minis.
There are tons of different types of paint that are out there, even within a given brand. I’ll have subsequent articles on the major flavors of acrylic vs speed paint/contrast, but generally speaking you’ll want to pick one and go from there. Acrylic paints are the ‘traditional’ method of mini painting, where you layer a couple shades to make a gradient from dark to light in a given color, with base paints, layer paints, edge highlighting, and occasionally ‘shades’. You can also employ inks, washes, and oil paints to add extra depth and/or shadow to an acrylic painted mini. A newer method is called ‘speed painting’, popularized by the citadel brand ‘Contrast’ paints – prime the mini with a lighter color, and then apply a single consistent layer of the speed paint, which pools in the recesses of the model and pulls from the edges to create a somewhat naturally dark-to light highlighted effect with much less effort. The effect generally isn’t as great as acrylics (once you’ve gotten good at them), and the speed paints can be splotchy on smooth or flat surfaces, but it’s much faster and lower effort with a more accessible skill floor than traditional paints. Contrast also has a high skill ceiling and is every bit as legitimate of a paint style and material, and isn’t just ‘babby’s first paint for noobs’. I like to think I’ve gotten pretty good with contrast in the couple years I’ve used it. You can also mix and match these two types across a given model.
Regardless of which method you’re going to start with, a good intro point is a spray primer and a handful of colors from a single paint line to help you get used to their specific features. Most companies make a ‘starter set’ of paints or at least a bundle box, and unless you have a specific color scheme in mind and want to buy, say, ten different greens and don’t think you want any red or something, just grab one of the box sets and expand from there.
Mediums/Thinners
A very common ‘rule of thumb’ you will hear quoted on essentially every painting forum or discussion is ‘thin your paints’. But what does that even mean? The short of it is that, straight from the pot or dropper, many paints are a ‘thicker’ consistency than are ideal for application directly onto the miniature, and straight paints might leave streaks or more evident brush lines, come out patchy or lumpy, and might obscure some details on your models. “Thinning your paint” by slightly diluting it with some thinner or medium (or even tap water) can help it run smoother and get a more even coverage without over applying paint in a given spot. Our Lord and Savior Duncan Rhodes often quipped that it’s much better to use two thin coats of paint than one thick one to get consistent coverage of an area. If you’re using a water-based acrylic paint, water will do just fine, but many companies formulate a ‘medium’ or ‘thinner’ for their paints which you may find useful. You’ll want to avoid water for oil paints, certain metallic paints, contrast/speed paints, and paint from an airbrush in most cases as they use a different base and will not thin out but instead create emulsions or worse
Wet Palette
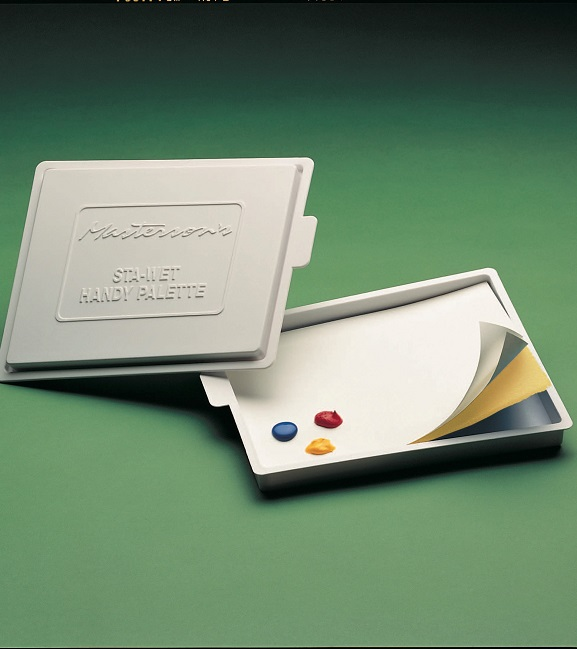
So you have a medium (or water) and you want to thin your paints – how do you do it? If you’re a barbarian like me, you just get your paintbrush nice and wet and then put minimal paint onto that wet brush, scaping the side of the paint pot until I have what I want ‘loaded’ into the brush. People with a much more professional approach use a palette. You can use a simple plastic or ceramic palette (basically any nonporous hard surface for mixing your paints together with each other (and/or thinners) or opt for a wet palette, which keeps your paints wet for a longer period of time so they can be used for longer periods with greater consistency. There’s nothing wrong with just using a hard plastic sheet or even a ceramic flooring tile from the hardware store, but the people who are pretty good at this painting thing tend to prefer wet palettes.
If you want to DIY, a wet palette can be pretty easily made using a shallow container, a sponge, and parchment paper. Try a Tupperware or equivalent with a tight fitting lid, drop a thin sponge in the bottom, and cover with parchment paper which is the surface you’ll be putting the paint and water/thinner on. Saturate the sponge with water (ideally distilled water but whatever should work), and let it wick up into the parchment paper for thinning. Here’s a tutorial on how to make your own by Sergio Calvo. You can also purchase wet palettes pretty cheaply online – a popular brand is Masterson though as I said earlier I subscribe the the brute’s method of YOLO thinning with tap water in the pot itself so I can’t really comment on what the best brand is.
However you decide to thin your acrylic paints, be it in the pot/on the brush, on a hard palette, or on a wet palette, you generally want to aim for a consistency that’s roughly that of whole milk. It should cling and bead a little bit
Airbrush and affiliated stuff like fume hood, compressor, needle, etc.
I have never used one and do not plan to, and it’s probably not the place for a beginner to start. Don’t drop a ton of money on something you don’t even know you like! It’s also not a cheat code to Golden Daemon awards – airbrushes give you more things you can do and a skilled painter can really make it shine, but your first airbrushed mini is going to look pretty rough in all likelihood.
I don’t know enough about this topic to give any reasonable recommendations. Here’s Vince Venturella instead, who is a lot better at all of this – though I will not he also says that ‘you’ll make more money in life, but you’ll never make more time’, so maybe you should just splurge for the airbrush. I don’t know.
Paintbrushes
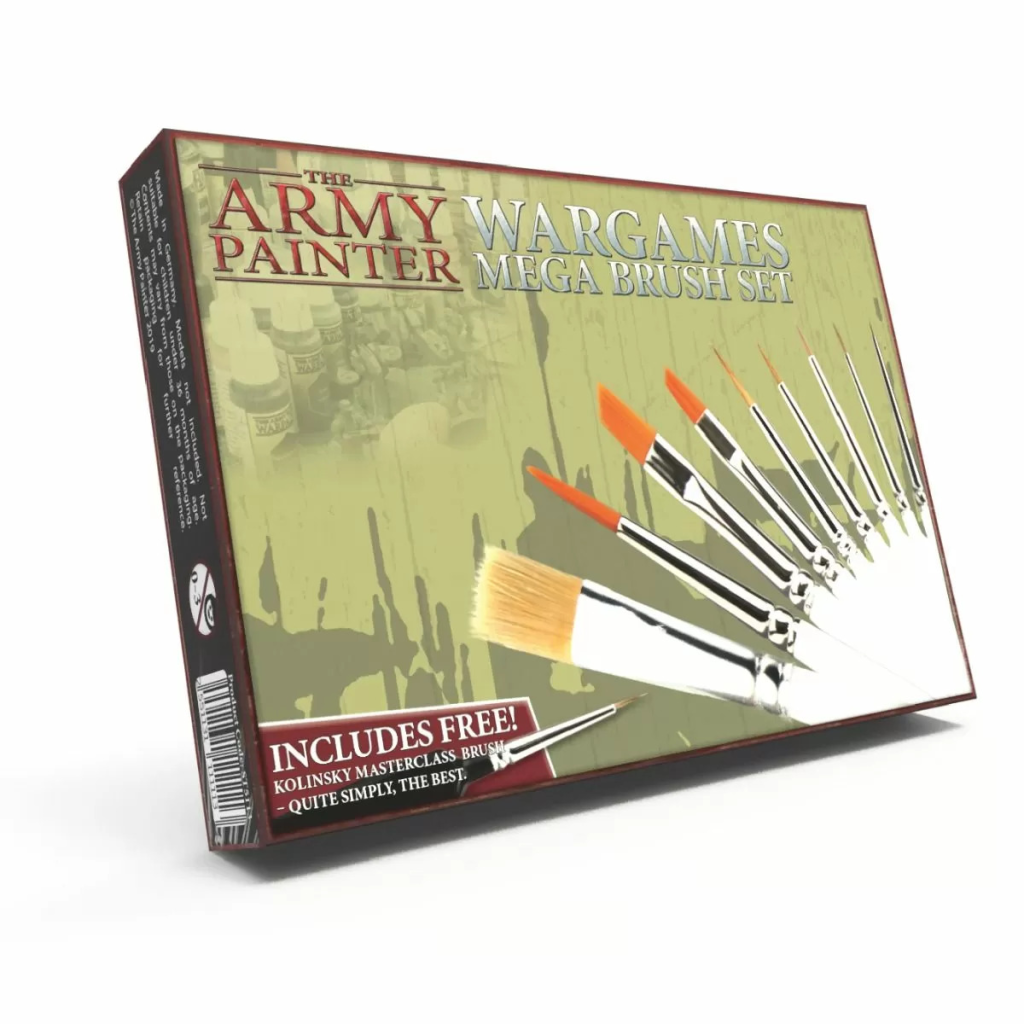
There are dozens of kinds of paintbrushes out there, and you can absolutely spend a fortune on this finest brushes in the world, but I wouldn’t do that at the start. You might know that Usain Bolt uses a given set of shoes, but if you’re on a couch to 5K program it’s pretty unlikely that those fancy shoes are going to make you run any faster than your old beat up tennis shows will. Once you’re more experienced you can work on choosing the ‘best’ brush for you, but until then any starter set should be just fine.
You can choose between natural (Kolinsky sable for example) vs synthetic brushes which don’t use animal hair, but I couldn’t tell you the difference to be honest. Whatever you get, you’ll probably want a ‘fine detail’ burhs that’s thin, a medium to large basecoat brush, and a bigger soft ‘drybrush’ – you can even use a makeup brush for this which can work pretty well and be pretty cheap in some instances.
Good quality brushes have finer tips and hold their shape better, so you can get better detail. Eventually your brushes will fray, fishtail, etc – don’t throw them out right away since you may want to have some ‘junk’ brushes for some uses. It’s also not a bad idea to have a separate set for different paint types; I have noticed that contrast/speed paint can really wreck some brushes over time, and have heard the same about oil paints, and some kinds of metallics. I have three or four brushes for acrylics, metallic, and contrast each, so that my nicer/finer/better acrylic brushes stay good for longer.
Brush Cleaner
If you want to keep your brushes fresh for longer, you’ll probably want something other than a teacup full of tap water for cleaning the, off after you’re done with a paint session. I use B&J’s “The Masters” Brush Cleaner and Preserver. And by ‘use’ I mean I have a jar of it my wife bought for me sitting in the drawer at my paint station and have opened it like five times total. I’m a mongrel who does not respect his brushes, and maybe that’s why my contrast set is so trash. If you decided to invest in some good ones, you probably do want to make use of this kind of product, however. There are many out there and I have no recommendations as to which to pick. As I said, I am a degenerate who shows disrespect to his tools.
Painting Handle
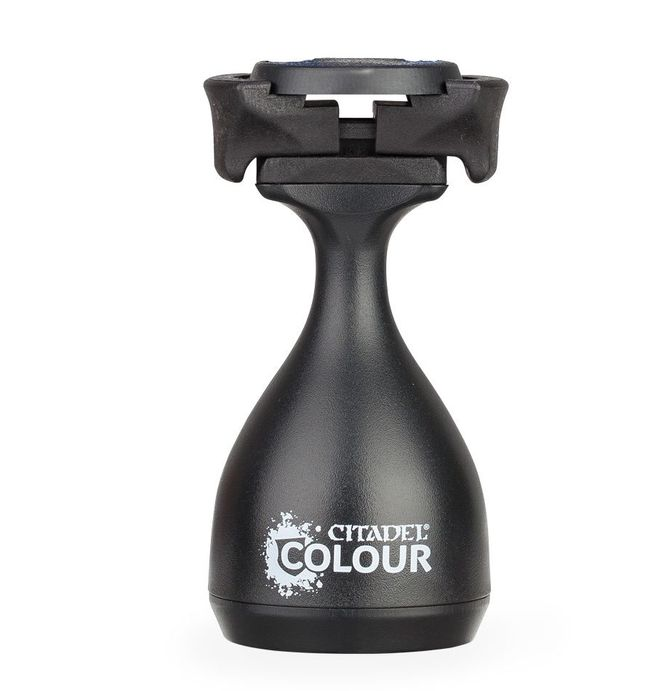
It’s definitely a little bougie, but getting a ‘painting handle’ or a similar model holder can be nice, allowing you to more steadily hold your mini and rotate it to weird angles more easily . Citadel makes one that I like a lot, and you could also make your own similar thing out of a cork with blue-tack stuck on it with or without paper clips. I never used to use this, but now that I have one I kind of like it. Definitely not necessary though.
Light source
A good light source is the kind of thing that doesn’t sound super important (Just turn the lights on in the room, right?) but once you get used to having a great painting lamp you’ll wonder how you ever went without one. A steady, desk mounted light is what I use, with a tilting and rotating head and arm – think like the Pixar mascot. You could also use a headlamp or a horizontal LED strip, really whatever suits your needs and workspace, but you will like something more than just the lightbulb in your ceiling. The best difference in how well you can see what you’re doing is going to come if you use a full spectrum ‘daylight’ bulb. I use a 6000K bulb, but anywhere between 4000-8000K is probably fine. Too low (warm) or too high (cool) and you’ll not see as well, and it might mess with how your colors look when you get around to painting. This is also a hotly debated topic and I am by no means an expert painter, but there’s my two cents on Kelvin scale. You can google more and see what other more knowledgeable people have to say, but be prepared for a very deep rabbit hole.
Magnifying Goggles
Maybe you have old eyes, or maybe you like painting very miniscule precise details. Maybe you just like high fashion. If so, you might want to invest in some magnifying jeweler’s glasses, with or without a built in light source. Check out this post by BattleMallet showing some goofy pics of Underworlds painters as well as a better exploration of the products available.
Agitator/Paint Mixer/Vortex
This is another over-the-top extra but if you’d rather not shake your paints by hand you can instead invest in one of these. Generally speaking, they’re a vibrating surface with a pressure sensitive motor, press your paint pot down on it and get mixing. Some paints separate over time and good agitation will get your a smoother coat with more consistent color. You can also add a metal ball to the paint to help get things shaken up more effectively (think like the rattlecan of spray paint having a bead inside the can that makes the rattling). Some paints need a really good shake to work best (such as metallic paints and contrast in many instances) and this will save you some time and tennis elbow.
Camera and lightbox
I won’t be giving any photography tips since I really don’t know what I’m doing in that space, but I personally find photographing my finished miniatures to be very rewarding and puts a bit of a capstone on a project. If you decide to take glamor shot of your little dollies, you’ll benefit from a lightbox and a DSLR camera. I use an old thirdhand Nikon and a lightbox from the Neewer brand. Here’s Louise from Rogue Hobbies (previously a box art photographer for Games Workshop) showing how she stages, shoots, and edits her mini pictures if you want to do a deeper dive.
Wrap
Certainly, there are more supplies out there in the wide world of mini painting, and I’m by no means an authority on the subject. But grab your favorite few of the above items (as long as you have paint and something to put that paint onto your models with) and you should be off to the races. Until then, happy painting, and don’t forget to spend your glory!


Leave a comment