
This article is a part of the Contender Series, the goal of which is to encourage players to begin participating in Organized Play events, attending tournaments and Grand Clashes, and overall up their competitive game to improve as players and ultimately win more often. While I am not personally some competitive ace taking home glass every weekend, I do have advice to help get newer players off the ground and set you on the path to success, and also can point you to better players than myself where you can get more focused advice when you’re at that stage. I will attempt to keep this article series ‘timeless’, so while I’ll reference specific warbands, cards, and mechanics occasionally, I want it to be relevant for years and so will try to refrain from focusing too much on today’s current competition climate. With those things said, let’s dive into this article’s main topic: Choosing Ploy Cards for Nemesis deckbuilding.
Articles in This Series:
Articles in This Series:
Warband Selection
Choosing a Deck/Pairing
Deckbuilding Overview
Evaluating Surge Objective Cards
Evaluating End Phase Objective Cards
Evaluating Ploys
Evaluating Upgrades
Deckbuilding: How Many Cards?
Opening Hand and The Mulligan
Board Choice and Orientation
Feature Token Placement
Fighter Placement
So You Won the Roll-Off – Do You Choose First or Second?
Practice
Event Format Considerations
Elites
Big Boys
Hordes (Coming Soon!)
Check out other tournament related articles:
Counterplay Series
Participating in Your First Tournament
What to Expect at your First Grand Clash
How to Run a Local Tournament
Building Your First Nemesis Deck
If you would like a more beginner oriented, less-competitive look at the basics of deckbuilding, here is a link to the ‘building your first nemesis deck’ article for Embergard
Evaluating Ploy Cards
Having already chosen the Objective cards you’ll be using to win the game, it’s time to turn to the Power cards you’ll use to help score those objectives. I don’t see the value in saving dessert for last, so let’s dive into the fun stuff – Ploys! Before we look at the various flavors of Ploys and I attempt to roughly rank their reliability, I have a few general pieces of advice you should keep in mind while selecting your cards.
How many Ploys should I take?
You will note in the deckbuilding sections of the rulebook and format pages, you take a minimum of 20 power cards, with no more than half of those cards being Ploys. In theory, you could take a deck with 22 cards (11 Ploys and Upgrades each), 25 cards so long as you had more Upgrades, etc. Nearly every player is going to find themselves at some point in their deckbuilding experience thinking ‘man, I really want to include both of these Ploys… how bad would it be if I took them both?’. I won’t hammer on it here, but if your goal is to win a competitive event, you usually should stick to 20 Power cards. The shortest explanation of this is that you draw up to 5 cards per phase, and there are three phases. Even if you played every card you drew every round (or discarded them at the end) and retained none between rounds, lost every roll-off and drew and extra card each time, you are only going to see 18 power cards across a game unless you spend activations drawing cards or include card drawing tech in your deck. Even with these, it’s a big ask to get through all 20 cards in three rounds, which means that generally speaking 15-30% or more of your power cards will never be in your hand in a given game. Think about your best card, the one you would love to see every game, probably in the first round. The more cards you take, the less likely it is that you’ll draw that card early, if at all. There are entire essays to be written about the math behind larger decks and the theory behind streamlined deck design, but I’ll spare you the rant for now. Just take 10 Ploys unless you’re playing a special warband with built-in card draw (Khagra, Ylthari, Zondara, etc).
A Key Word on Plot Cards and Keywords
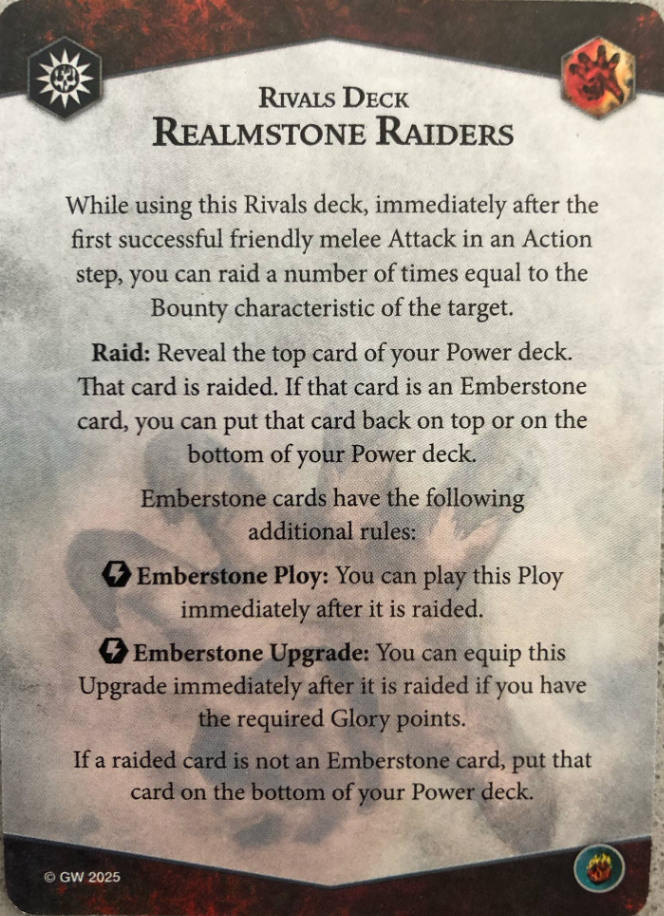
In deckbuilding you’ll possibly have a Plot card to deal with that relies on a Keyword, such as Tempered from Edge of the Knife or Emberstone Ploys from Realmstone Raiders. Even if your decks don’t come with Plot cards, they may still heavily rely on certain keywords. Perhaps a set of Objective cards cares very much about what your leader is doing, or requires a minion to be somewhere specific to score. This usually matters a little more with Upgrade cards (since those can give the fighter the keyword in question). If your deck is leaning on a Plot card effect or Keyword to score, you have to make sure your Ploys help you to get there, or at least don’t get in the way of that plan. If you need keyworded fighters to score an objective, Cataclysm tracker advancement, etc, take enough of that kind of card that you’ll have them when you need them. This is generally called a ‘package’, and you gotta make sure you’re packin’ in the Underworlds.
Act, don’t React
I want to caution you on reaction ploys – cards that can only be played as a reaction to some trigger condition. Maybe the card says “Reaction: after a failed attack action that targets a friendly fighter…” or “Reaction: after a friendly fighter is slain…”. When evaluating a card to include in your deck, ask yourself how often the reaction will come up, and the odds of having this card in your hand when it does. You don’t want a card eating space in your hand while you wait for a wondrous alignment of the stars that never comes. Maybe your opponent never misses that crucial attack. Maybe they never even make the attack and are off doing something else! You can’t control when you’re going to get to react, and a winning deck has control as often as possible. Some reaction effects are very powerful and/or help score your Objectives, so I wouldn’t say to eschew them completely, but be preferential toward cards that you can choose when and where they work, rather than hoping for the best with a reaction.
“Roll a die: on a result of…”

Gambling is not technically a sin (and we’re already in the Underworld(s)), but as those old arcade game PSAs used to tell me, winners don’t do drugs. I always thought it was interesting that Captain America told me that, and his whole super power was drugs. What a loser. Did they say not to gamble? They should have! The lottery is a tax on people who are bad at math, and rolling dice for a ploy is a risk to shy away from. Beware of cards with variable effect. Let’s look at an example;
Say a card has “Roll an attack die. On a roll of Hammer or Crit, XYZ happens”. Many of these cards have an enticing effect – perhaps they deal ping damage, or make give you a multi-push, meet some keyword condition for objective scoring, etc. The issue is, as cool as that effect might be, there’s a chance it isn’t going to happen. Be realistic and ask yourself how often the card will fail, and then ask yourself how badly it hurts you when that happens. If you were depending on that card to score an objective and it fails, now you have wasted a power card AND don’t score, slowing down your objective card draw and reducing your glory total. If you put a fighter in a risky position hoping to gamble for the effect and lose, now you wasted a power card and have a fighter in a bad spot. You can take them if the odds are high or the payoff is great, but in most cases you should lean more towards cards that can guarantee the effect printed in the text. You only get 10 ploys – don’t put yourself in a position to be playing with 9 when you fail to roll the die you need, especially if it came with a sub-optimal gameplay choice because now you’re paying for it in multiple ways.
Types of Gambit Cards
Wow ok, that almost got out of hand. Let’s cut the ranting short there and head on to the general power ranking of Ploy types:
Out of Sequence Actions (choose a fighter, they make a move action, make this attack, etc) – move can sometimes be better than push because you can sometimes react off of a move, or score an Objective that requires some number of move tokens. Beware of scenarios where you need a charge though, because now you can’t. You can often move a fighter after a charge with one of these cards, however! Out of sequence attacks often have great efficiency, even if it’s a weaker/less accurate attack printed on the card rather than a fighter’s base attack. Any Ploy that lets you make an extra action turns your 12 activations into an effective 13, making you 8% more efficient than your opponent. Take these cards where you can.
Push Cards (choose a fighter and push them x number of hexes) – Pushes are solid in most scenarios and can be game-winning in others. There are two archetypes: Sidestep (push one of your fighters), and Distraction (push an enemy fighter). Rare cards let you push multiple fighters at once! Sidesteps can help you get into attack range, get out of danger, get onto a feature token, etc and have many uses. Distractions are often even better, as they can ruin your opponent’s plan right before a big charge/attack, take somebody they thought was safe into attack range of one of your fighters, or kick them off a treasure token right before the end of a round when they wanted to hold for a big End Phase score. These days they often come with restrictions about who can be pushed or what direction, but generally speaking you want to include push cards where possible, especially if it’s an enemy fighter push.
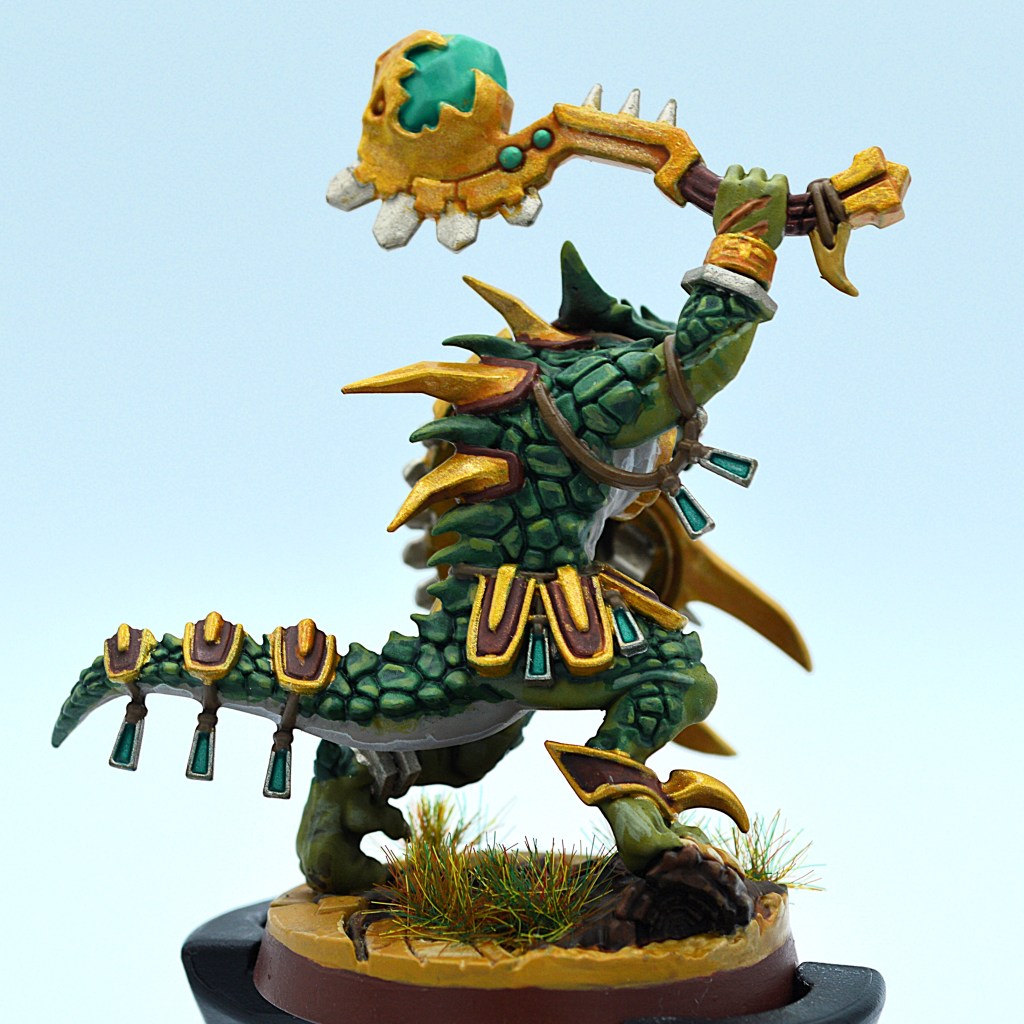
Direct Damage/”Ping” (chose a fighter that meets a condition and deal x damage to that fighter) – Ping cards can be very powerful in the right circumstances. You can sometimes even do the last bit of damage to a vulnerable fighter to slay them without spending an activation to accomplish it (though many of these cards specify ‘not vulnerable’). They can soften a target up to put them into a low enough health situation that you’re now able to take them out with one attack rather than two. You can’t do it just anywhere anytime, but they are often worth taking regardless. Pings let you put extra damage on the board without spending an activation, which is always nice, but they also don’t allow for the enemy fighter to defend. Your opponent has a three dodge fighter on guard in a cover hex? That’s a big problem. You have a couple of Pings in hand? Problem solved.
Card Draw (when some condition is met, draw x number of Power cards) – Draw tech is a way to make your deck more consistent. Remember before how I said you wanted 20 Power cards? If one of your Ploys is a draw card, you effectively can run through your deck faster, and that turbo card you’re really hoping for is more likely to arrive in time. The card doesn’t usually do anything else by itself, but across a large enough tournament, you’re going to play enough games that you’re going to run into some situations where your best few cards don’t get drawn early or at all. Draw tech makes this situation less likely, and potentially wins you games you might have lost.
Offensive Boosts

This is a very broad grouping that contains multiple subcategories, but these are generally cards that help you attack more effectively. I tend to lump them into Accuracy, Lethality, and Utility.
Accuracy (Plus dice, reroll, “try again”, Ensnare/Cleave/Brutal) – these cards make you more likely to hit. Nobody likes to miss, and using these Ploys can reduce the odds that happens. Unless you’re running a purely Take & Hold playstyle and don’t plan on making many attacks, these cards should slot into your deck when you can get them. Adding dice to an attack is mathematically better than a reroll, unless the attack characteristic can’t be modified. An innate (while rare) can be better, because it’s like a plus dice that’s guaranteed to land a certain way, increasing the predictability of your attack and giving you more control. “Try again” often requires you to react to a miss, and I don’t like reactions as much, but they do definitely boost accuracy and can also help you score ‘make x number of attacks” Objectives. Cleave and Ensnare are potentially weaker because you may not get as much use depending on the matchup, but can be quite powerful in the right spot.
Lethality (Grievous) – These make your attack more likely to take the target out of action. Most fighters deal 1-3 damage, and most targets are 2-5 health. Good players can manage their target priority, but you’re inevitably going to find yourself in scenarios where you deal one less damage than you needed to take the target out of action, and so you either have to attack somebody else, or commit to spending multiple activations to rid yourself of that turbulent priest! Lethality gambits are worse than lethality upgrades as they usually only last for one attack, but when they work, they pay for themselves handily.
Utility (Grapple, etc) – this is a catch all for other effects that can be added to your attacks to manipulate tokens or fighter positioning, grant resources or keywords for a Plot card, and so on. Their value depends on many factors and I won’t be accurately able to rate such a broad category, but try only to include the ones that actually help you score your Objectives.
Defensive Boosts
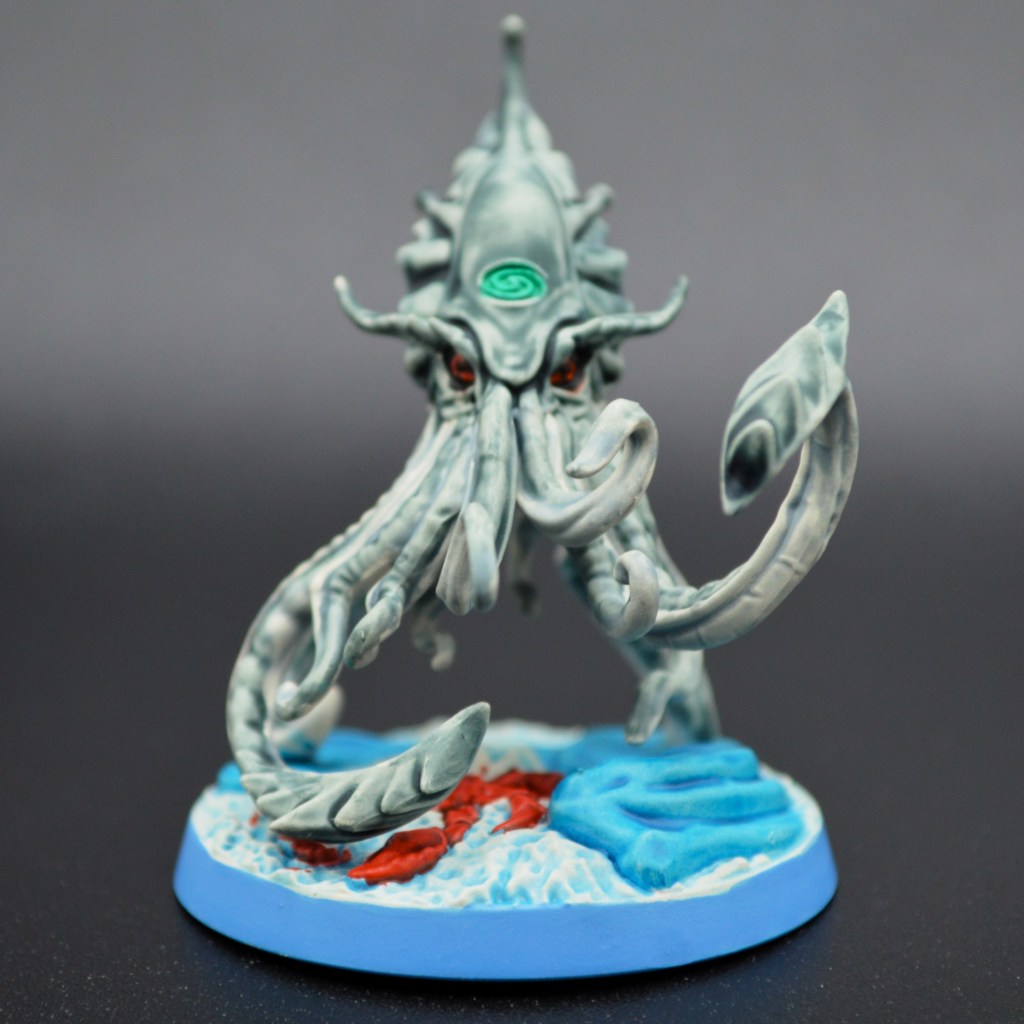
This is another very broad grouping that contains multiple subcategories, but these are generally cards that help you survive more effectively. I tend to lump them into Defensibility, Durability, and Obstructionism.
Defensibility (Plus defense, on guard, defense dice rerolls, immune to cleave/ensnare) – these make you more likely to roll successes on your defense dice, and reduce your opponent’s ability to hit you through your own defensive result. Sometimes, you really need a fighter to survive an attack, and these will make that more likely. Often better than Durability Gambits because making an opponent miss can spare you 2-4 damage, while most Durability cards are only going to spare you 1.
Durability (Heal, reduce damage, Stand Fast) – these cards are usually better in their Upgrade flavor, as they will last longer and can help you more times. As mentioned above, I prefer to take zero damage, but there’s always the risk that your extra defense will still fail. A damage reduction card or a wound boost doesn’t make you more likely to avoid the damage, but guarantees it is less impactful when it does happen. In some scenarios, it is also an Obstructionism card since it acts as a deterrent to the opponent even bothering to attack.
Obstructionism (Can’t be pushed/driven back, reduce dice for enemy attack, can’t be targeted, immune weapon abilities, etc) – these are cards that take your opponent’s ability to execute their plan and throw it in the trash. Most people have ways to work around Defensibility or Durability; just take your own Accuracy and Lethality! Who among us hasn’t countered a Great Strength with a Great Fortitude or vice-versa? Obstructionism cards throw a wrench in their ability to attack you at all and can fall into the gameplan of “Control” – an archetype not common in Underworlds. Making them unable to do what they planned is very powerful, keeps you alive, and reduces their glory count when it gums up Objective card scoring. These cards are often quite situational, but can win you games if used well.
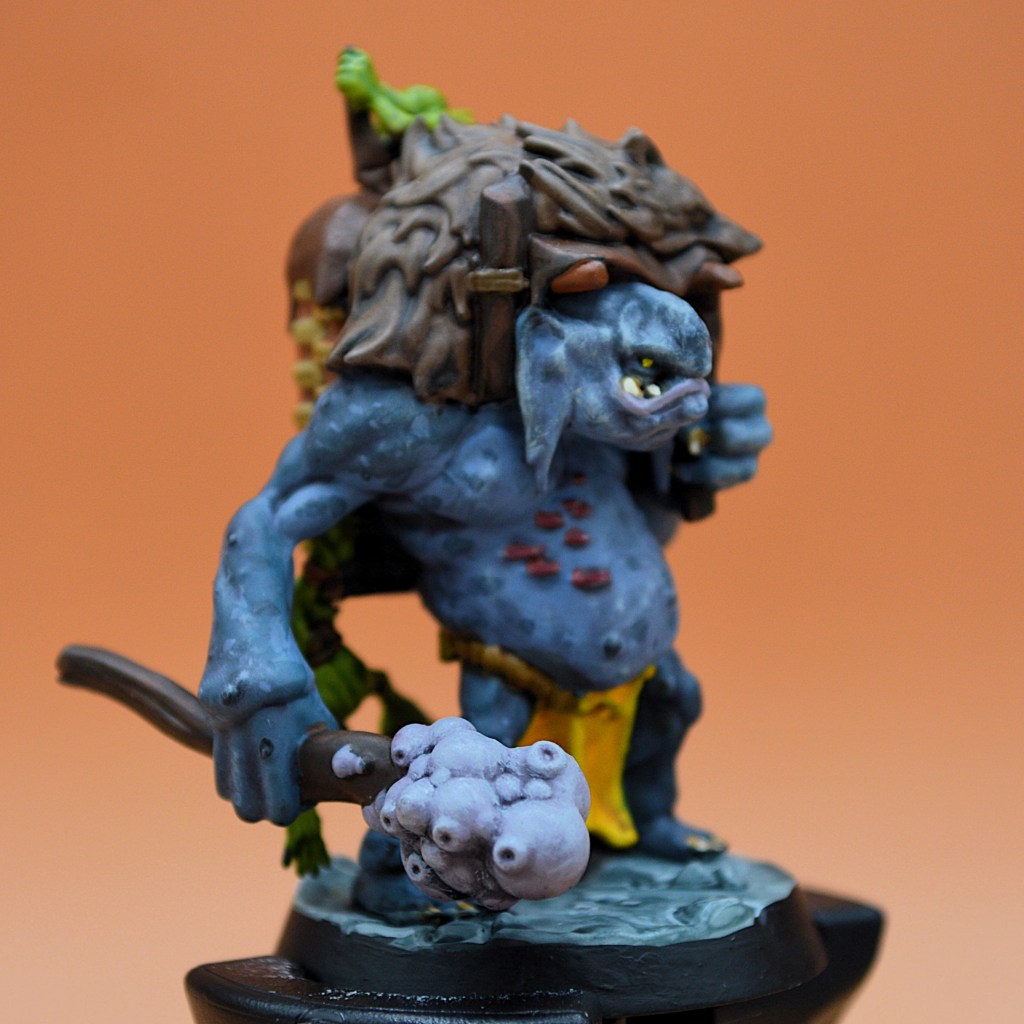
Mobility (plus move, plus move on a charge, can move through fighters, gains the flying trait) – these cards are often part of a ‘speed package’ that let you get where you need to be. Not as broadly useful as out of sequence moves or pushes, but they can still be good in the right circumstances. Being able to choose where engagement occurs can help you score positional Objective cards. Maybe your opponent thought their leader was safe from a charge, and now you have more mobility to get to them. You might draw these cards too late in the game to be useful (since you’re already where you need to be) or in a matchup where they don’t matter (both you and your opponent want to be in the same place) so they have downsides.
Fighter Token Manipulation (guard, add a move token, remove a move token, stagger, etc) – These can go into many of the above categories. If you have Objectives that care about these tokens, the value of these Ploys go up. Otherwise, just consider them as a specific flavor of Offensive/Defensive/Obstruction cards.
Feature Token Manipulation (flip a feature token, switch the places of two tokens) – these can be very powerful in the right matchup or with the right gameplan. If you need the board to be full of treasure vs full of cover, it’s nice to be able to manipulate that. If your opponent needs to stand on certain feature tokens, it’s nice to be able to play keep away. If your opponent doesn’t care about feature tokens, it’s less useful. If neither you nor your opponent care, you’ve wasted deck space.
Review your Ploy Choices
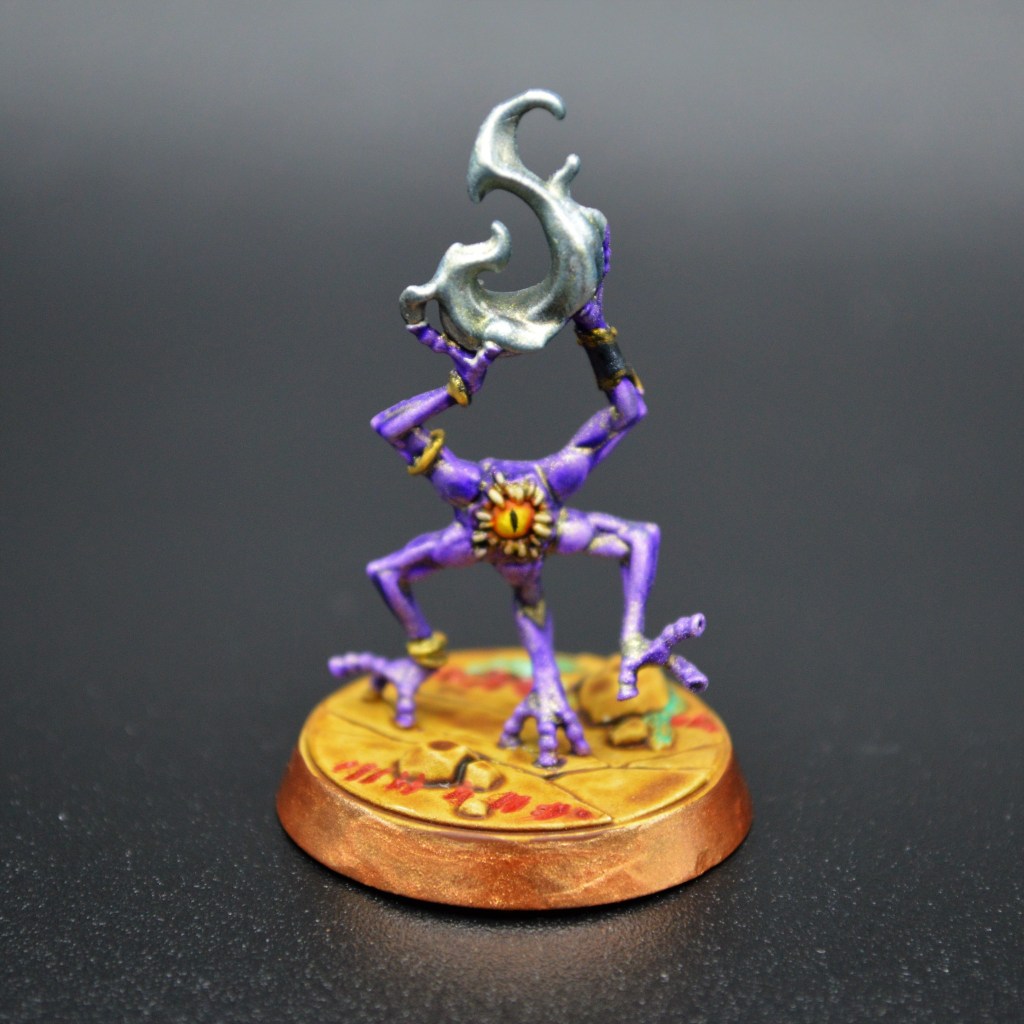
Run back through your selections after you’ve finished and make sure that your Ploys agree with the Objective cards you’re taking. A very common beginner mistake is to take exciting or powerful Ploys, especially if you’ve been told that a certain card is ‘the best’ or ‘auto-include’. The way you win the game is by scoring more glory, not playing the slickest Ploy combo. A push into a plus dice grievous attack on a staggered opponent can be game winning, sure, but you have to have all those cards in hand at once, and if your Objective deck says “Hold three Treasure Tokens” you’re going to find yourself trying to play two different games at once. Maybe you hit the five-Ploy dream combo once in the tournament and become a local legend. Just know that you’re likely going to be hitting it while playing at the bottom tables.
Wrap
So you’ve picked your 10 Ploys, limiting the amount of gambling and variability while cutting down on reactions. You’ve made sure to take ones that fit with your Objective deck, including specific keywords where needed and playing to your Plot card if that’s part of your gameplan. Now you can move on to the other half of your Power cards! Thanks for riding out this article with me, and I hope it is helpful to some of you. Ploys are where a lot of the ‘action’ happens in the game, and the flavors you choose can really define you you play and what occurs in your matches. Tune in next time for a review of Upgrades, where we finally get to create some Spent Glory!




 Spent Glory
Leave a comment