
Today the Contender Series will continue with a discussion on warbands with the Horde composition and how best to use them in your games in a competitive sense. The Contender series is intended to provide tips and tricks for newer players who are setting out to better understand the competitive aspects of the game, as well as longtime players who want to increase their odds of winning in a tournament setting. As such, I will be covering this information with a more simplified view and try as best as I can to keep the series ‘evergreen’ – I will mention specific warbands and cards/decks to illustrate a point but will generally try to use more genericized concepts to keep the information relevant for anything that is released in the future as the meta shifts and things may or may not ‘rotate out’ of competitive validity.

If you are interested in listening to a discussion on Horde warbands along with other warband types as well as warband and deck archetypes such as Flex, Strike etc, you can listen to this Underworlds Underground Podcast episode.
Articles in This Series:
Warband Selection
Choosing a Deck/Pairing
Deckbuilding Overview
Evaluating Surge Objective Cards
Evaluating End Phase Objective Cards
Evaluating Ploys
Evaluating Upgrades
Deckbuilding: How Many Cards?
Opening Hand and The Mulligan
Board Choice and Orientation
Feature Token Placement
Fighter Placement
So You Won the Roll-Off – Do You Choose First or Second?
Practice
Event Format Considerations
Elites
Big Boys
Hordes (Coming Soon!)
Check out other tournament related articles:
Counterplay Series
Participating in Your First Tournament
What to Expect at your First Grand Clash
How to Run a Local Tournament
Building Your First Nemesis Deck
Time Management and Playing Quickly
First, let’s talk about what a Horde even is, then howe to use them. We will talk about what cards to consider, strategies for playing them on the board, and how to approach playing against them.
General Description of Horde Warbands

In my framework, a Horde is a warband with 6 or more models that are NOT among those few included as ‘Big Boy’ warbands. A Horde wither has many models that are roughly equivalent in strength, or two ‘tiers’ of models (good ones and bad ones) but no single standout ‘big boy’ upon whom the burden rests. A Horde warband may have a pivotal leader who is central to the gameplan, but this is most often due to a special ability on their warscroll that unlocks the team’s potential and requires the leader to use, such as raising a slain fighter or activating movement economy. The leader in a Horde is, in most cases, not intended to be doing lots of fighting like you might expect from other warband archetypes, and fills more of a support or utility role.
Horde warbands are often classified as Take and Hold in the game’s parlance, but very few of them actually do well with Take and Hold decks such as Emberstone Sentinels or Nexus of Power. Each horde is a unique beast, but in a general sense they’ll do best either as a positional flex playstyle (such as delving treasuee tokens or occupying territories) or as a ‘swarming aggro’ strike approach where individual attackers don’t matter, because you always have more and are willing to trade pieces.
How to Play Hordes Optimally
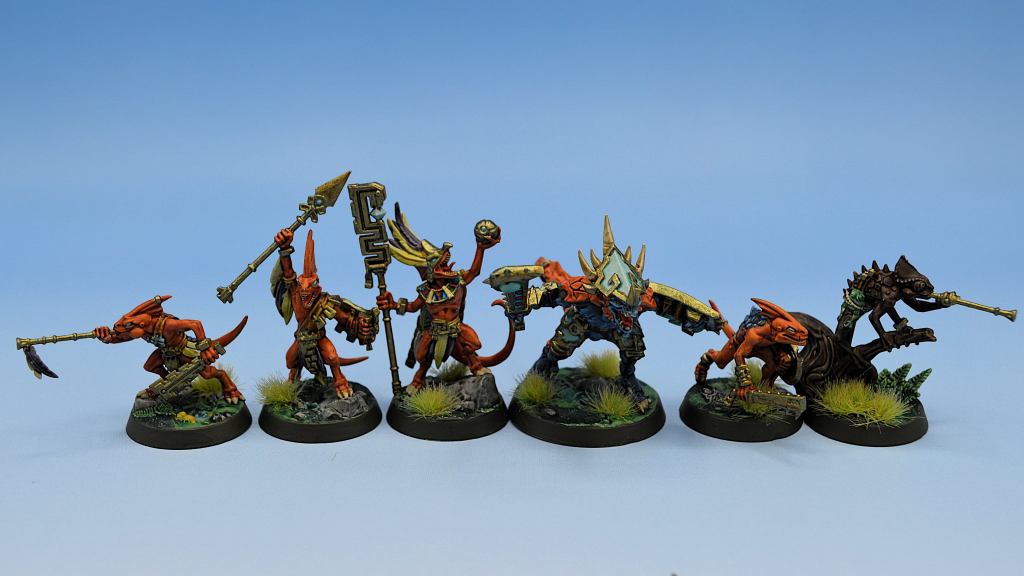
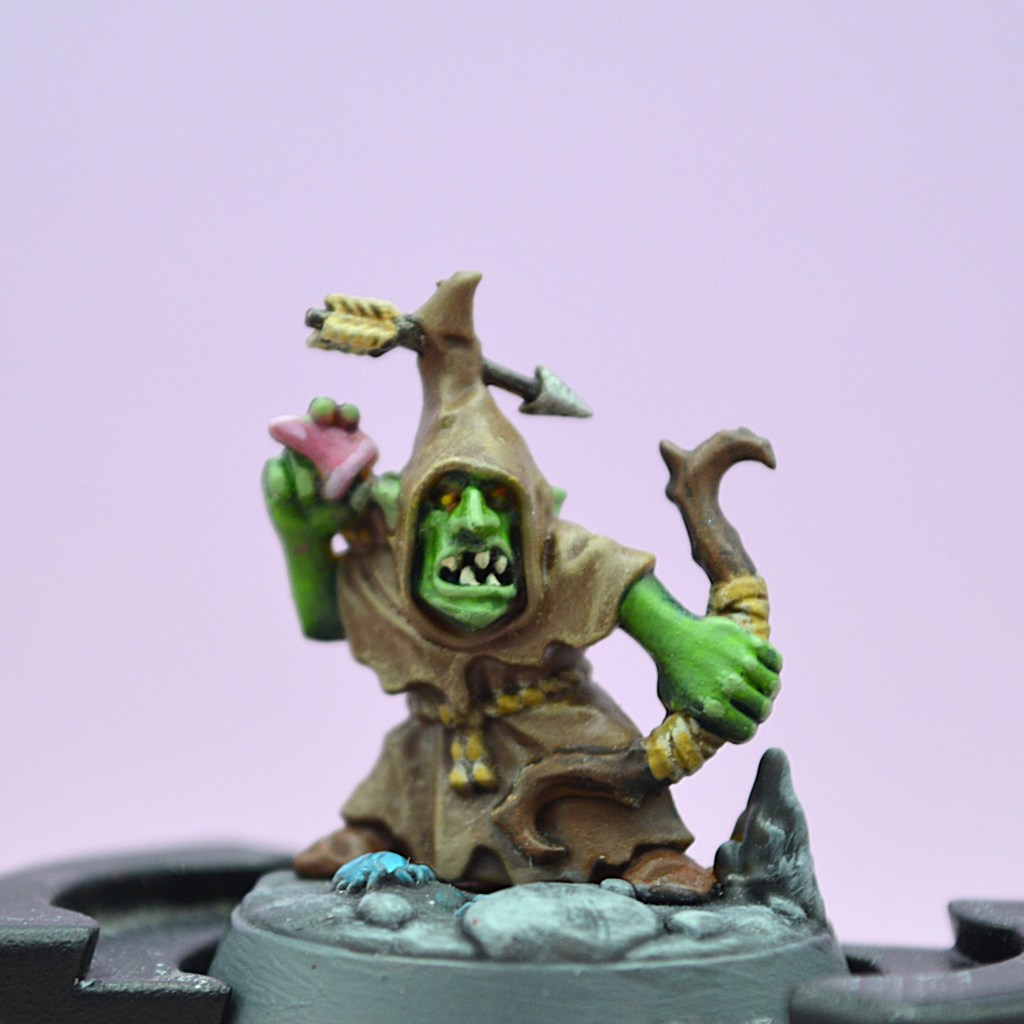
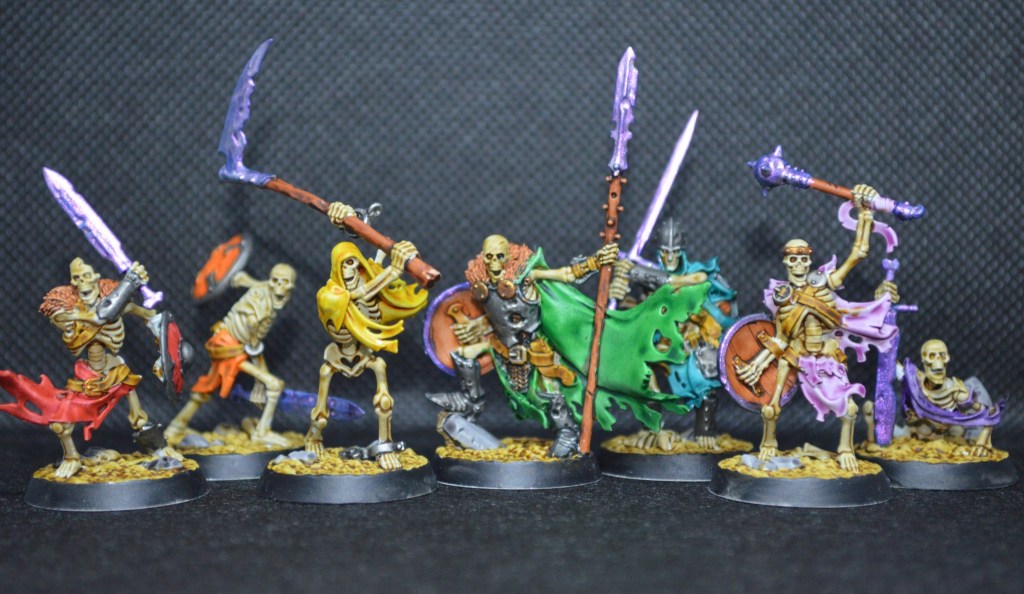
The first thing you’ll need to do is figure out which playstyle your horde is best suited for. Some, like the Starblood Stalkers do in fact play best as Taken and Hold. Others with great movement economy and positional flexibility, such as Zarbag’s Gitz may be better suited for Pillage/Delving approaches. Finally, some hordes have ‘drag them down in weight of bodies’ written all over them, like Thorns of the Briar Queen, and you’ll enjoy a more Strike-based approach.
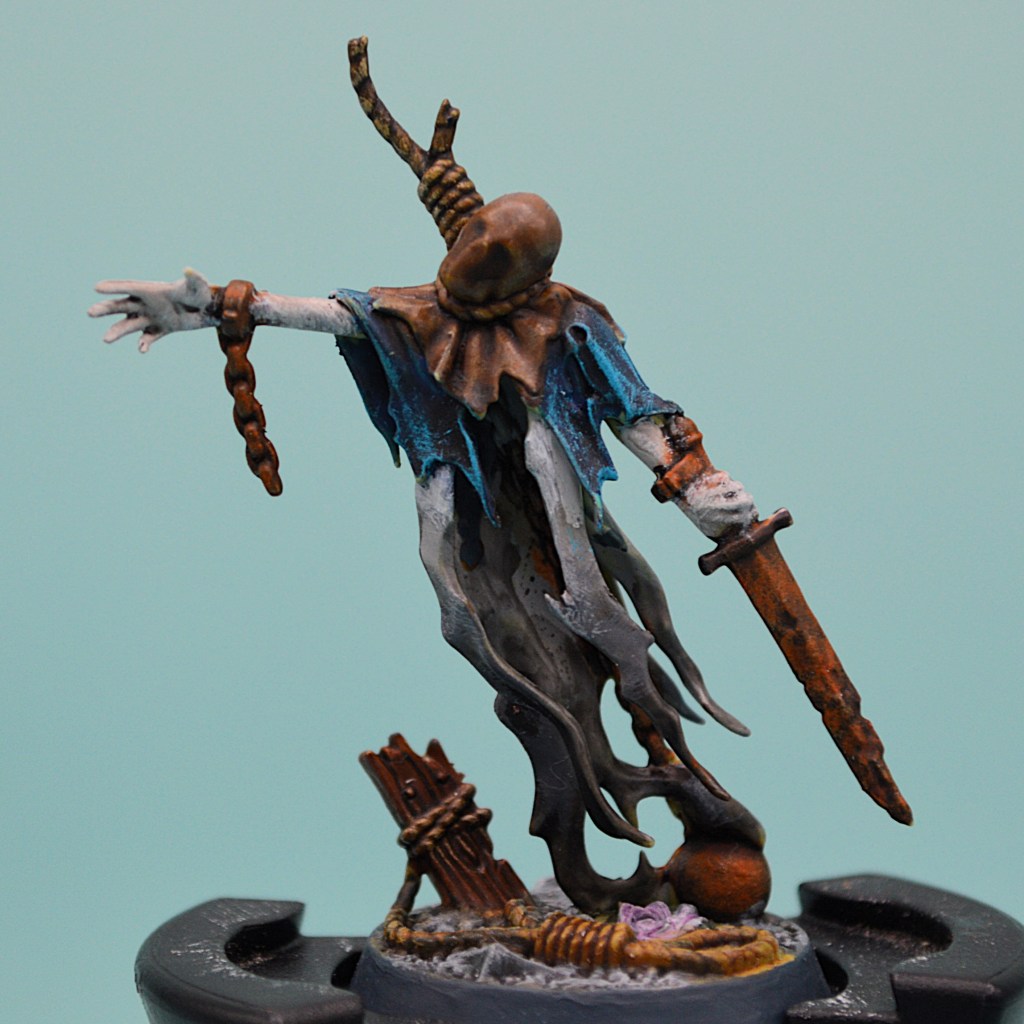
I plan to cover these playstyle archetypes in future issues of the Contender Series, but for now just know that your warband will probably be best for one or two of them and it won’t always be the one that’s their official designation. GW is really bad at this, especially for Hordes. If you REALLY don’t know, maybe try them out with Pillage and Plunder and see what happens – chances are you’ll do just fine, so long as you avoid the Exiled Dead since they can’t delve. Whatever you end up doing, don’t throw your Leader away too early. Yes, they will probably die, but at least make the opponent work for it, or you’d better REALLY want that mildly better attack profile for that specific activation.
What Cards Hordes Favor

As a counterpoint to my prior article about Elites, largely our objectives will be focusing on the opposite things. As Hordes has 6+ fighters, it’s very difficult to get anything going that requires ‘every friendly fighter’ to meet a condition. However, it’s considerably easier to satisfy requirements that ask for 2 or 3 fighters to meet a given condition, depending of course on aid condition. You’ll probably have 2 fighters alive throughout much of the game, but if it is asking them both to have made successful attacks, there’s a chance you miss since horde fighters aren’t s accurate usually. If they both need to be in enemy territory, that’s a recipe for a 2-health fighter’s doom. You’ll still need to observe your fighters’ specific stats when evaluating if this objective will work for you, but generally speaking you’ll have an OK time scoring ‘3 fighters do xyz’ with a Horde warband.
Objectives that ask you to do a thing but not necessarily succeed, such as attack 3 times, have X fighters with some token, etc are fine for Hordes. If you need to be succeeding on an attack or having an opponent fail an attack, you’re in for a harder time since your stats are usually not great.
There exist ploys that can be highly-rated cards which allow you to make a move action out of sequence. These are great, but especially so for Hordes as they let you do something with a fighter without needing to ‘waste’ an activation on them and increasing your efficiency. You’re also usually far less worried about the move token than other warband types might be as well. If you need to get flanking on a bad attack, land on another token for scoring, or get into/out of a position, these cards let you do so at a cost much less painful since you won’t be able to activate every fighter you have anyway.
Weapon Upgrades are a favorite of Hordes. Your fighters usually have mediocre to dumpster-level attack profiles, so even a modest weapon can be a serious boost to a fighter’s offensive output in a Horde. A middling attack profile for 1 glory can actually let one of your minions help out in combat, which can help satisfy objectives, surprise your opponent, an pick up some of the slack if your leader/bruiser is slain.
Cards to Avoid for Horde Warbands

If an Objective card asks for All Friendly Fighters or Every Friendly Fighter to do something, it’s a hard pass in most cases. The one exception to this is Trial of the Tempered from Edge of the Knife, as many of your fighters are already Tempered to start the game if you’re playing a horde, so you really only need to figure it out for 1-3 more.
Cards that ask for a total bounty characteristic of XYZ to do something are probably also a hard sell. Your fighters will usually be 1 bounty, and in some cases will be zero – either because they started that way or they now count as zero bounty after they got a raise token. Supremacy, for example, is really tough for most Hordes because you’ll likely need to hold 3 treasures with weaker bodies while everyone else can do it with 2 and their fighters are tougher.
Objectives specifying your leader (and ploys/upgrades for that matter) are often a poor choice for Hordes. Horde leaders are usually easier/softer targets and are likelier to die, as well as having to ‘share’ their action economy with more fighters and thus have fewer activations for themselves to meet the conditions. In some cases, you also need to protect their leader in the back, and are much less comfortable risking them. Your opponent meanwhile might have a priority in their gameplan to take out your leader, especially if they’re one of those lynchpin ones that are where most of the warscroll utility comes from.
Low-cost upgrades are preferable in many cases, since the kind of thing that costs more glory won’t get as much use from a horde fighter. Spend 2 glory to give +1 health to somebody? Well then I’ll just kill their friend. Spend 2 glory to give them +1 attack dice? You’ll almost never ‘charge out’ so you’ll get few opportunities to use that accuracy, and now that fighter has a ‘kill it right now’ bullseye on their head that they won’t likely survive through.
Strategies for Beating Hordes
As a general principle, a horde warband will be more action-efficient than you will be. They’ll get to move two guys at once, bring a fighter back, or do silly things that otherwise break the rules of the game the rest of us have to follow. What that means is you’ll have to identify what they’re trying to do scoring-wise and accept that they are going to probably be more effective than you at doing that. You’re likely not going to out-pillage a horde. You might not even out-hold them. So what you can do is out-kill them.
Hordes as an archetype have fragile fighters. Whenever possible, you should be killing them, especially if they’re the ‘better’ ones who haven’t activated yet, thus forcing your opponent to make do with their lesser options. Be extra careful when facing a raise warband though, because sometimes killing their good thing means it just comes back angry and inspired. Gristlewel says hello.
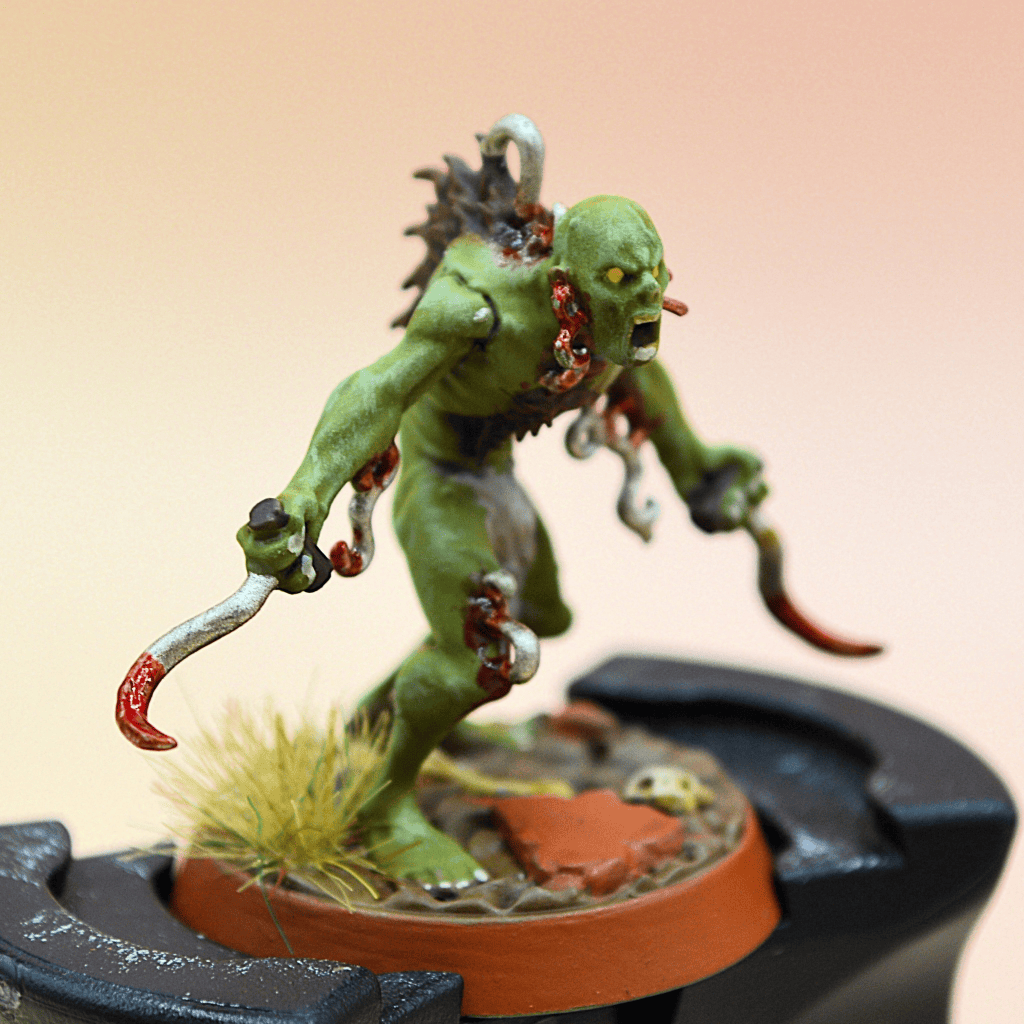
In this case, and in several others, the single best thing you can do against a horde is kill their leader as early as you can if it’s reasonably attainable. Don’t overextend yourself – losing your 3 bounty elite leader to take out a 1-bounty horde leader may not always be a good trade. If that leader prevents them from doing things like Danse Dynamic, Raise, Inspire, activate a multi-move or multi-push etc however, it may still be something worth doing.
Sometimes that leader is going to be too well protected. They’ll be positioned well and the opponent will be intent on keeping them alive. Overcommitting to kill a leader and then failing to do so is the surest way to lose to a horde. While you waste time chasing 1 bounty, they’re scoring a million glory. Even in cases where you do take out that critical fighter, you might find you’re severely mispositioned to score your own cards now and will still lose the scoring battle. Yes, I know you want to kill the Sepulchral Warden. I am aware Deintalos has gotta go. Nobody knows that Duke Crakmarrow belongs in the dirt as much as I do. You need to keep yourself in check – don’t dive them unless it also fits your own plans AND you are sure you can kill them.
Wrap

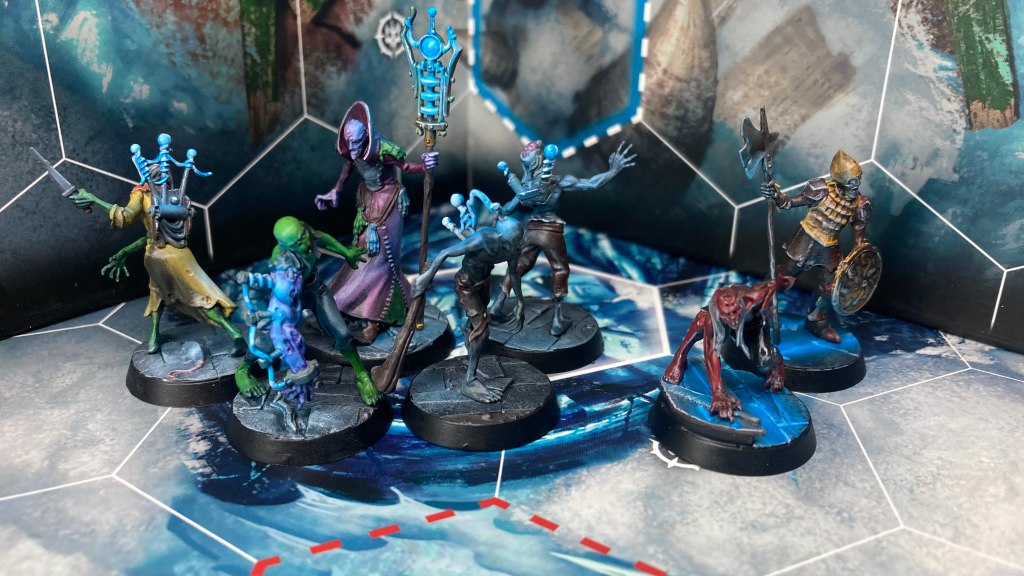
That’s my story and I’m sticking to it. Hordes can be a little more challenging to play and are also a little more challenging to play against as both players now have more fighters to think about, more options, and more opportunities to choose wrong. Everything I wrote up there is a surface level approach, and warband specifics will change a lot of what needs doing and practice is really the only way to unlock that.
With that said, grab your favorite horde (Hexbane is a lot of fun, and so is Grinkrak if you’re willing to lose a bunch) and get out these to spend some glory!






Leave a comment