
Somewhere out there is a Worthy Skull, and you MUST retrieve it. It might still be attached to a neck, but that’s a problem you’ve got the tools to solve. With some ingenuity, swarming push tech, a pet dog, and a warband-specific runemark that isn’t garbage, let’s all get ready to bleed together under the Red God’s gaze.
So that you’re aware, this warband received some rules updates in the February 2026 Errata. I’ll comment briefly on the changes later in the article.
Thank you to Games Workshop for providing the page with an advance copy of this product for review and content creation.
Click here to see a Master List of all warbands in the game
The Underworlds Underground Podcast also has an overview of the faction you can listen to here
Kamandora’s Blades: The Lore
Before we get into this warband specifically, I’m going to dip into some of Age of Sigmar’s foundational lore and discuss (briefly, I promise) the Realmgate Wars. There will be some spoilers for Dawnbringers VI as well.
SPOILERS
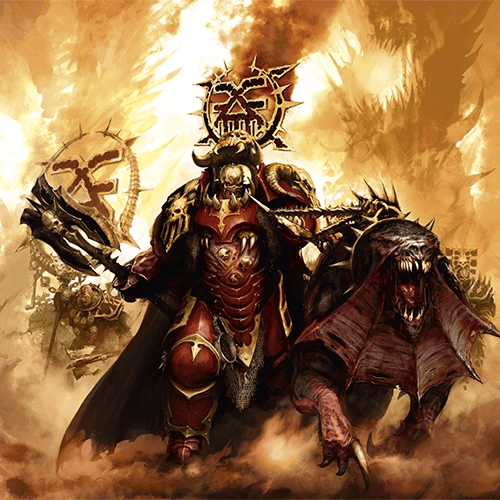
Once upon a time, there was this studly boy by the name of Khorgos Khul, who was the first chaos warrior to step foot into the Aqshy, the Realm of Fire, back at the dawning of the Age of Chaos when all of Sigmar’s good stuff got knocked over causing him to take his ball and go home. In the time between then and the Age of Sigmar, Khul had the great plan to turn all of Aqshy into Khorne’s sole domain. He had spent the intervening millennia hunting down every last settlement and either butchering them or giving them a chance at conversion. Some chose to turn cannibal and worship Knorne, becoming Blood Reavers, very much like Kamandora’s Blades.

Later, Sigmar drops his Stormcast Eternals on the realms and begins the Age of Sigmar. Some Mary Sue named Vandus Hammerhand forms a rivalry with Khorgos Khul, and they play cat and mouse for several books, during which time Vandus dies pretty often. Eventually one of Vandus’ homies duels Khul and they simultaneously deal mortal wounds to each other while Vandus is sad he didn’t get to complete his redemption arc and strike him down himself.
However, before Khul can die of his slit throat, Khorne gives him one last blessing; ascension to the status of Daemon Prince. This sends Vandus over the brink into drooling madness and eventual internment into the Ruination Chamber.
END SPOILERS
If you’re interested to read more about Khul, there is a Black Library novel called The Red Feast that talks about his life before the Age of Chaos.
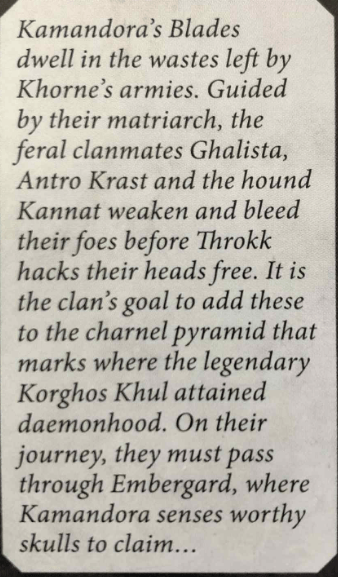
OK so why did that matter? Well after all that business, there’s basically a scorched wasteland filled with desolate ruins, occupied by some scavenging cannibal lunatics – this specific bunch happens to be our warband. They’re on a mission to collect as many worthy skulls as they can find to bring to the big charnel pyramid Khorne’s followers have built on the fateful spot of Khul’s ascension. Kamandora, the Mother of Hate, already has a backpack full of them, but they’ve decided to take a pit stop in the Embergard since it’s along the way and they’ve got some time on their hands. That, and it’s a great place for collecting those worthiest of skulls.
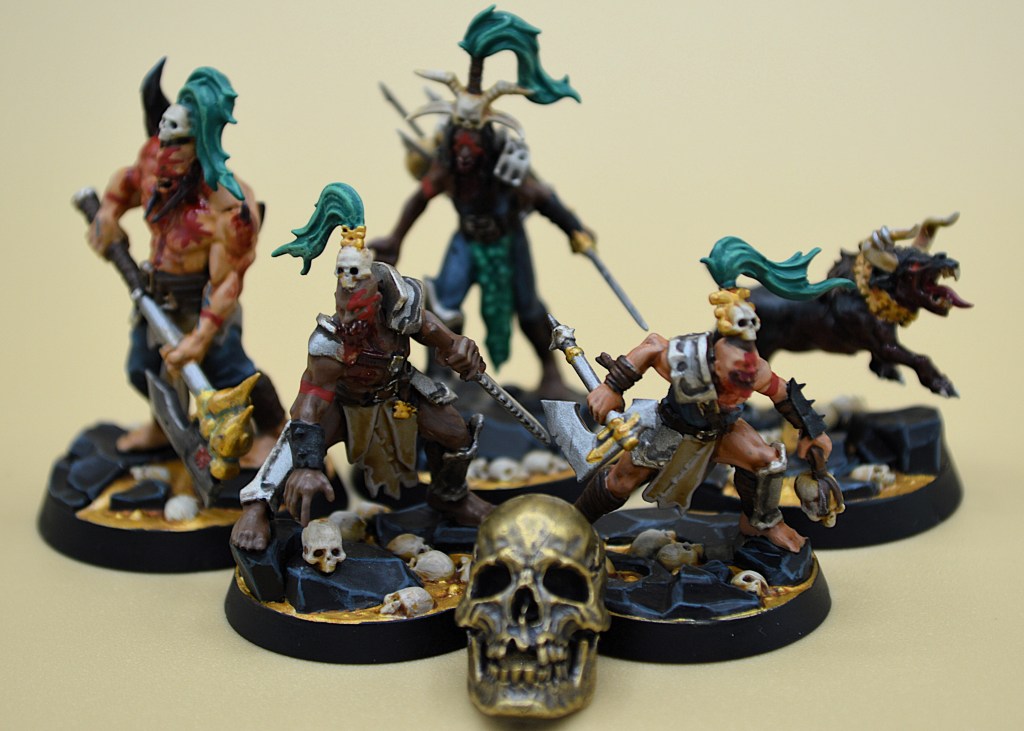
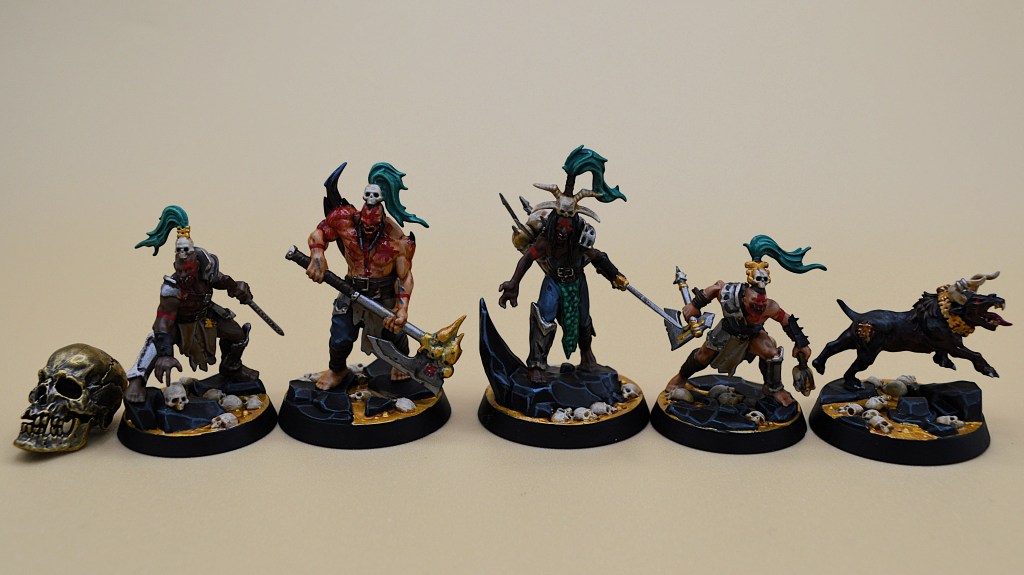
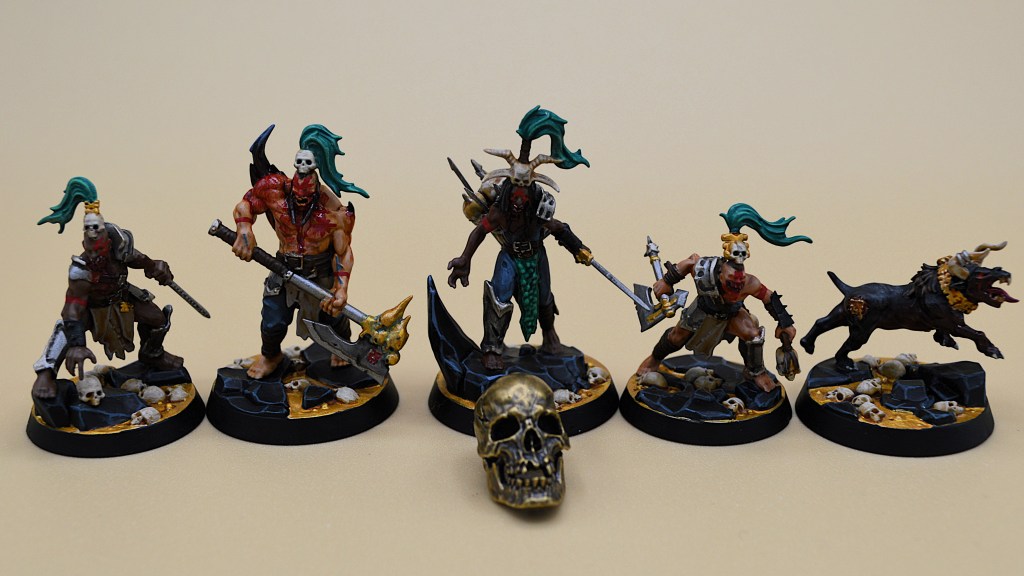
Her friends are the type to have chewed off their own lips and go barreling down Embergard’s corridors with some self-inflicted Glasgow Smiles and a one dodge defense profile. In a real sense, this warband is Garrek’s Reavers 2.0, both in terms of story and mechanics. Everybody loved those guys, and I think we’ll learn to love this maniacal bunch in turn. I mean, think about it, Shadespire veterans. You don’t have to take Targor with you, AND you get to bring Riptooth Junior. Serious upgrade, even if some people are down on the models. I personally think Antro Krast is a cool looking dude.
Kamandora’s Blades: The Warscroll
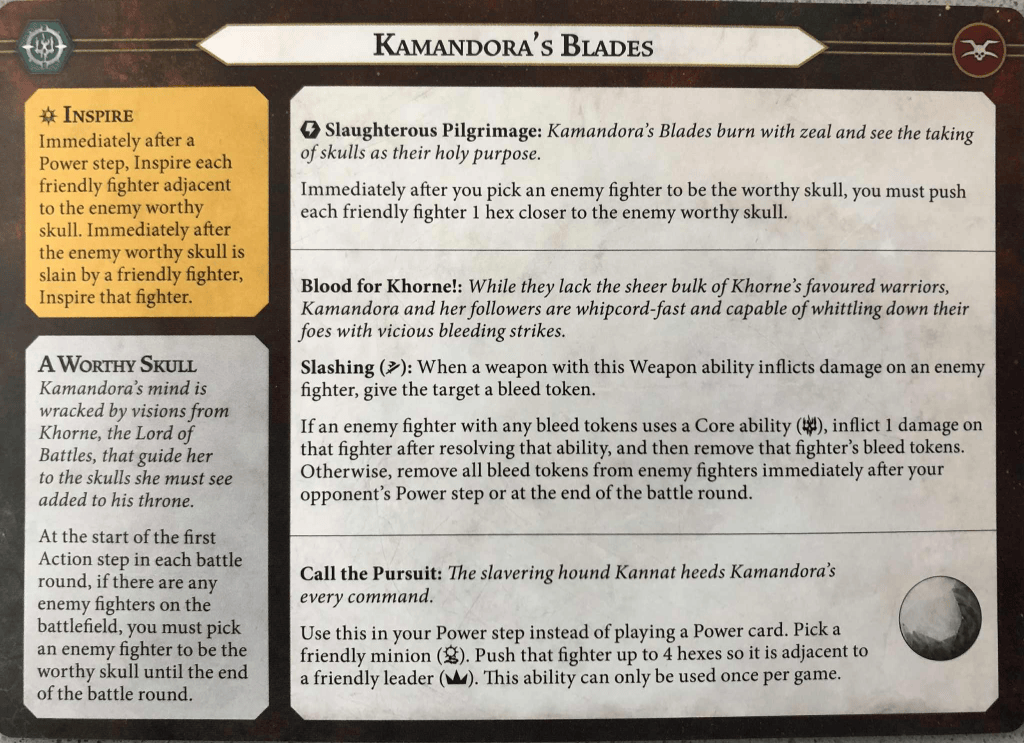
From the February 2026 Errata:
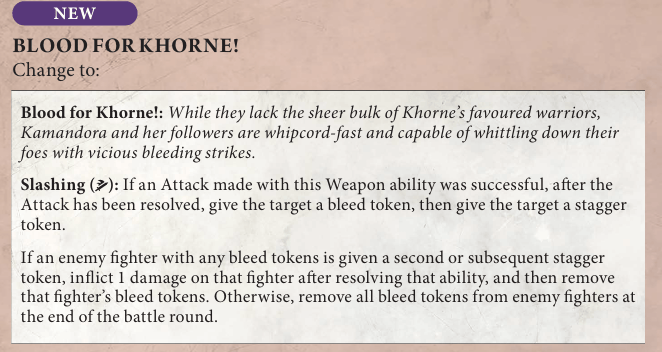
This ability removes some of the control aspect of the warband but boosts their damage potential. I’ll cover it more below.
Inspire
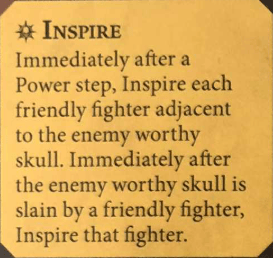
Immediately after a Power step, inspire each friendly fighter adjacent to the enemy worthy skull. Also inspire a fighter if they slay the worthy skull. But what is a worthy skull? So glad you asked, the Mother of Hate says.
A Worthy Skull
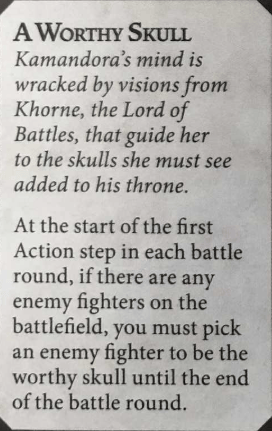
At the start of the first action step in each battle round, if there are any enemy fighters, you MUST pick one to be the worthy skull. They will be treated as the worthy skull until the end of the battle round.
This means, like Da Trophy from Borgit’s Beastgrabbaz, you’ll choose an enemy fighter. This time, it is specified only to last for the round, but don’t worry; you’ll get to choose another one next round, so there will usually be a worthy skull around to help you inspire unless you’re killing very quickly. It’s also going to provide a Kamandora’s Blades player even more incentive than usual to go first in a given round, so they can force adjacency with the worthy skull and the worthy skull won’t have as much opportunity to get out of there.
Slaughterous Pilgrimage
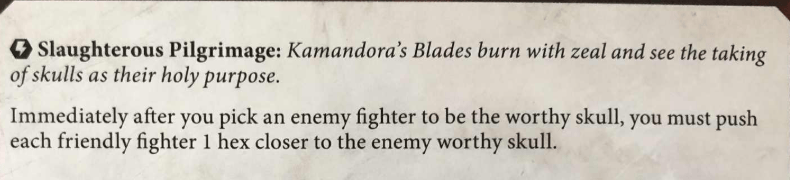
Immediately after you pick an enemy fighter to be the worthy skull, you MUST push EACH friendly fighter 1 hex closer to the enemy worthy skull.
Now this is a signature ability! On its face, your pack of skull-takers are closing in on their prize, which helps you get into charge range with the worthy skull, set up supports if they’re close by, up the odds of inspiring, and all that goodness.

What is really interesting though is the fact that it is a must ability. You have to push, you have to push every one of your fighters, and you have to push exactly 1 hex, and it must push closer to the worthy skull. Depending on how the board looks, a skilled Blades player can very quickly set up flanked or surrounded attacks, but also position for things like Share the Load, Careful Survey, and a bunch of other objectives. Deploy well and select the right worthy skull, and you can occupy multiple tokens immediately.
I expect Slaughterous Pilgrimage to be a huge skill expression point for this warband. You can gang up on something, sure, but if you select the right enemy fighter you can push your fighters in interesting ways that will open up lots of scoring opportunities, unique windows for counterplay, and who knows what kind of combo play the community will come up with. Choose a worthy skull in a ‘bad position’, however, and every one of your fighters will be pushed towards them, potentially screwing up your board state. It creates a really interesting push and pull – do you choose a fighter you think you’ll be able to get key inspirations out of, or the fighter who gives you the tastiest push? They may not be the same model.
Blood for Khorne!

February 2026 Errata gives this ability a new wrinkle. Now, when you hit a fighter with Slashing, they’re given a bleed token and then staggered. If a fighter with a bleed token gets a second stagger, they take damage. This now acts like a pseudo-grievous: Hitting a staggered fighter does an extra damage if using this runemark. Applying a stagger with a card to a fighter who has already been bleeding gives them a ping damage.
This ability specified details for the Slashing runemark, and weapons with this ability give the target a Bleed token when they inflict damage on an enemy fighter. This bleed token lasts until it takes effect, the end of your opponents’ power next step, or the end of the round.
A fighter with a bleed token will take 1 damage if they use a core ability, after that ability is resolved. Then their bleed tokens are removed.
Here’s our warband’s other reusable, all-game special effect, and it’s tasty. Literally every attack profile in this warband has Slashing, so you’ll always be able to take advantage of it. Being a runemark means down the line you may have to choose between this and another ability like Cleave, but it’s nice to see both that it’s not another fiddly resource-collecting gimmick and also that everybody gets to join in the party.
Besides being a better applied warband-specific runemark than most, the bleed token effect is a great way to improve your accuracy and damage if you’re piling on a specific fighter – say, the worthy skull?
It’s reliant on hitting your attack, and reliant on being able to hit them again or apply a stagger another way, but it’s a mini delayed grievous and I adore the design space.
Call the Pursuit
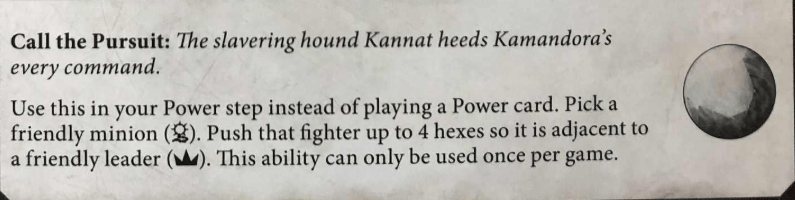
Once per game, use this in your power step instead of paying a power card. Pick a friendly minion (you only have one) and push them up to four hexes so they are adjacent to your leader.
FOUR HEXES?! It can only be played in your power step (not your opponent’s), so it’s less abusable, but this is the biggest push distance in the game (unless you somehow finagle 4-5 Desecrated tokens with Khagra). It’s only once a game, requires two specific fighters, and has a positional requirement. But man, four hexes. That’s gonna make for some big brain plays. You have options for token theft, setting up flanked, preparing a surprise yo-yo charge, and more. It probably won’t be a difference maker most games, but sometimes it’s going to alter the prospects for you in a very big way.
Kamandora’s Blades: The Fighter Cards
Kamandora, the Mother of Hate
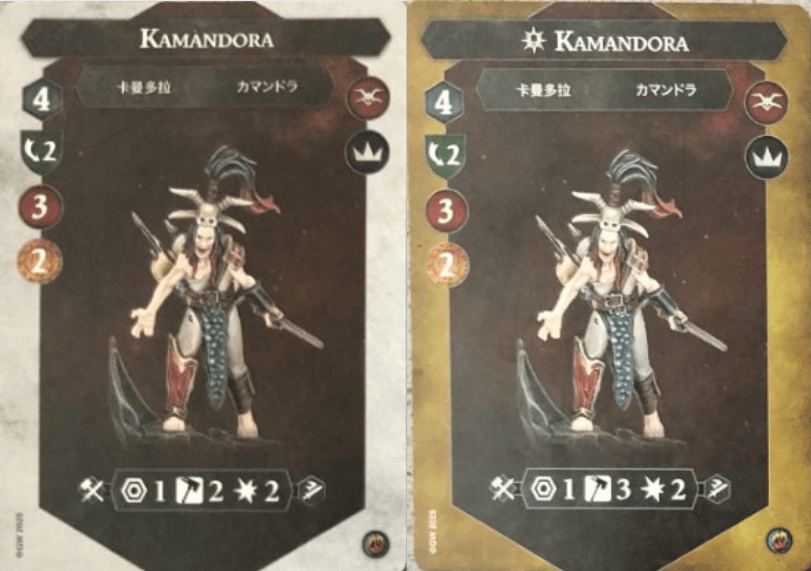
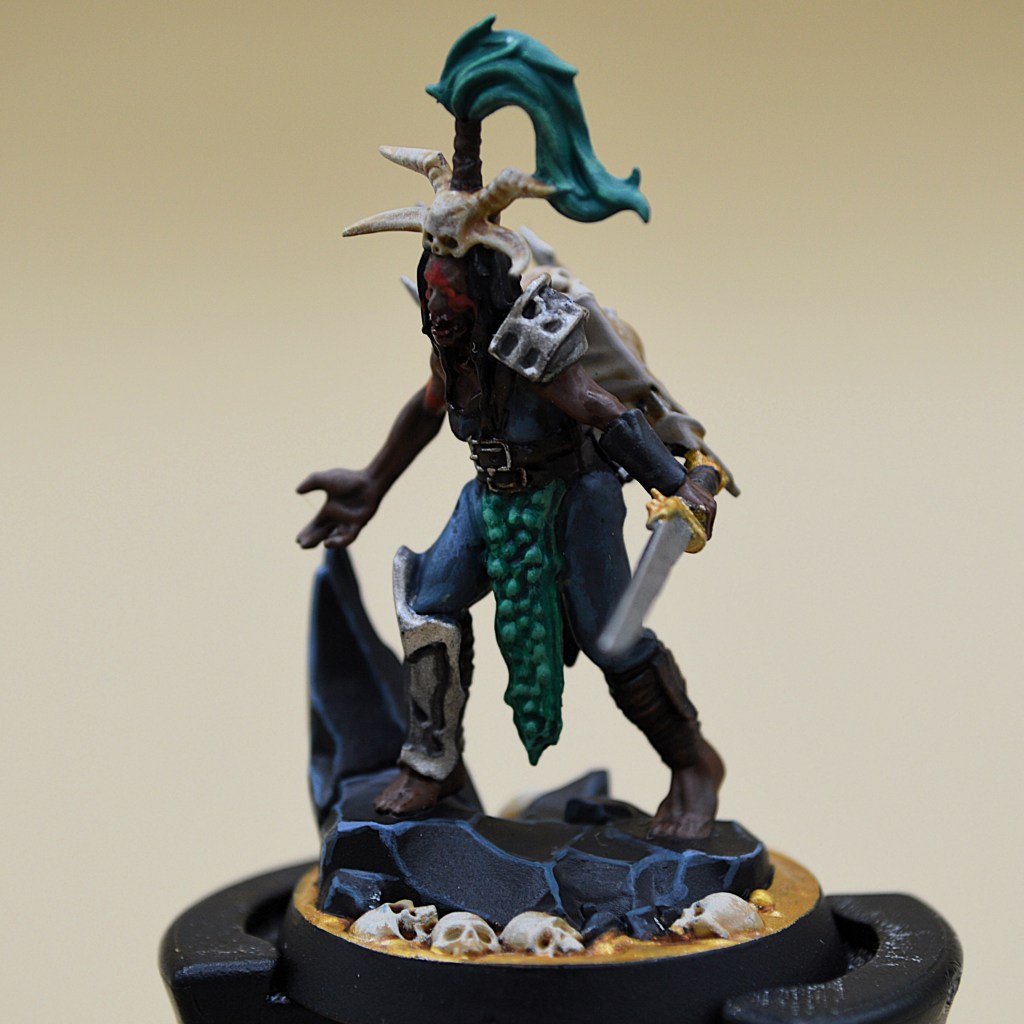
The leader of the warband, Kamandora starts on 2 dodge but has only 3 health, which is a pretty rough vulnerability, especially considering she gives up 2 bounty. Her attack profile of 2 hammers for 2 damage isn’t great for a leader either, but it does come with the Slashing runemark as discussed above. Inspiration increases her accuracy to a respectable 3 hammers, but otherwise doesn’t do anything for her – she is the lowest priority inspiration in the whole warband in my estimation. Your safest play is to probably keep her in reserve since she’s likely to be targeted early, you don’t need her to inspire for defense, and you do need her for heeling the bulldog. She’s ‘just fine’, but pretty lackluster in stats.

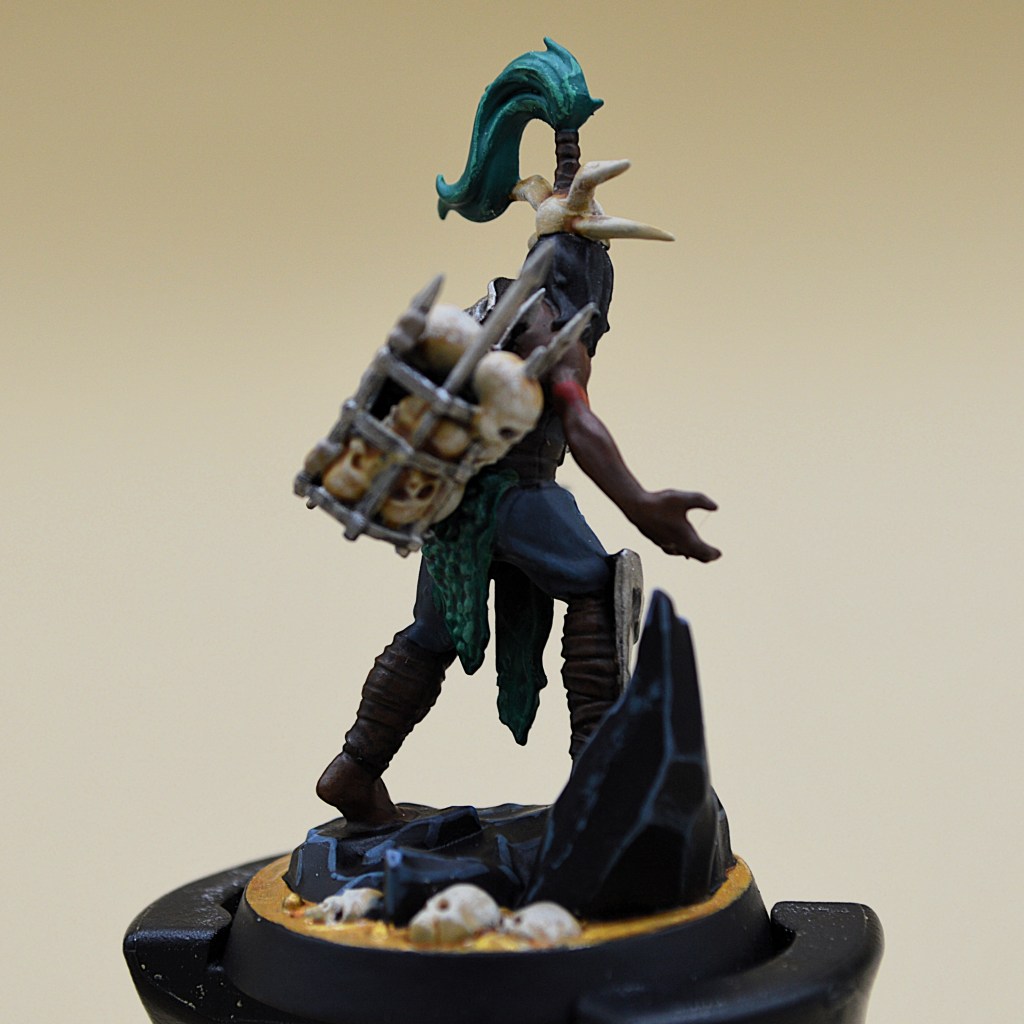
Throkk
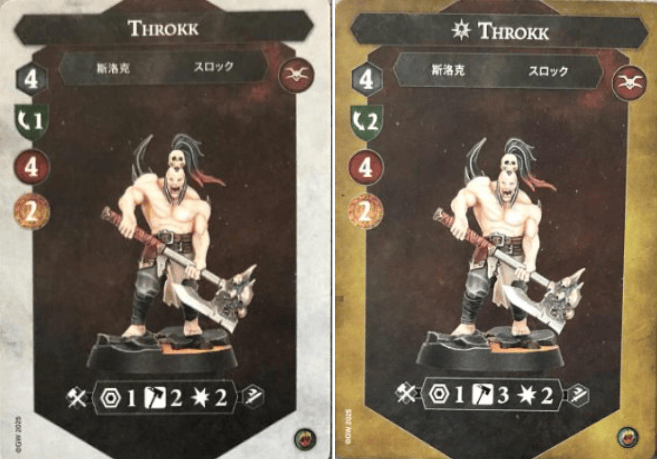
Our brawler of the warband, Throkk looks a lot like Kamandora except he starts on 1 dodge and 4 health. Inspiration pushes that to 2 dodge and increases his accuracy to 3 hammers, so he’s a decent choice for an early inspire. Unfortunately he never exceeds 2 damage either, so you’ll have to hope to make use of Slashing or try and find a Grievous option in your deck.
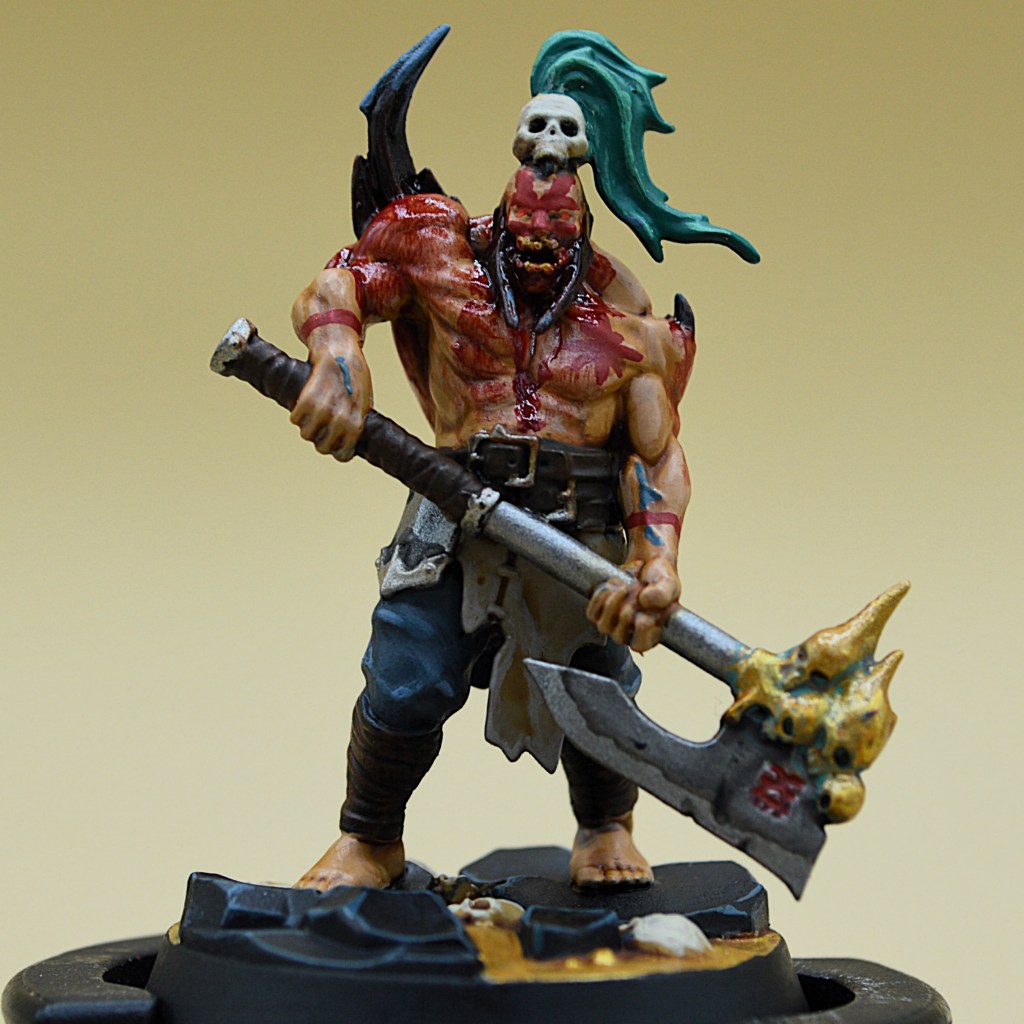
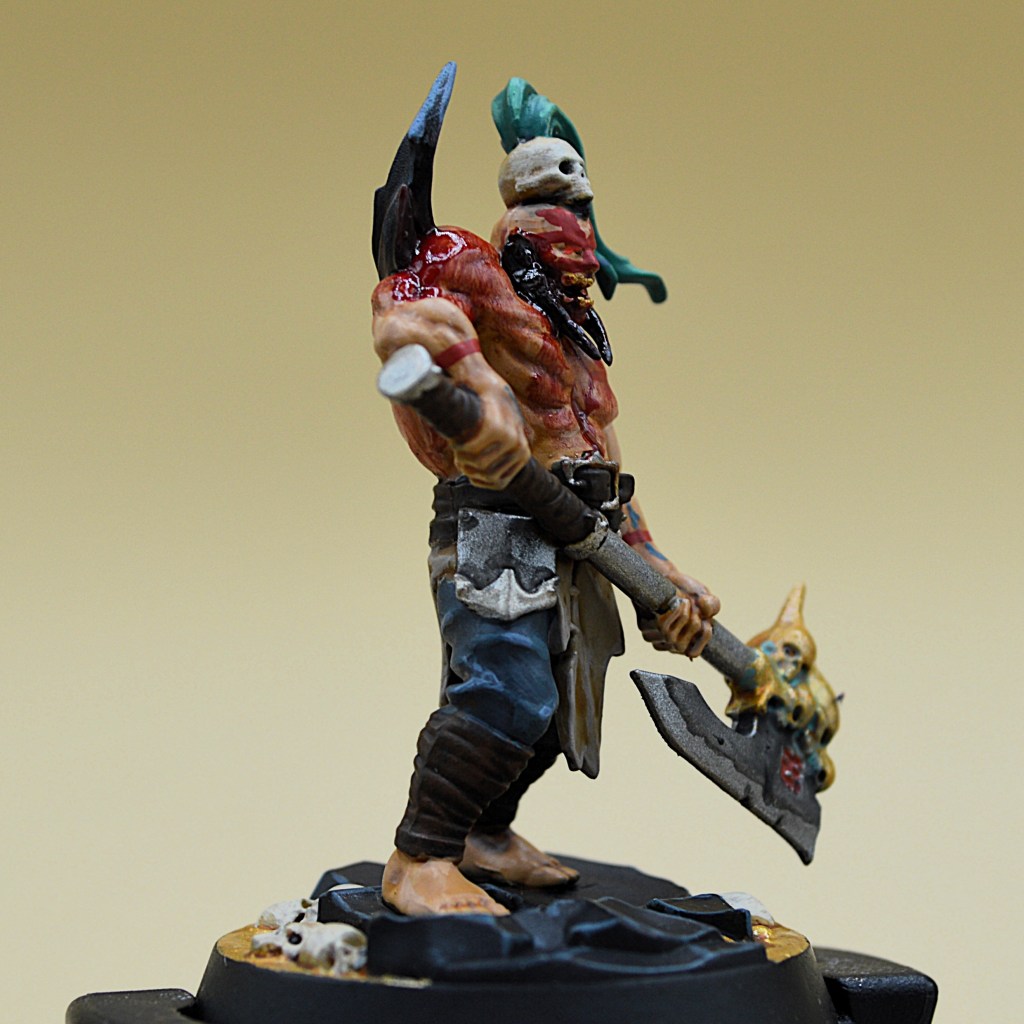
Ghalista
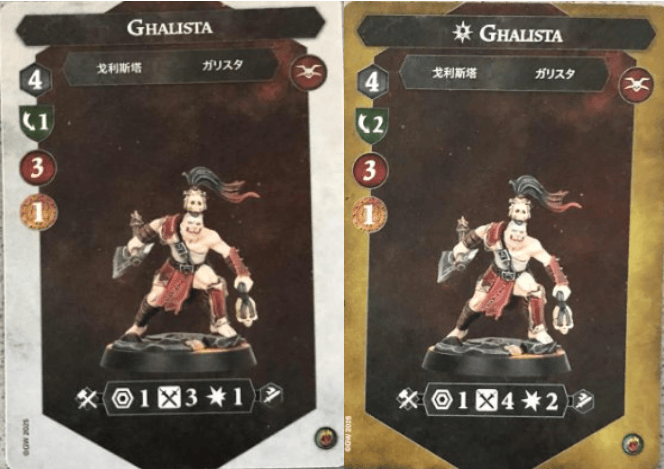
One of two identical fighters, Ghalista rocks a 3 sword, 1 damage profile that goes up to 4 swords for 2 damage when inspired, as well as moving from 1 dodge to 2 dodge. At 3 health she’s actually a pretty solid 1-bounty fighter, which is nice because both of your two-bounty jerks are probably overcosted.
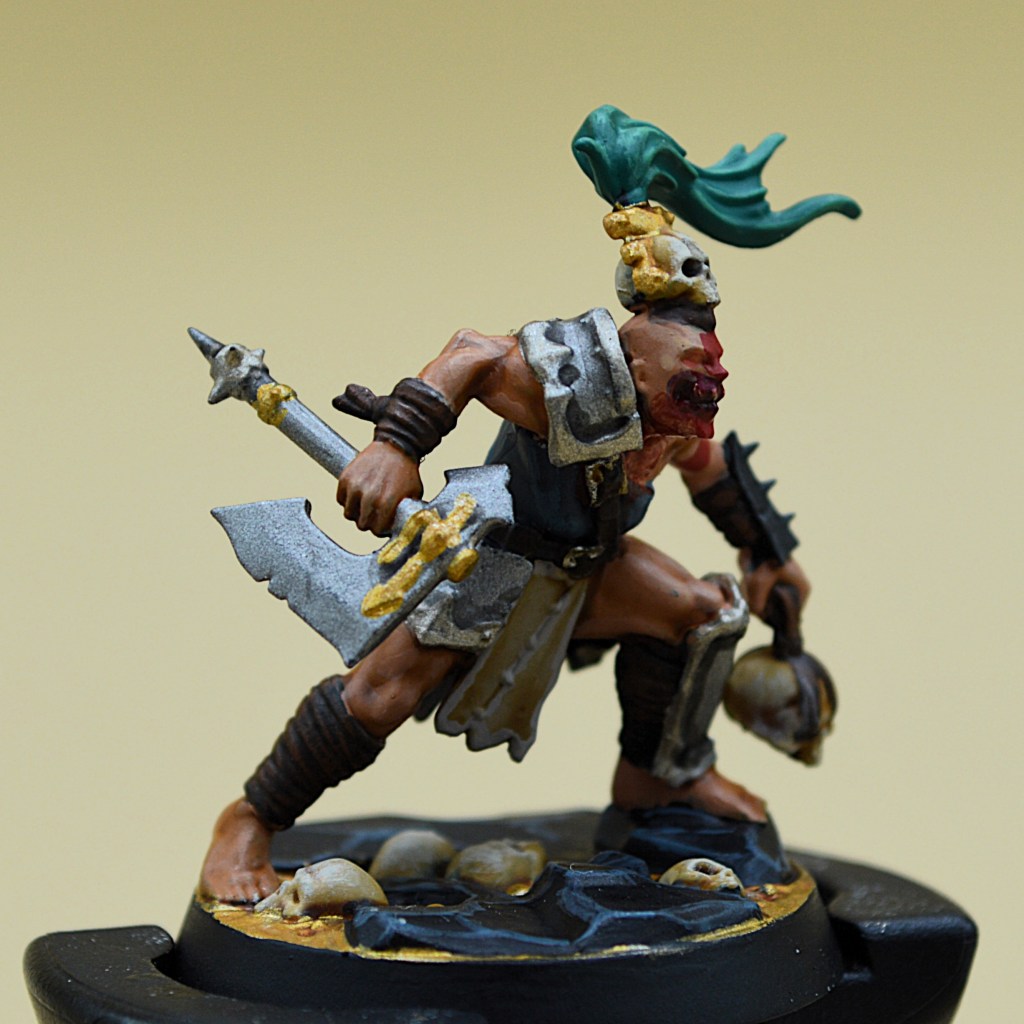
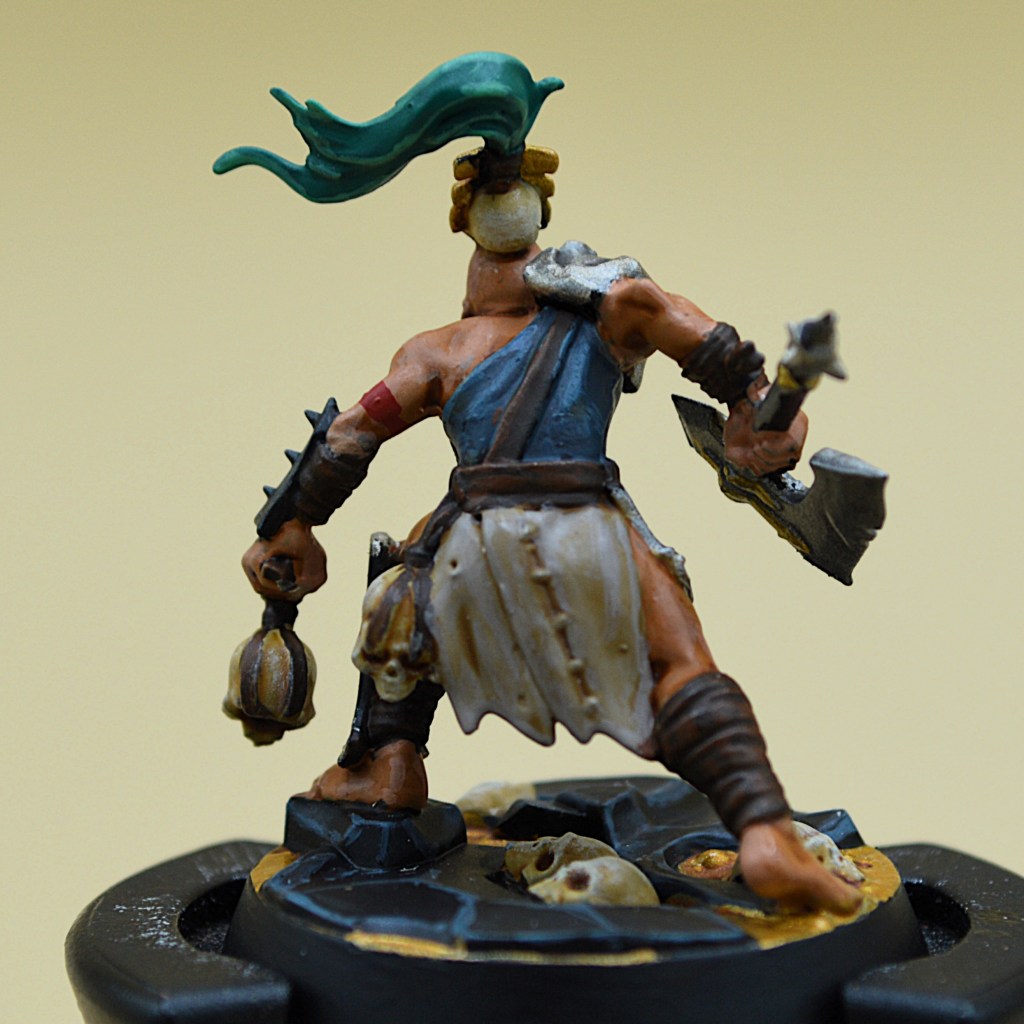
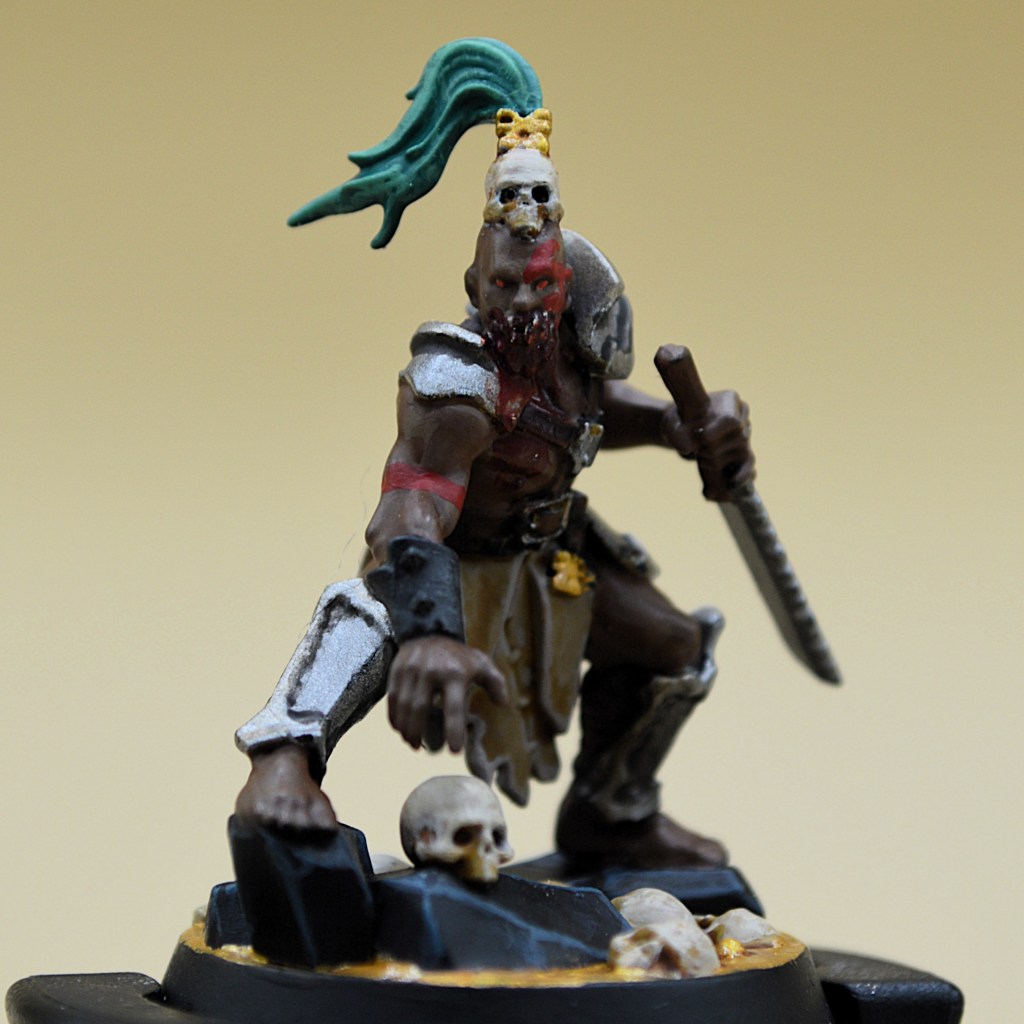
Antro Krast
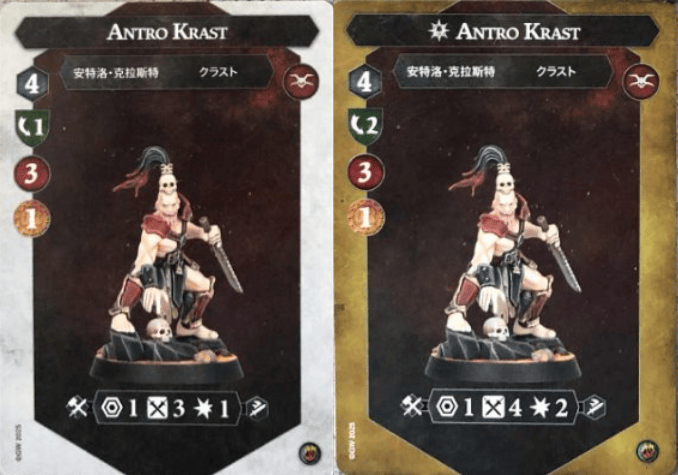
Same story as Ghalista, except with 500% more style – this guy is easily the best model in the bunch, and it looks better in person than it does in the box art for sure. You likely want Antro Krast and/or Ghalista inspired first whenever you can arrange for it since they become pretty respectable fighters and see the biggest increase in value.

Kannat
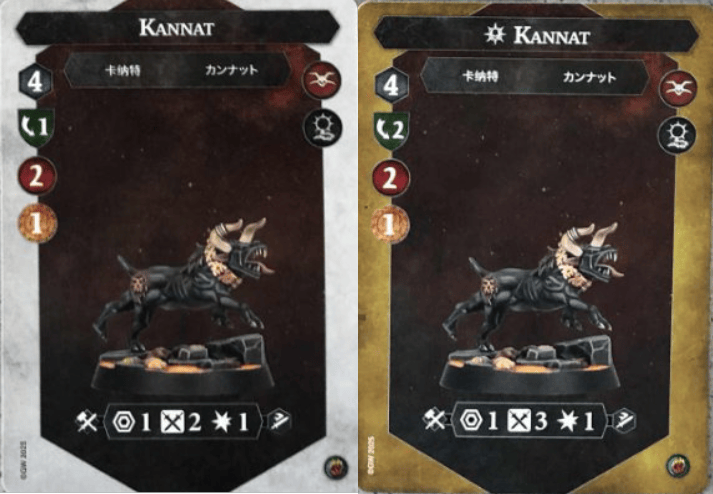
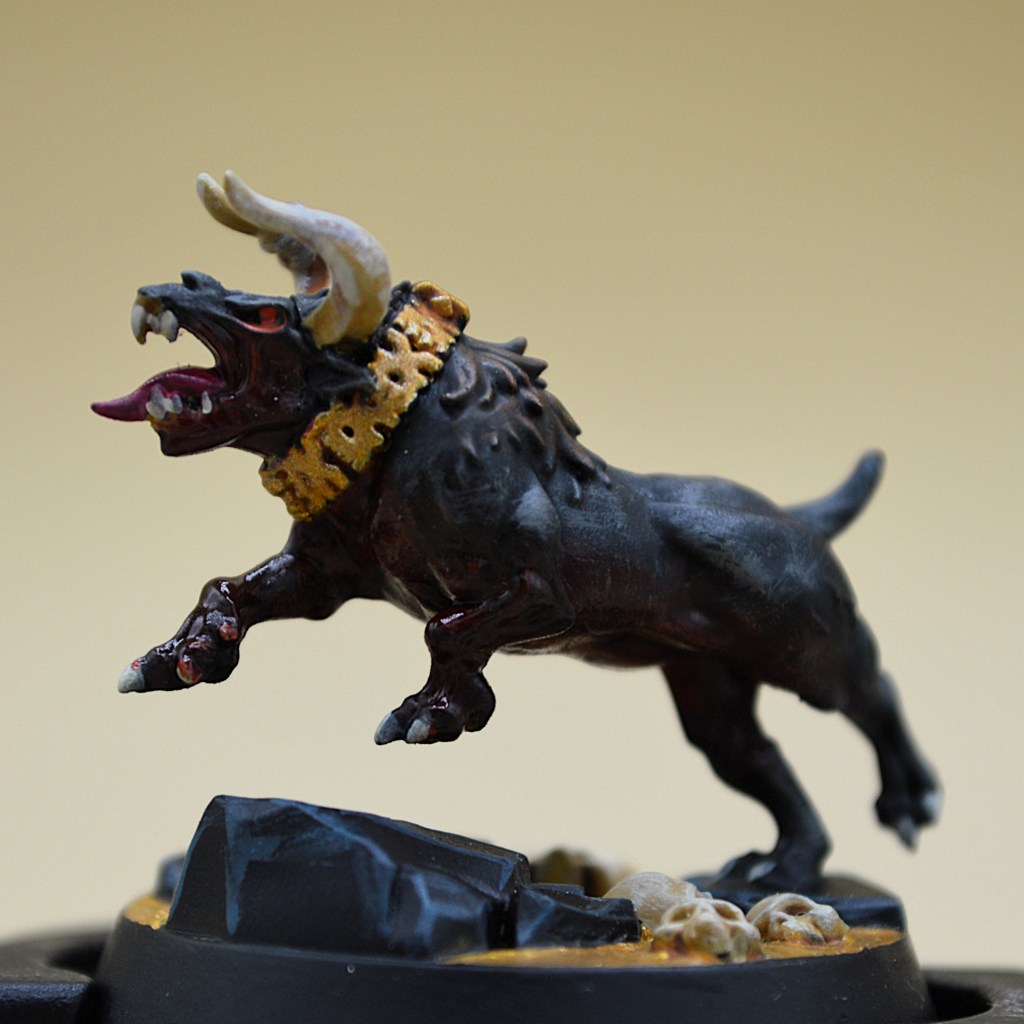
The design team has noticed that we love our pets down in the Underworlds, and our Bull-Dog (teehee) is our bimonthly fanservice. Kannat has a doggy-doo-doo 2 sword 1 damage attack, which at least still comes with Slashing. At 2 health and 1 dodge, this (under)dawg is going to be a paper thin target and should mostly serve in a token-grabber/distraction bait/flanking support unless you’re in a really bad spot. He (it? she?) does move to 3 swords and 2 dodge when inspired, still only does 1 damage, and perhaps most disappointingly stays at 4 move. Those legs are pretty short, I suppose.

In Practice
In a nemesis test game, I paired Kamandora’s Blades with Blazing Assault/Countdown to Cataclysm against a Mollog BA/RF list. Unfortunately, Slashing didn’t do as much to slow Mollog down as I had hoped, and despite being able to choose Stalagsquig as my first round Worthy Skull (there IS a skull on the model’s base, I swear) and inspire everyone but the dog, I didn’t last long thanks to Nasty Critters giving me Surrounded all the time; I also wasn’t hitting very often due to the same problem. Once I dropped a ‘can’t be flanked or surrounded’ Brawler upgrade on Throkk, the minions switched to Watch Out, They Bite and all I could do was laugh as I was forced to push into ping damage at the start of every round. The Blades were tabled by mid round 3, but still only lost 12-18.
My second test game, still pairing with BA/CC, went much better. Playing into Ironsoul’s Condemnors using BA/RS, it was difficult to keep out of kill range with the mandatory push, and I lost Kamandora within the first round again. However, inspiration was trivial, and weight of dice was enough to carry the day as well as some good push tech and the Blades were able to outposition and outrun when needed before closing in for some kills. Throkk claimed two worthy skulls for Khorne, and the Blades took the game 18-9, in part due to favorable dice.
My lessons learned were:
This warband really values taking the first action in a round – it increases your odds of inspiration and can let you have a higher chance of making a supported attack. If you’ve pushed somewhere less ideal, you have the first action to get out of that position before you get punished for it. Should you so happen to hit a Slashing attack in your fourth activation, it will potentially do something in your opponent’s fourth action step rather than fizzling as the round ends.
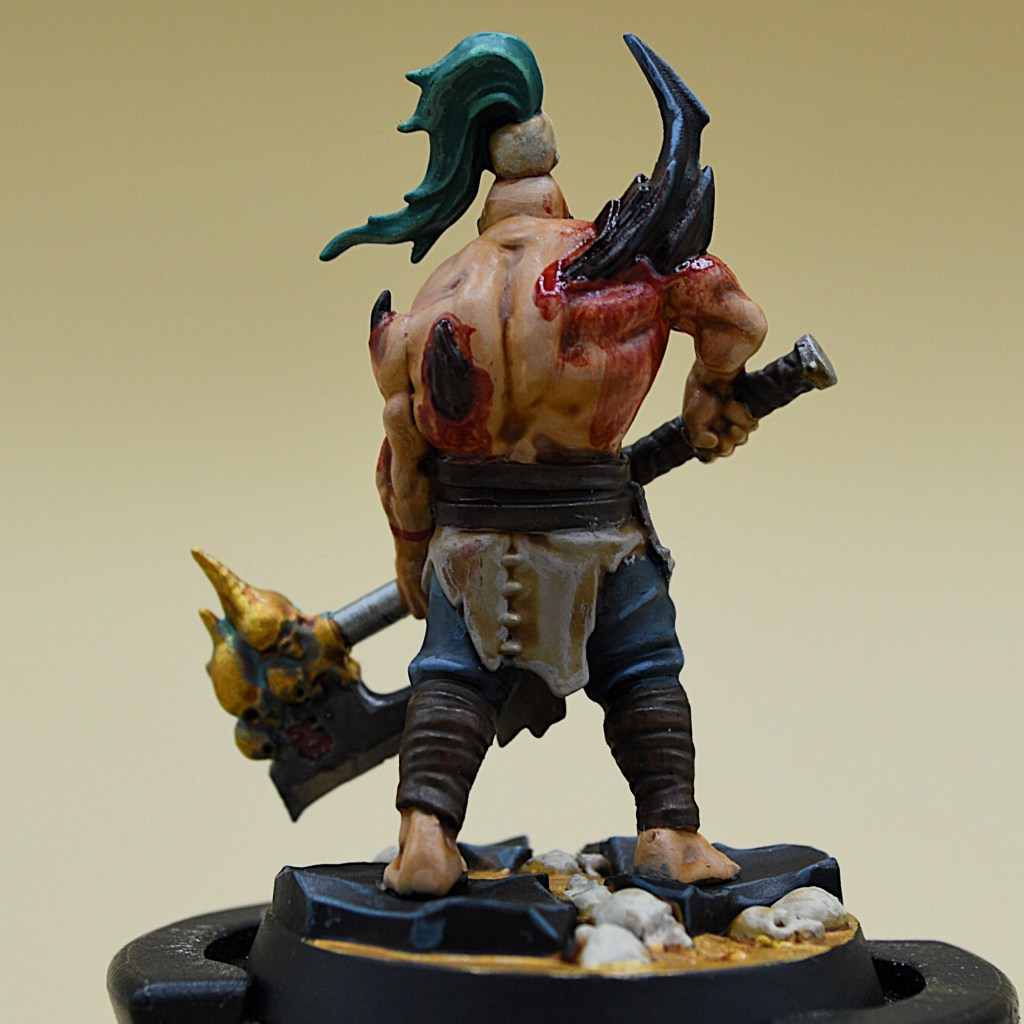
Kamandora’s uninspired profile is slightly worse than Ghalista and Antro Krast’s inspired profiles, and she gives up twice the bounty. She deserves a backfield deployment against aggressive opponents, along with her pet, though the Worthy Skull push is likely to put her into striking distance against most opponents even if you deploy on the back edge. Ghalista and Antro Krast need to inspire quickly, and while somewhat fragile uninspired, Throkk’s 2 damage from the jump means he has less incentive to put himself in harm’s way than do his two homies. Charge the worthy skull with him from a safe spot and don’t drive the target back to inspire him when able. 4 health, 2 dodge is solid, and his 3 hammers are too.
Potential Pairings
Blazing Assault has great aggro and mobility support to maximize your combat success, boost your damage, add health and defense, you name it. An easy choice for this warband. The only (mild) drawback is you’ll be more likely to have to make runemark decisions on your attacks.
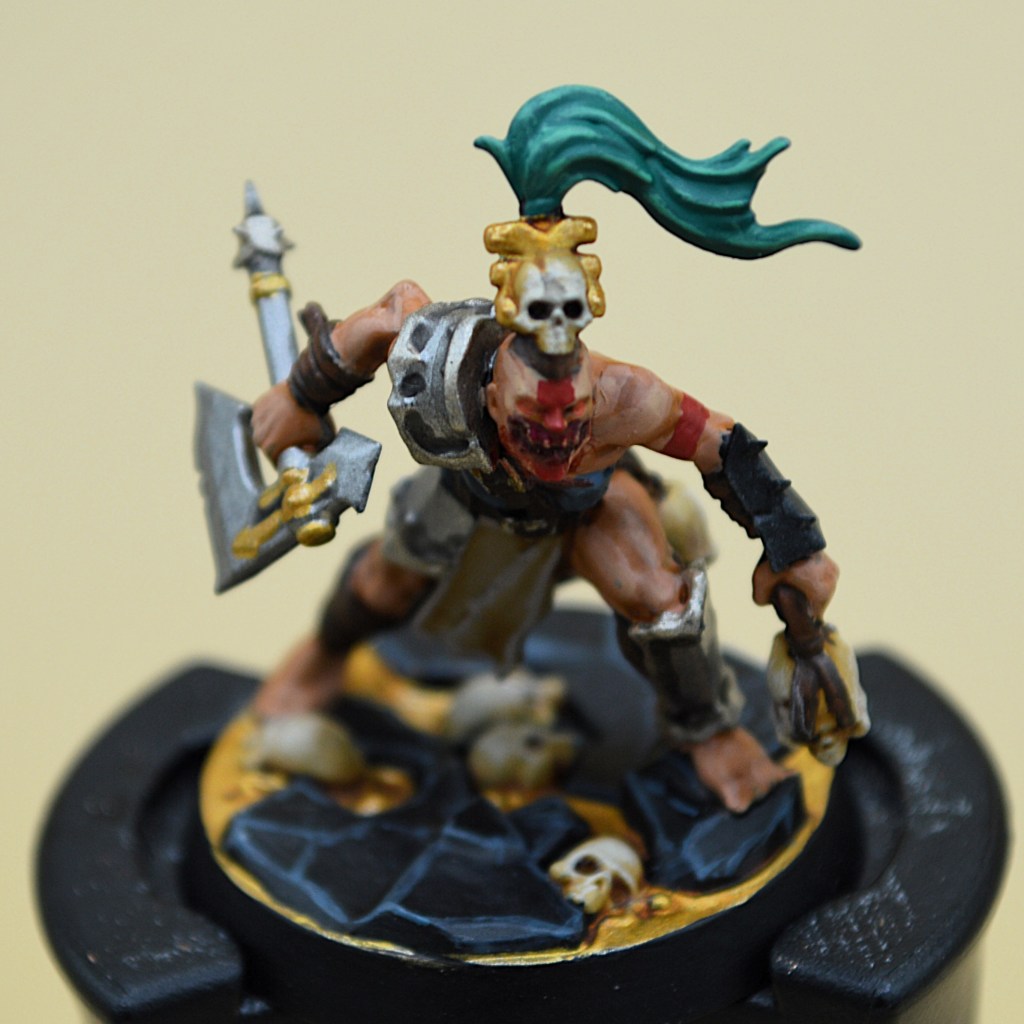
Pillage and Plunder could work due to some good defensive tech and reliable scoring without needing to kill too many things. It also comes with decent weapon upgrades to help your lesser fighters join the party. Beware though, Slaughterous Pilgrimage will likely take you off of the tokens you need to start each round (but will also potentially allow you to sneak onto them before the action starts)
Countdown to Cataclysm is for just about anybody, and it’s hard to go wrong with. These guys should do fine with it. More damage, some positional scoring, aggro support, and you’re not super upset with your own fighters dying. Plus, it can apply staggers which helps with your updated runemark ability.
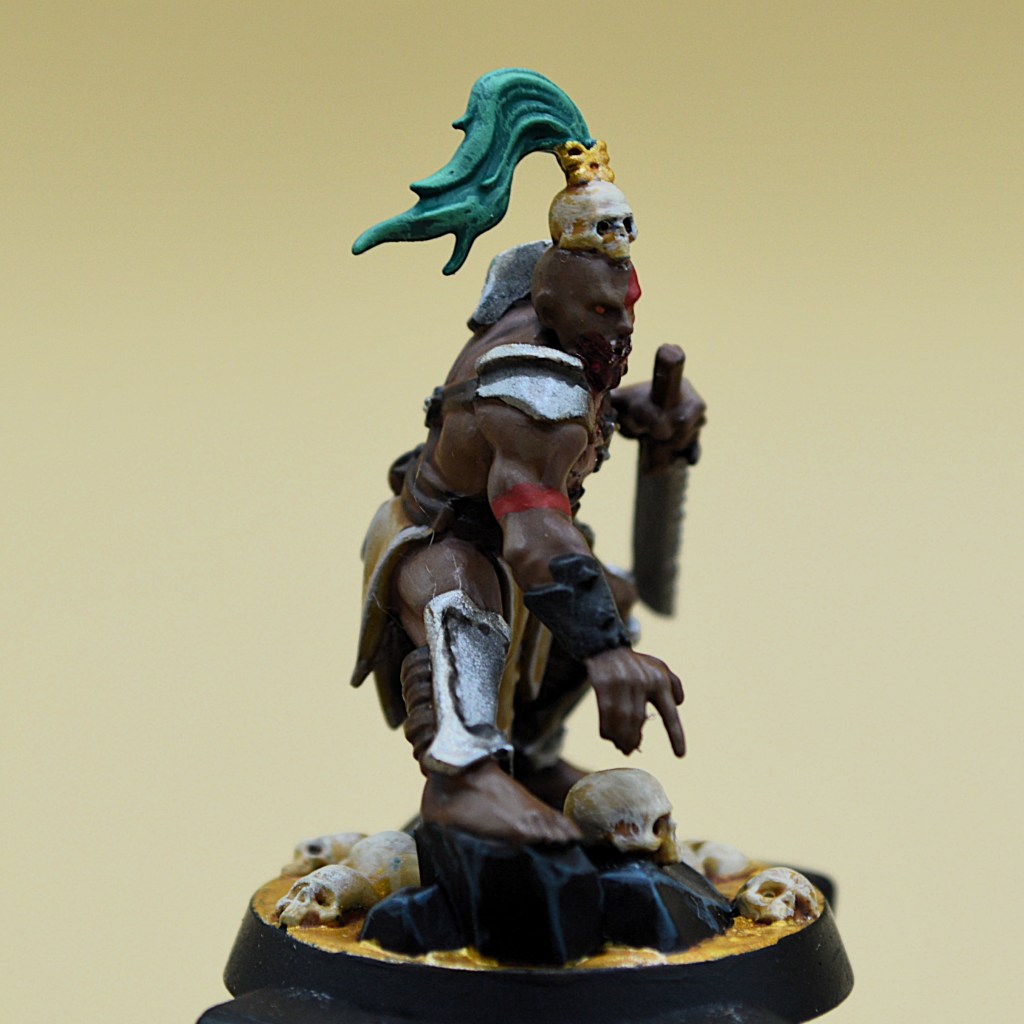
Wrack and Ruin is an option, as they’ll appreciate the extra damage opportunities and defense, and since Blood for Khorne! might allow for extra incidences of damage, you can score a few things a little easier than most like Unsafe Ground or Bloody and Bruised. More staggers = more good.
Deadly Synergy is remarkable for this warband. They unite so easily and love the improved accuracy and defense help with flanking.
Wrap
This warband has some incredibly interesting abilities in their warscroll, and looks like a tastefully executed rendition of swarming aggro. The fighter stats aren’t crazy, and especially when uninspired are likely to get taken down quickly which should limit their strength against the top of the meta. They’re very liable to being steamrolled by more potent strike teams and may struggle to deal with hordes or strong Take and Hold fighters. The Blades’ best matchups will likely be against other medium sized warbands with modest fighter stats or those that have a single fighter that will be repeatedly activated.
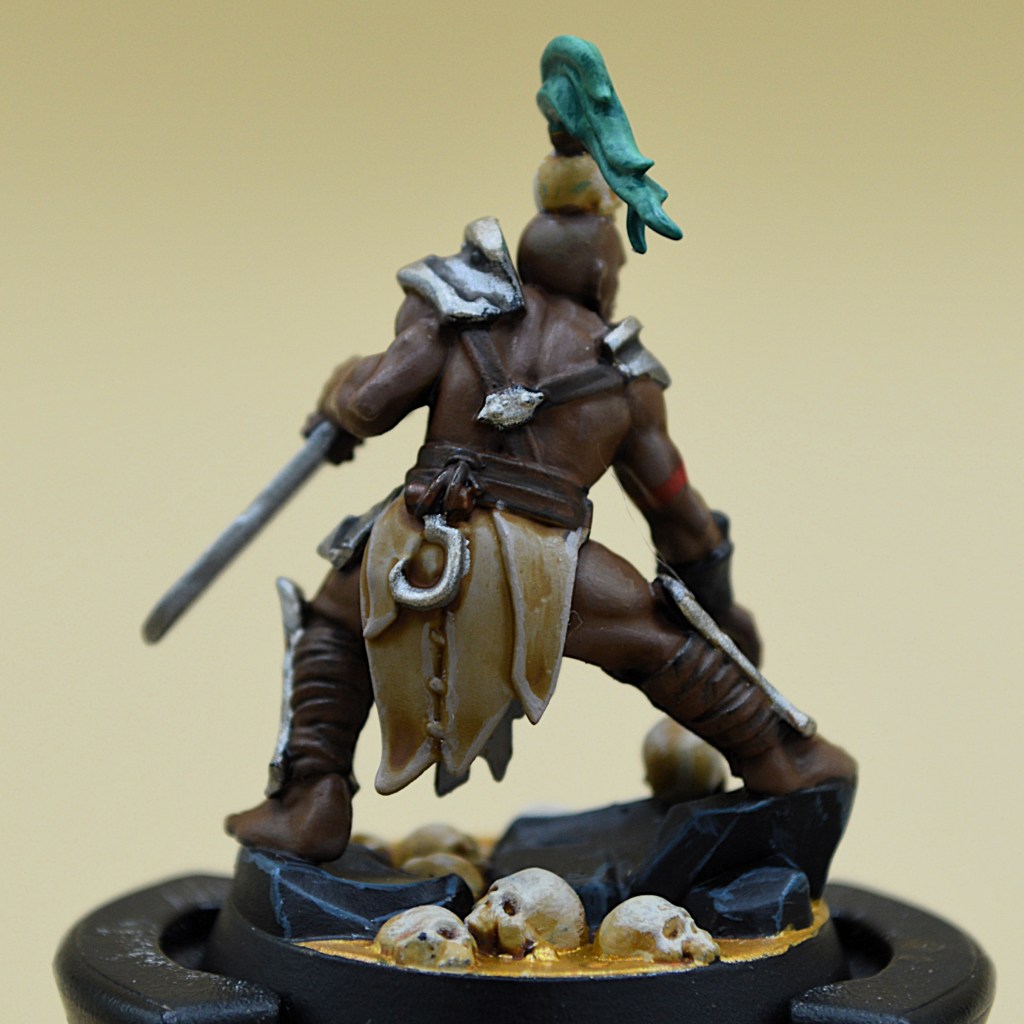
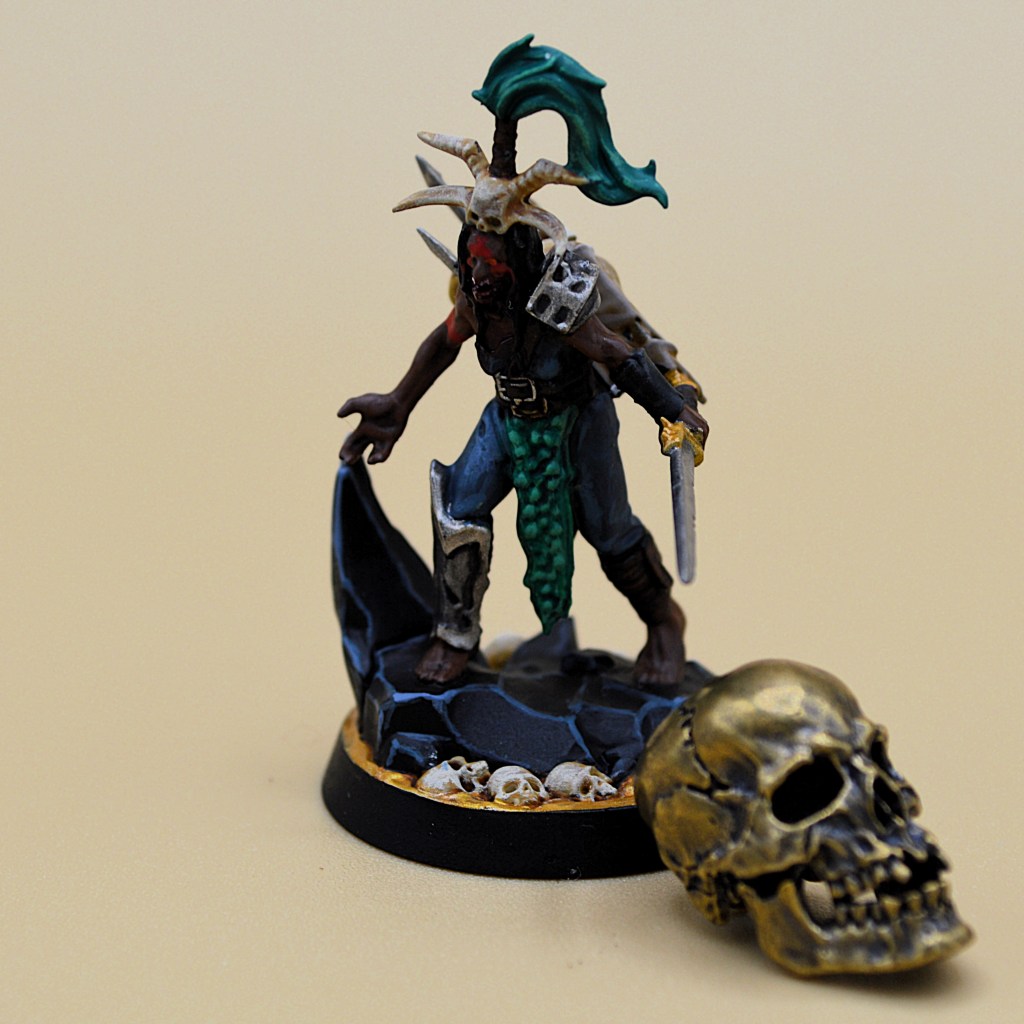
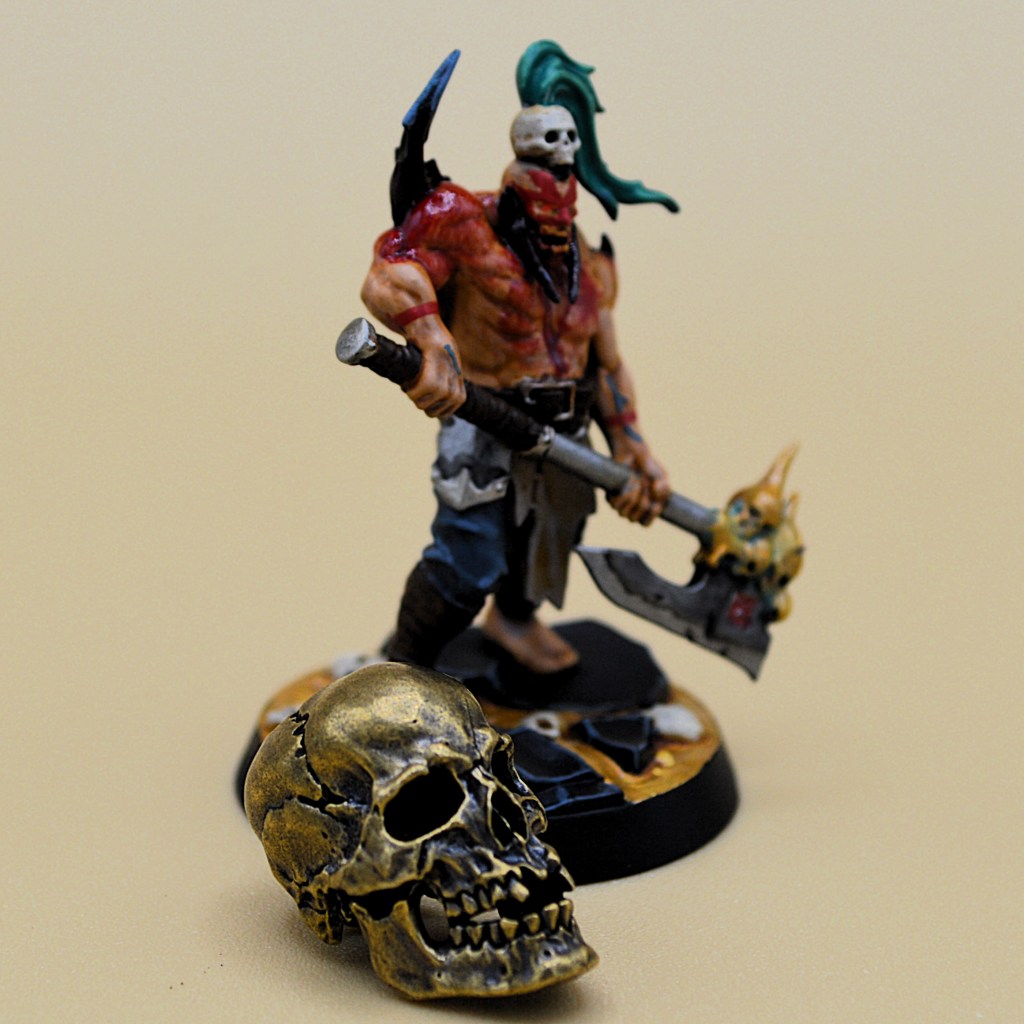
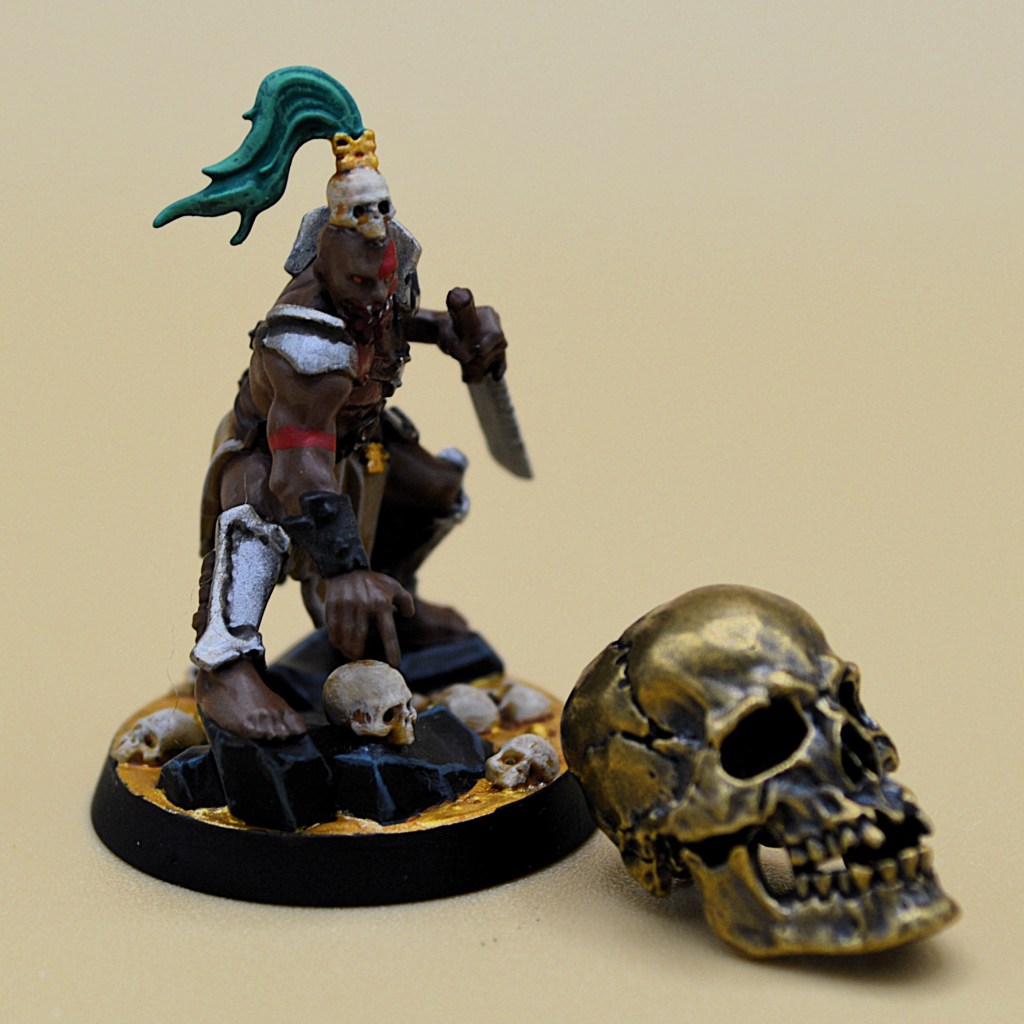
Regardless of how often you win, the warband should bring you a lot of fun moments and enjoyable games. I bought a little brass skull to denote my Worthy Skull, and the first time I hoisted into the air after claiming it was a memory I’ll laugh about for a while. Playing these friends, you get to choose your worthy skull wisely, make a slaughterous pilgrimage, and bury your opponent in slashing blades. That sounds like a bloody good time to me!
Be sure to check out Spent Glory’s other review articles here
Thanks again to Games Workshop for providing me with this product so that I can produce this review content.





Leave a Reply