
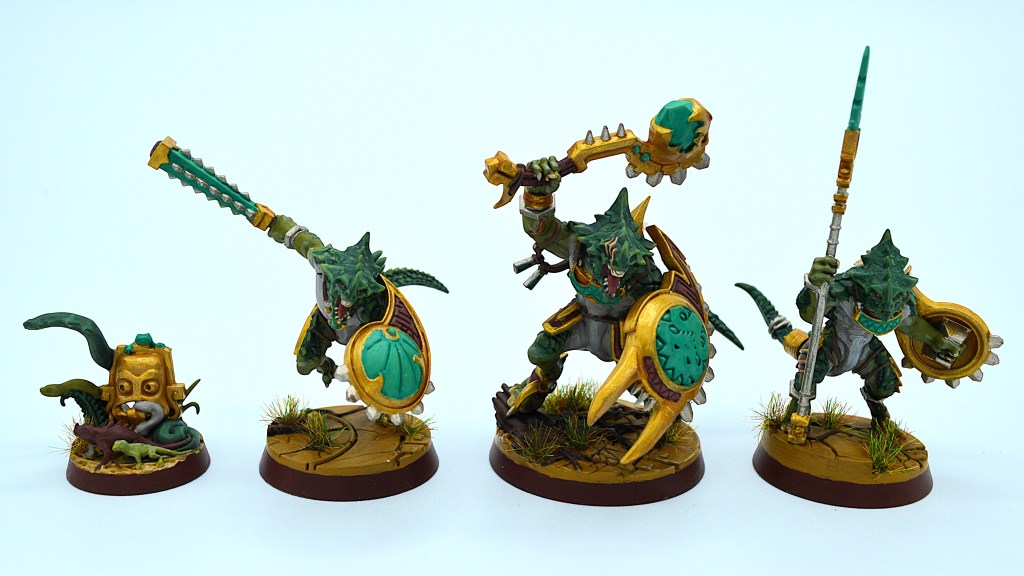
Today we are continuing Spent Glory’s warband reviews with the Jaws of Itzl – a bigtime favorite of many, incredibly popular since its release, quite competitively prevalent, often picked up by new players, and voted second most fun warband in my survey from last year. Whether you like to Dinosaurs or just like to win, this warband offers a very engaging set of tools that allow you to play multiple gameplans to successful results and have buckets of fun along the way.
To hear a lot of this in audo format, here’s a link to the Seraphon Underworlds Underground podcast episode
Click here to see a Master List of all warbands in the game
Jaws of Itzl: Lore
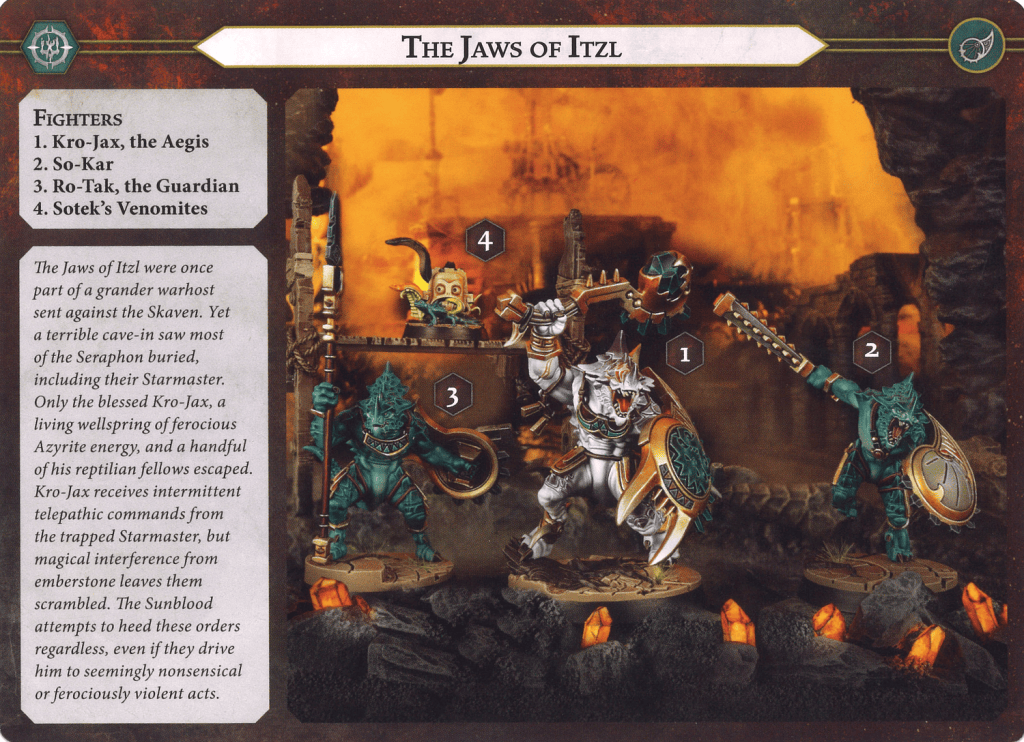
Originally part of a much larger warhost, the Jaws of Itzl were marching in Aqshy the Realm of fire alongside many other Seraphon with the intent of dealing the Skavenblight that had come ruined the land. Naturally resistant to the corruption of chaos, these saurus warrior were to help purge the mines under Embergard when a tunnel collapse separated them from the Slaan who was leading the way.
Now, Kro-Jax the Aegis (who is definitely not Gor-Rok) and his pals are stuck down in the mines with no concept of where they’re supposed to go or what they’re supposed to do. He’s following the faintest static-laden signals from what he believes to be his master, but the orders are often jumbled, confusing, or even contradictory so he’s going the best he can. These orders often call for incredible and nonsensical violence; good thing that’s their specialty!
Jaws of Itzl: Warscroll
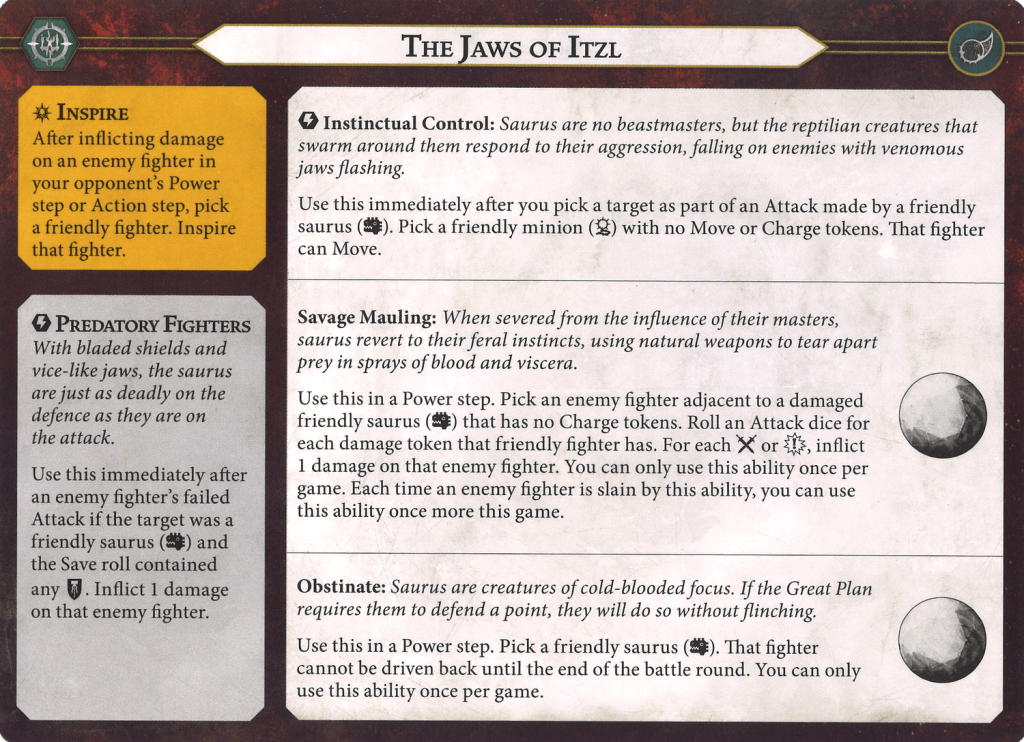
Note there is an errata to the scroll – Predatory Fighters only works against melee attacks. Still good though!
Inspire
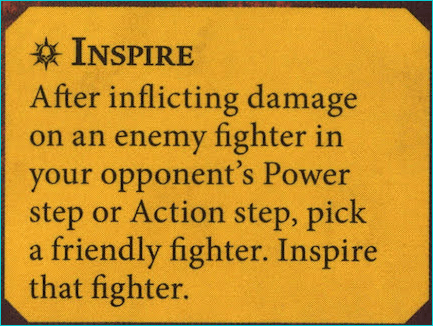
If you deal damage to the opponent during their action or power phase, you can inspire any one of your fighters. The warscroll naturally includes two abilities that allow you to do damage in these phases and do this, which is cool. However, these abilities are random and may not do any damage in a game. To make the inspiration more reliable (and you definitely want to inspire at least once), it is recommended to have a few pings in your deck. Just make sure you play them during your opponent’s power step!
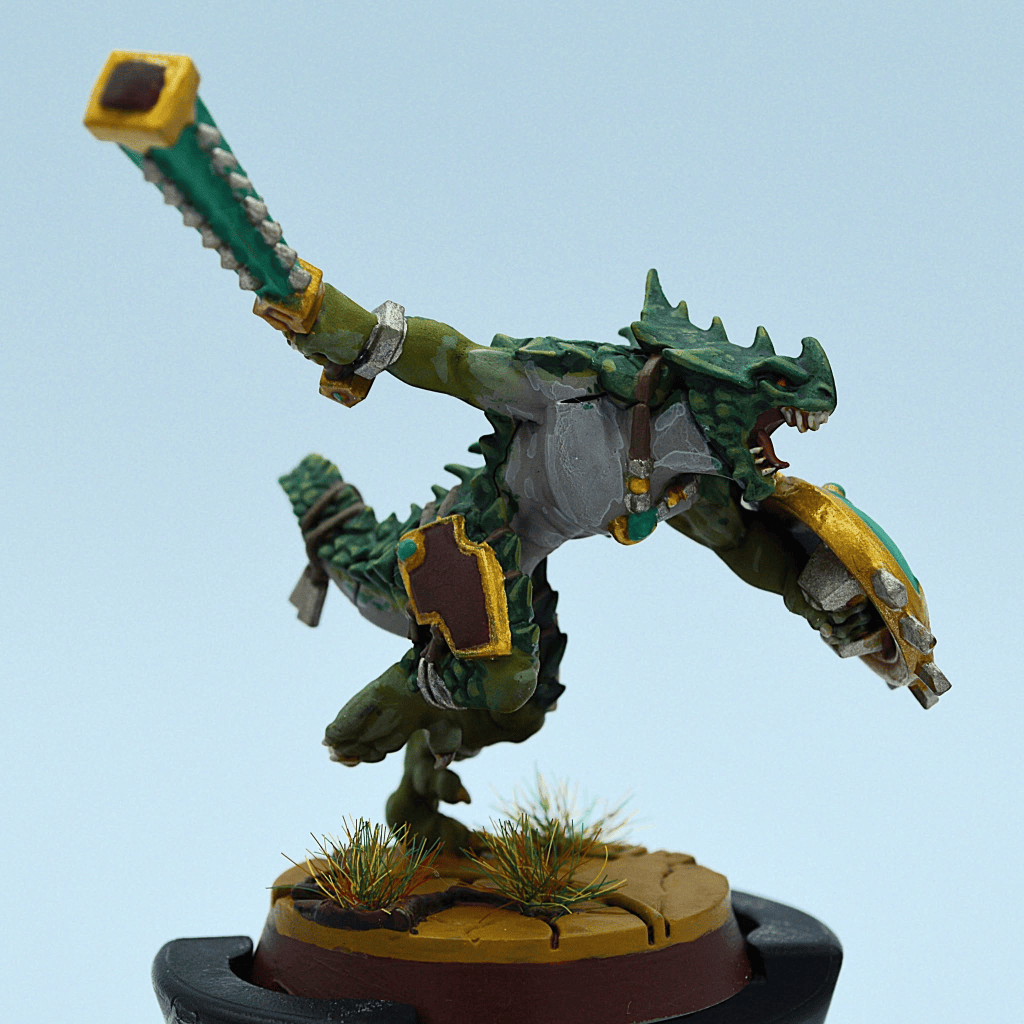
Predatory Fighters
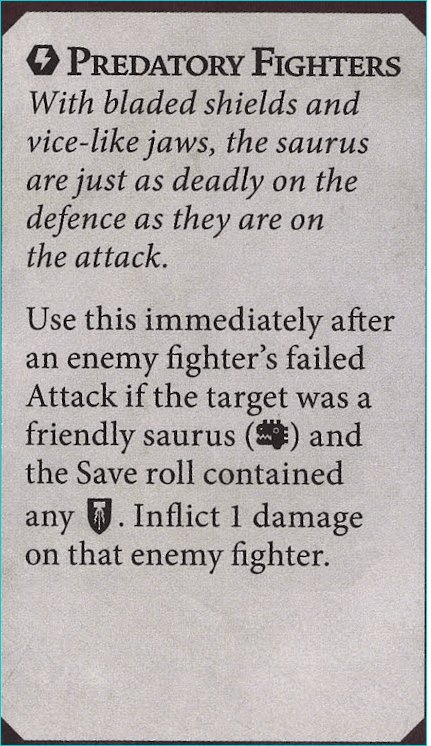
Note this has been errata-d to only work against melee attacks.
Your always-on ability that also helps with inspiration. When an opponent misses a melee attack against one of the three sauruses, and if the defense roll contained at least one shield, the attacker takes 1 damage. Since enemy attacks usually occur during the opponent’s action phase, if this ability triggers it almost always allows a fighter to inspire.
The problem with this ability is that it’s really all or nothing:
Either it’s a triple punishment for the opponent who misses his attack, takes damage and allows you to inspire, or the opponent succeeds/the defense roll does not contain a shield and in this case nothing happens. From one game to the next, this ability can be as non-existent as it is devastating.
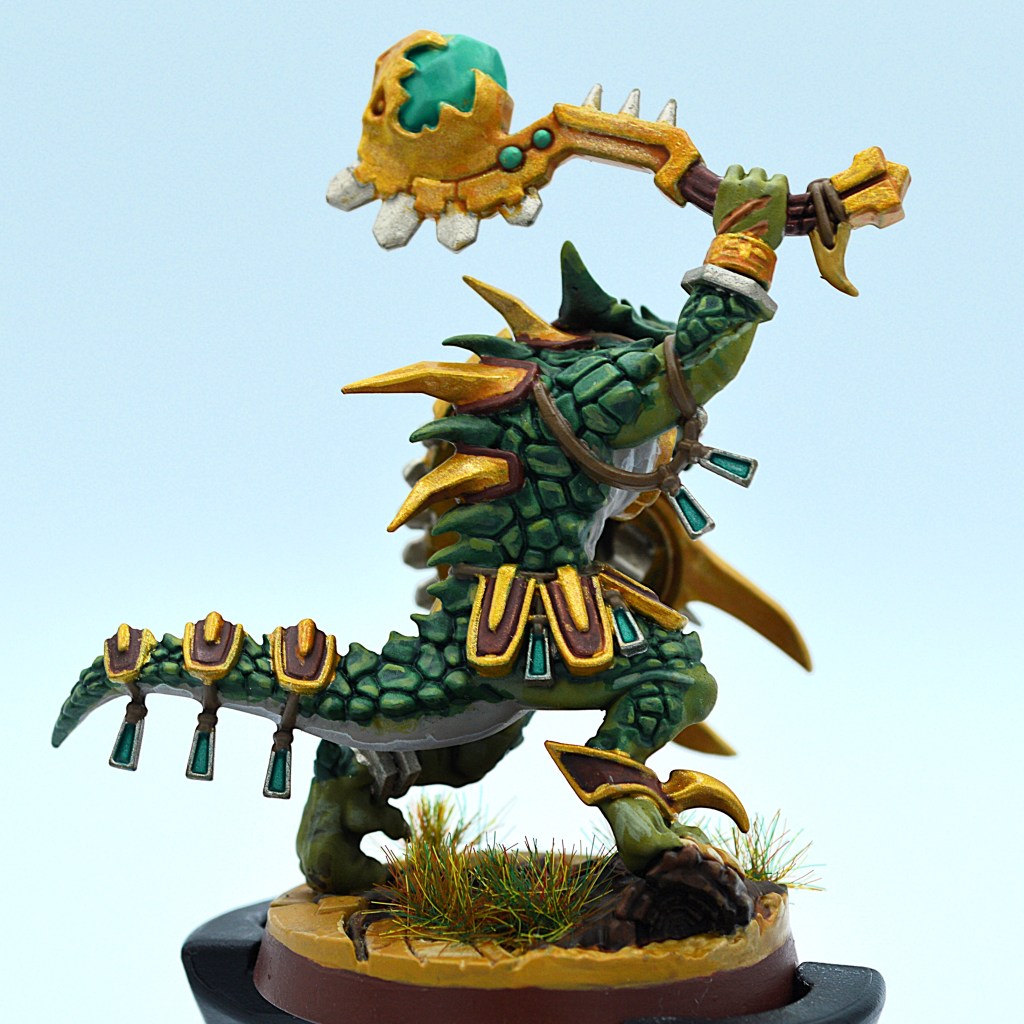
On the other hand, it always plays a deterrent role for the opponent who will often hesitate to make small, imprecise melee attacks at the risk of taking damage. Please note this can also happen for fighters who have only one health left and can therefore die on a failed attack, which is a laugh and a half!
To maximize your odds here, be sure to give your fighters defensive rerolls or plus defense cards, especially if you can invalidate cleave.
Instinctual Control
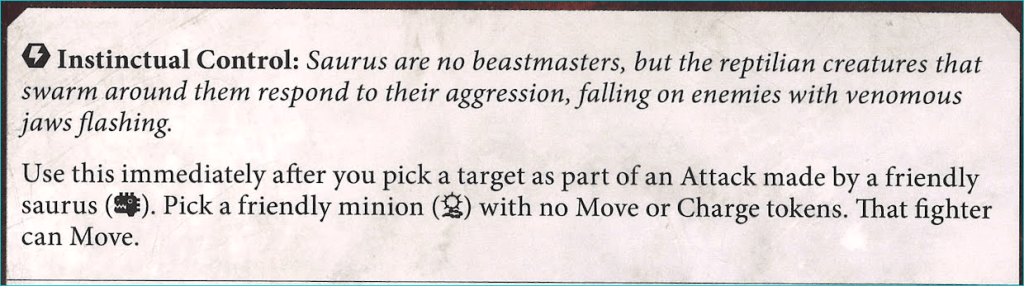
This ability allows you to make a free move once per round with the Venomites when a saurus performs an attack. The movement occurs before the attack is resolved and therefore provides valuable support for a major attack. Note that the minion snakes are not obliged to be adjacent to the saurus carrying out the attack or to its target and can potentially also take advantage of it to take a treasure token at the other end of the board, score positional cards, you name it. They will get a move token for doing this though, so it will block you ‘charging out’- beware!
Savage Mauling
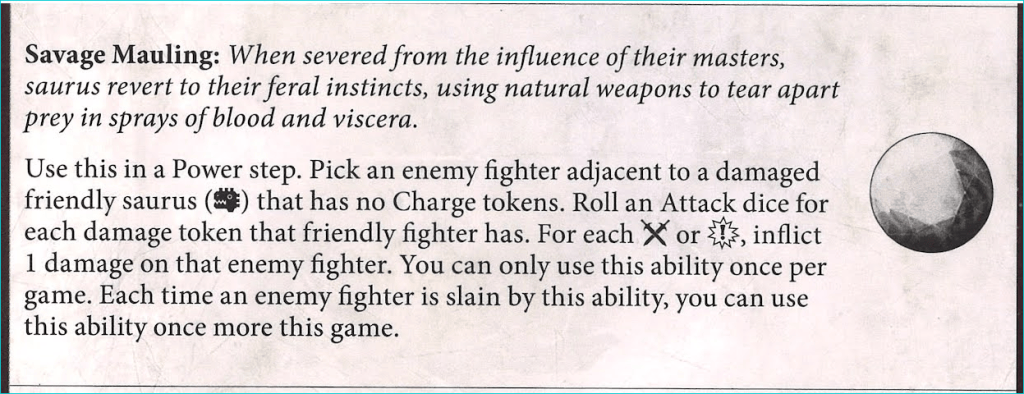
Once per game, a wounded saurus without a charge token can try to do damage to an adjacent enemy. As many dice are thrown as the damage one the saurus and for each sword or crit the target takes damage. Per the FaQ, the damage is done simultaneously and not in different instances, which means that only one saurus can be inspired by using this ability even if it does several damage. If the target is killed by this ability, then it can be used another time in the game, until its use does not kill the target.
This ability is to be used preferentially during the opponent’s power phase to be able to inspire a fighter if at least one damage is inflicted. The big constraint to be able to activate it is to be in a good position with a wounded saurus and not having a charge token, which is not always easy because the opponent will surely try to repel your fighters after an attack likely to have injured them.
It can be used very quickly in the game as soon as the opportunity arises for a saurus with 2+ points of damage to try to inspire a fighter. Against hordes with 2 HP, it may be better to keep it a little longer so that you can kill a fighter and reuse the ability several times.
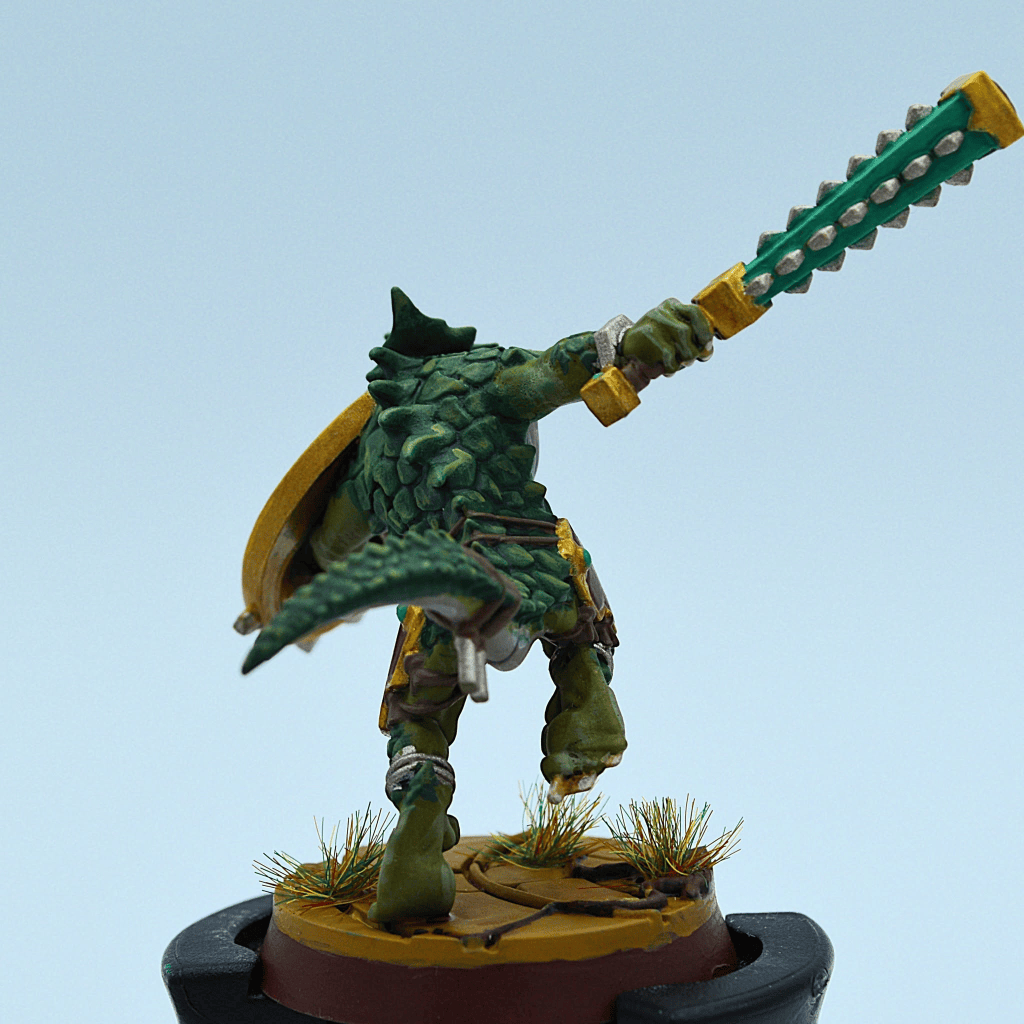
In any case, it has a strong deterrent effect for the opponent as long as it is available because even if it is not very precise (33% chance of doing damage per die rolled), it can potentially do multiple damage to a large fighter or allow several small or wounded fighters to be chained together in the same power phase by combining it with ploys to push the fighters.
Edge case that’s not really an edge case: Charge somebody, then burn Blazing Assualt’s Scream of Anger (the alt-art of which has Kro-Jax on it for a reason), damage yourself 2, remove your charge token, and play this to finish them off. You won’t be able to inspire this way unless you do it in their power step, but it’s saucy.
Obstinate
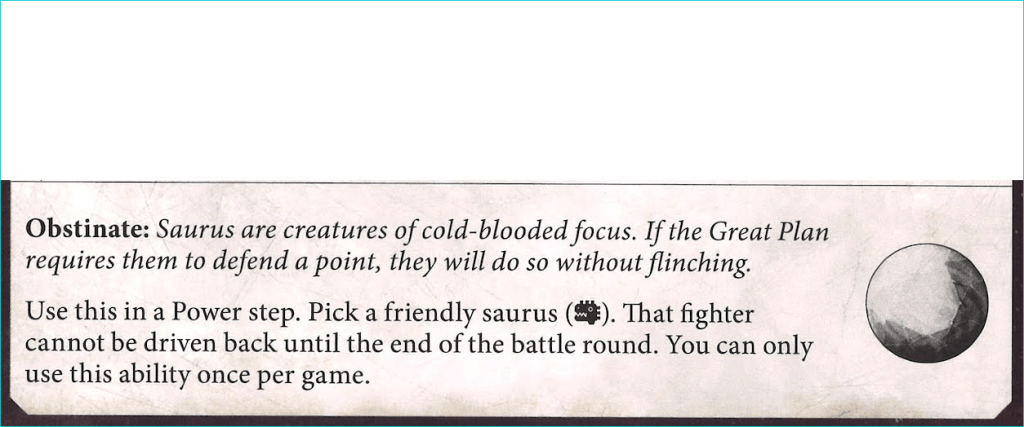
Once per game, a saurus cannot be driven back for an entire round. Simple and terribly effective. Can be used to hold a token or disrupt the opponent’s plan, or simply to prevent the fighter from being pushed out of the fray. This combos with Savage Mauling quite well, and it useful for had strike aggro or taken and hold strategies alike.
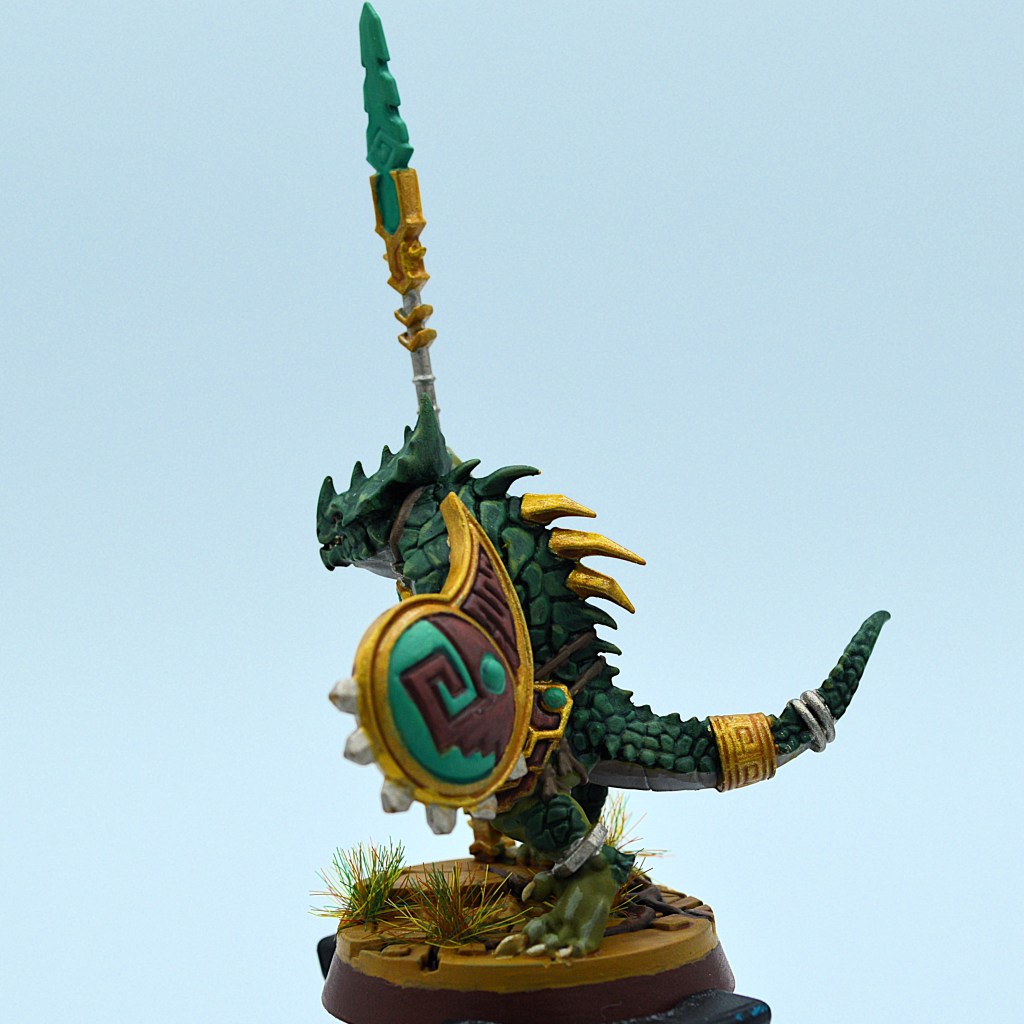
Jaws of Itzl: Fighter Cards
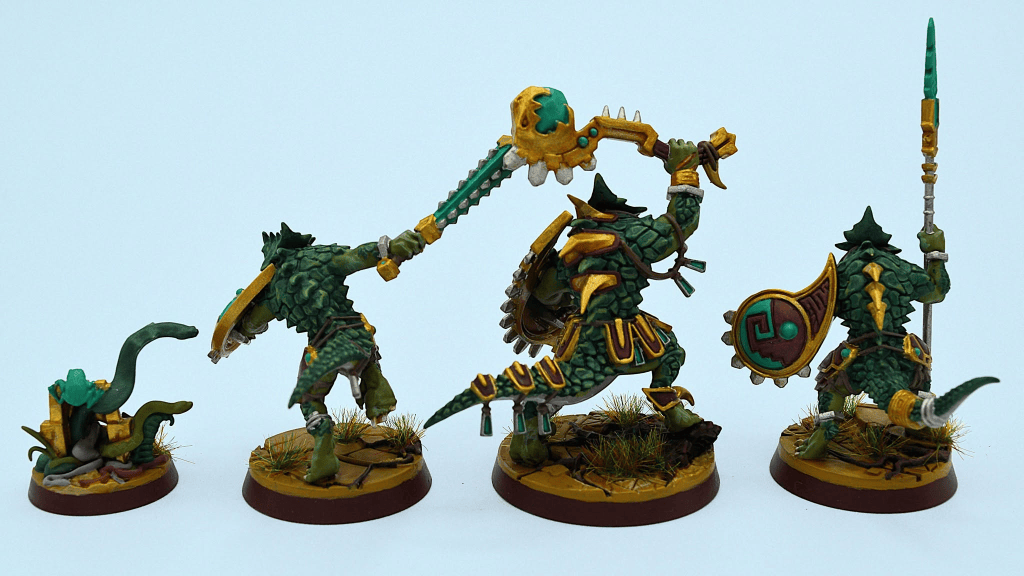
Kro-Jax the Aegis
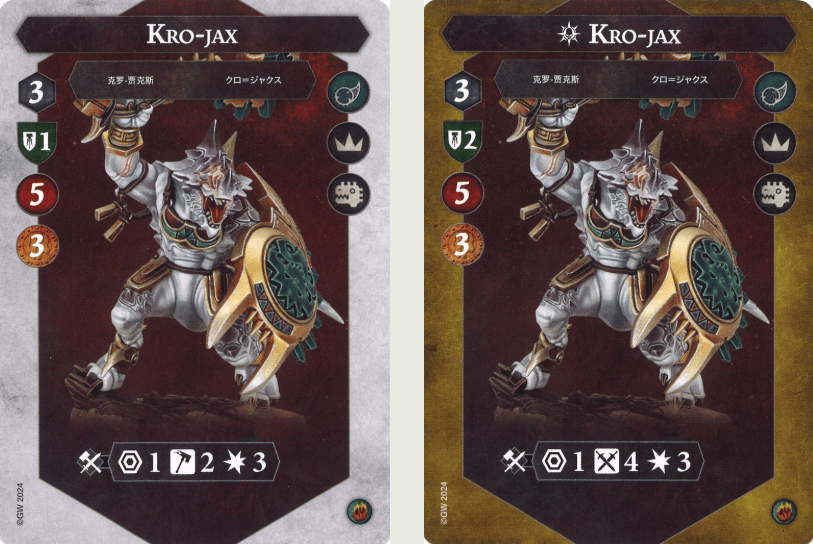
Let’s start by looking at Kro-Jax, the leader.
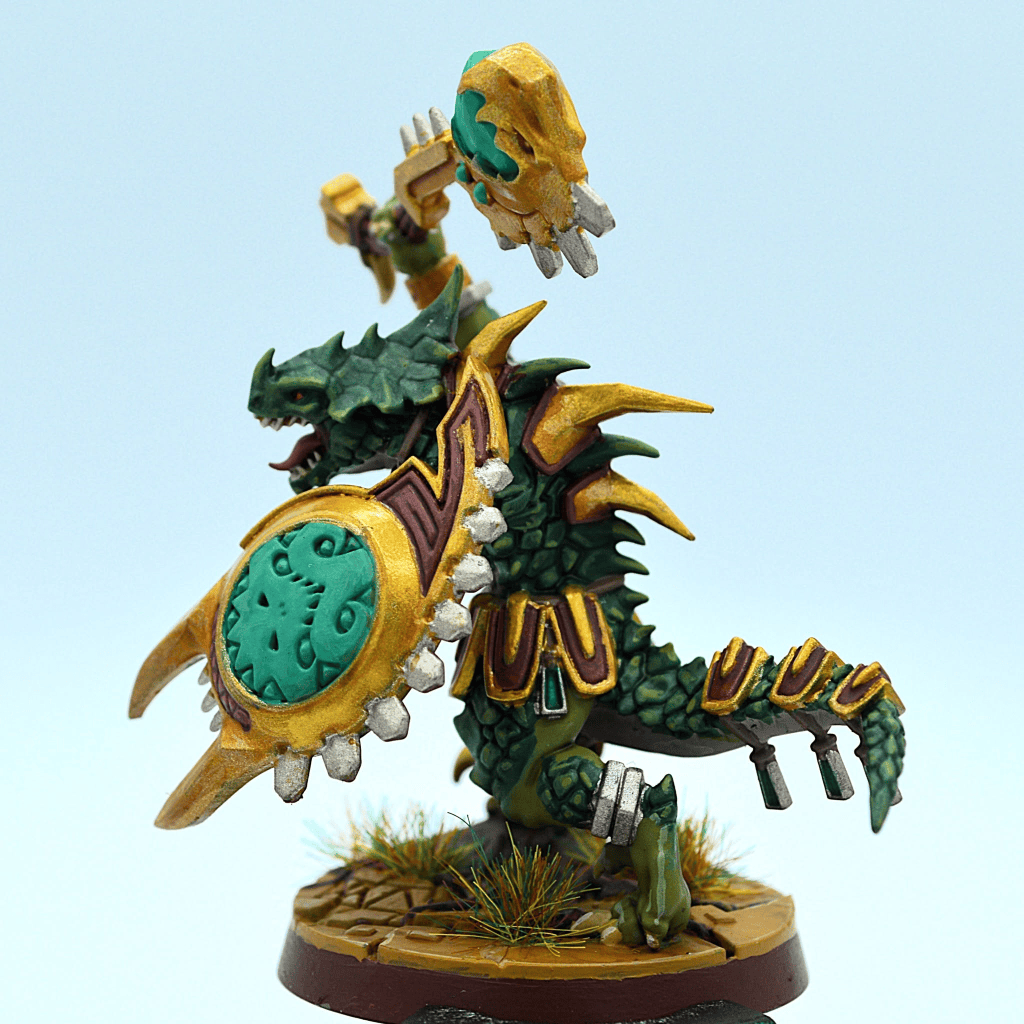
Like all the saurus, he has 5 health, has a movement of 3 and a defense of 1 shield at the beginning of the game, fairly classic statistics for elite fighters. Offensively, he has access from the beginning of the game to an attack that naturally inflicts 3 damage, which is quite rare in the game and allows you to threaten many opposing fighters with a well-timed one-shot or to severely attack an elite fighter. The accuracy of this attack is middling with 2 hammers, but you can always tag along the venomites for flanking.
Once inspired, he switches to a very good 2 shields (even better because it boosts your Predatory Fighters odds) and his attack becomes much more accurate when switching to 4 swords. With venomite flanking or Hidden Aid, you’ll be a menace.
Kro-Jax is 3 bounty but he is very well worth that. He’s an excellent fighter. He is sometimes a little penalized by his very average speed and his lack of range. Your success will hinge on how well you utilize him, and he’s almost always your first choice to inspire.
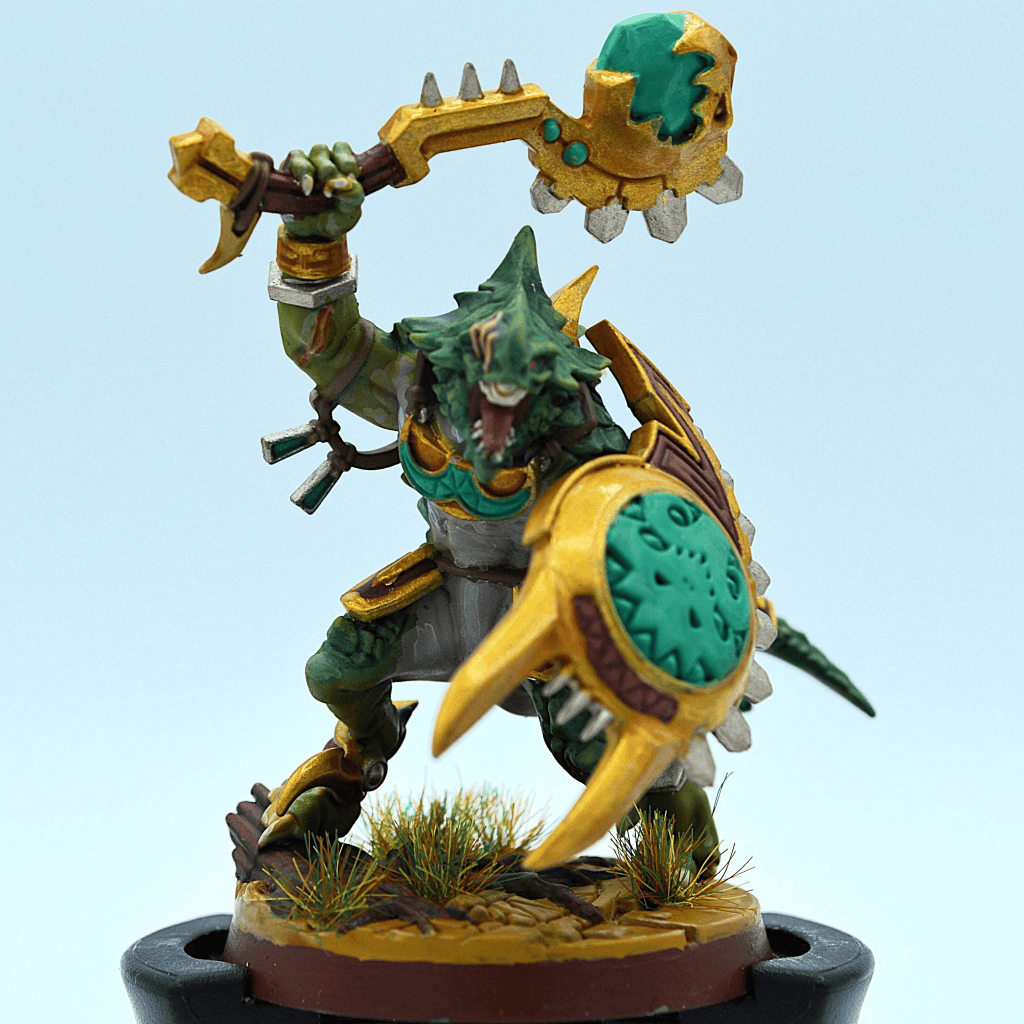
Ro-Tak the Guardian
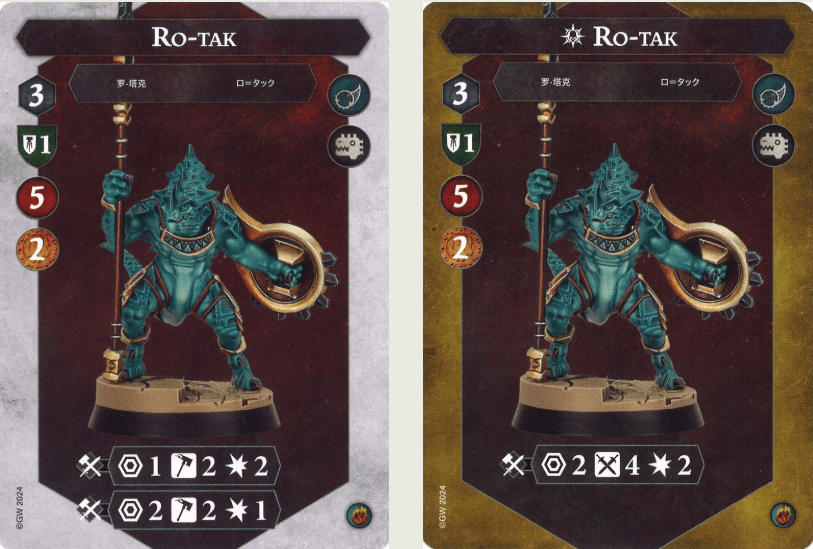
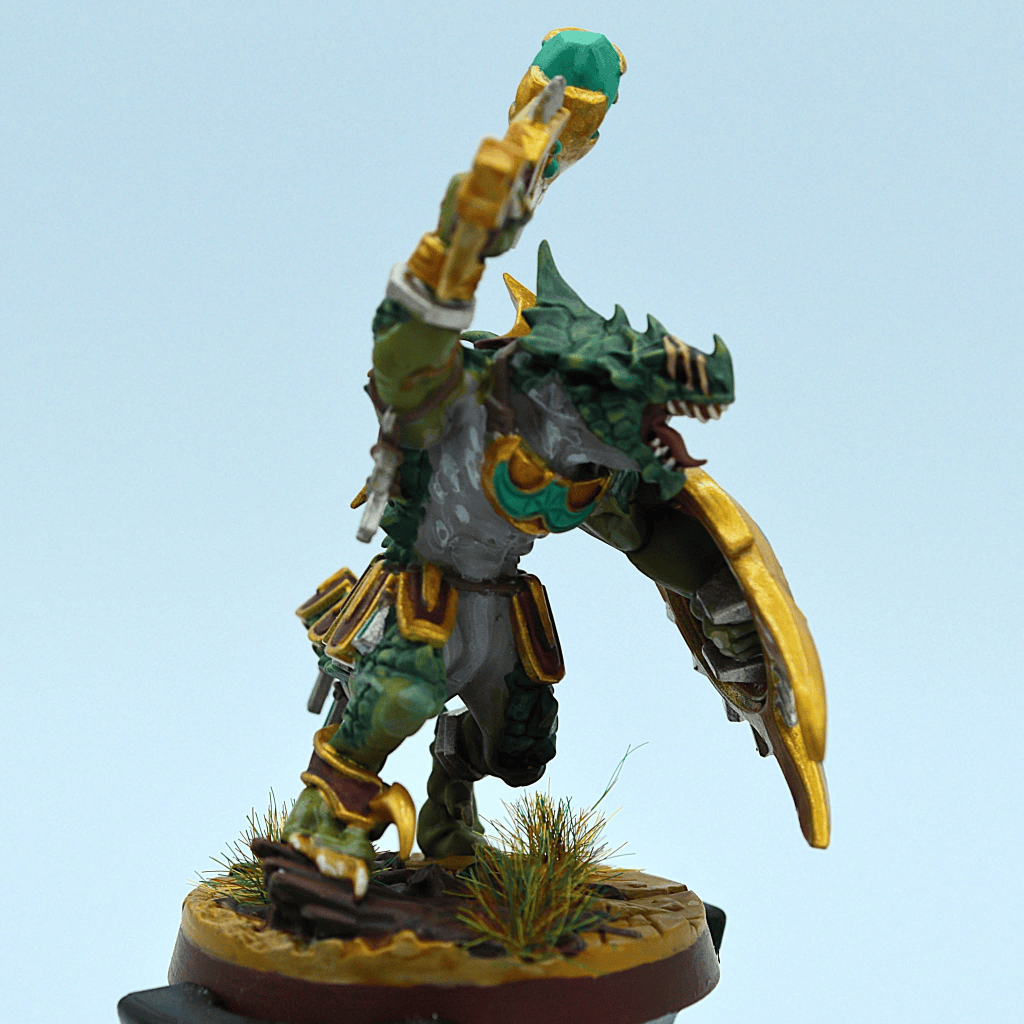
Cha boy is the only one with access to a range 2 weapon. Uninspired, he has quite decent offensive stats with two profiles with 2 hammers, the first in melee for 2 damage, the second at range 2 for 1 damage.
Once inspired, the two profiles are merged into one that does 2 damage at range 2 with a good accuracy of 4 swords. No change in terms of mobility or defense, he remains with his very average stats of 3 movement and 1 shield. If Kro Jax is dead, or your opponent is a horde, he’s a totally reasonable inspire choice.
Ro-Tak is a very flexible element with his spear, he is ideal for charging on a point of interest while taking advantage of his range to still do damage or threaten enemy fighters who get too close. Once inspired, he can be monstrous against warbands that include a lot of 2-HP fighters that he can easily kill in a chain if he is well positioned, especially if he is given the duelist upgrade.
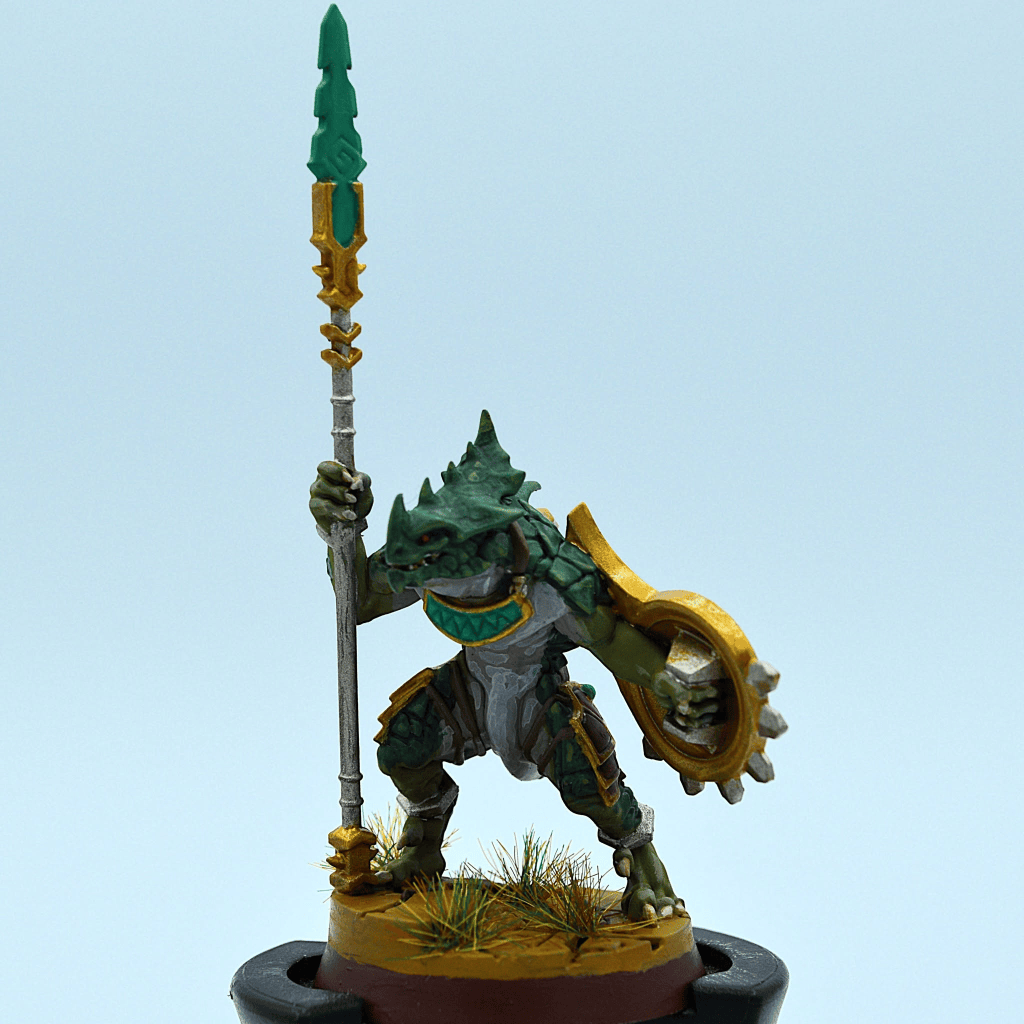
So-Kar
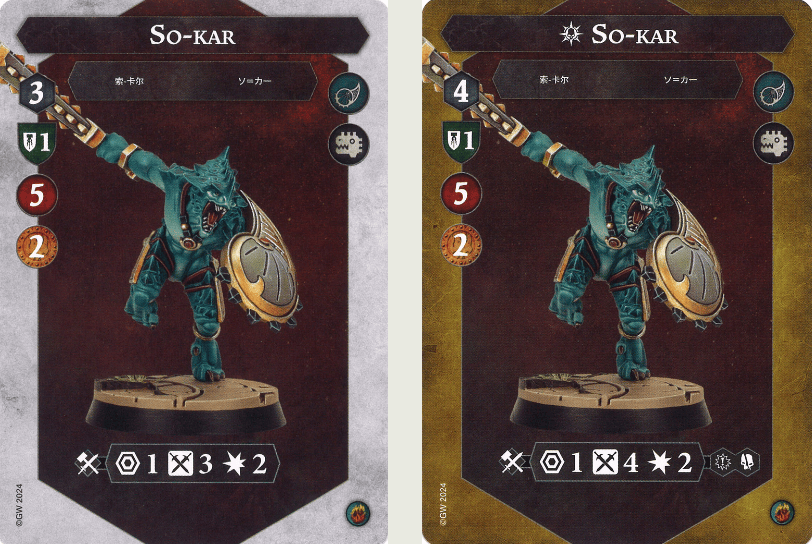
Homie is too lame for a title. He has the classic stats of the other saurus, but has a slightly less accurate attack profile with his 3 swords, which makes him the one who appreciates the venomites’ support the most.
Once inspired, he becomes the fastest fighter of the gang with his 4 movement which is very practical offensively, but also to position himself on a point of importance such as an Aqua Ghyranis token for example.
Like his companions, his attack profile switches to a very good 4 swords and also gains grievous on a critical hit, which makes him more threatening. Give him rerolls (or take the Raging Slayers deck) and laugh as you enjoy another source of 3 damage!
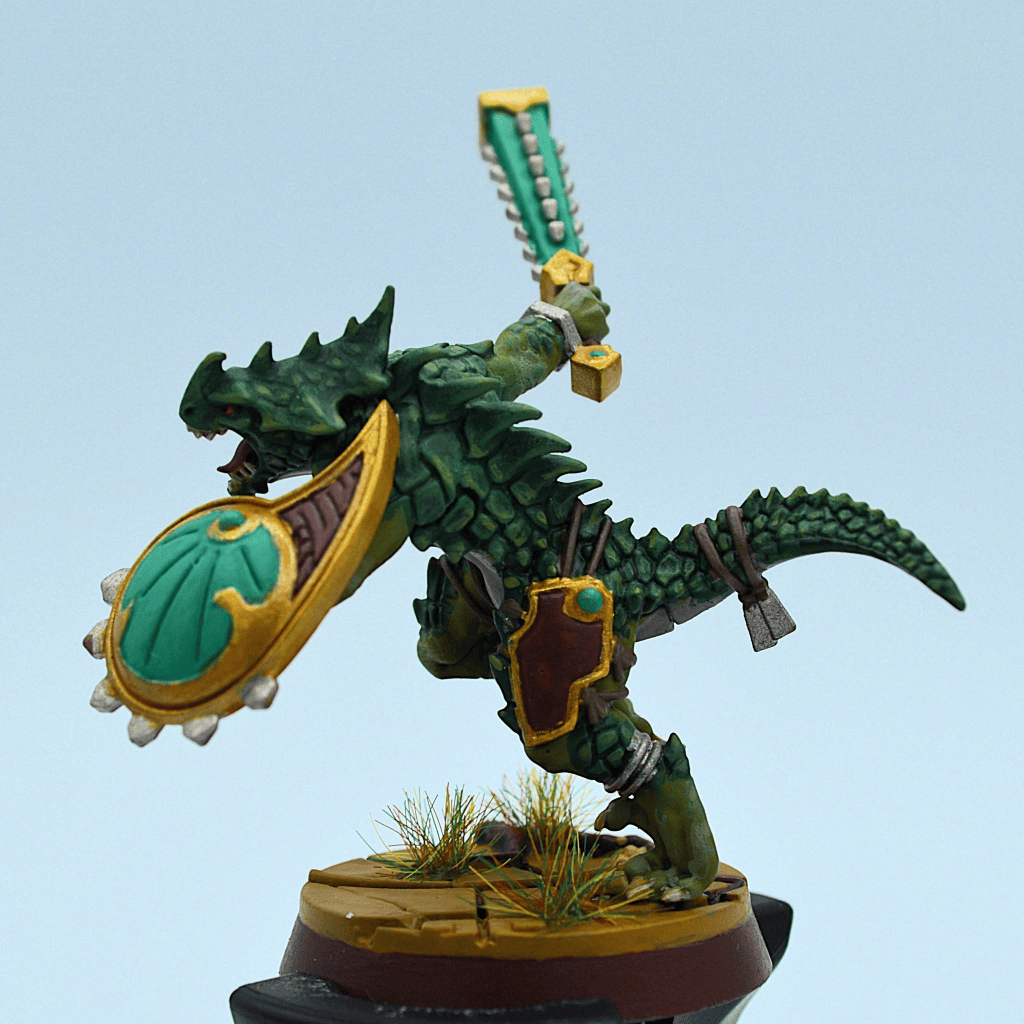
Sotek’s Venomites
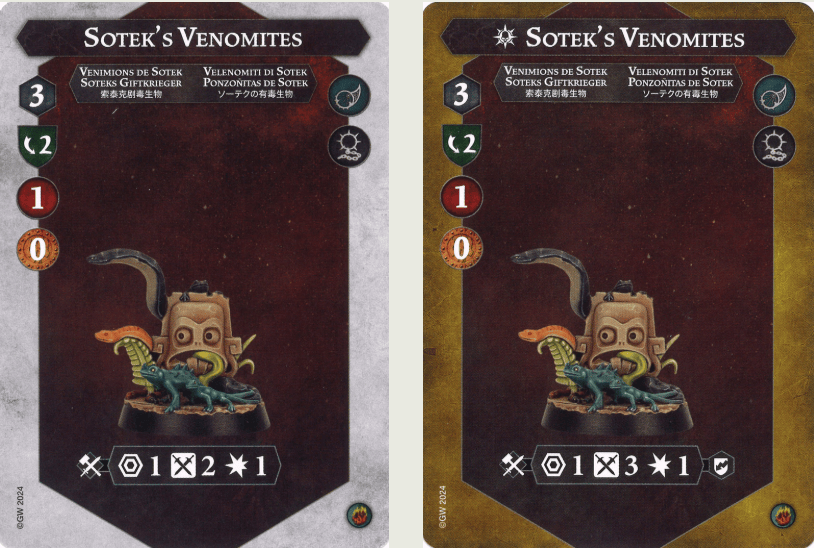
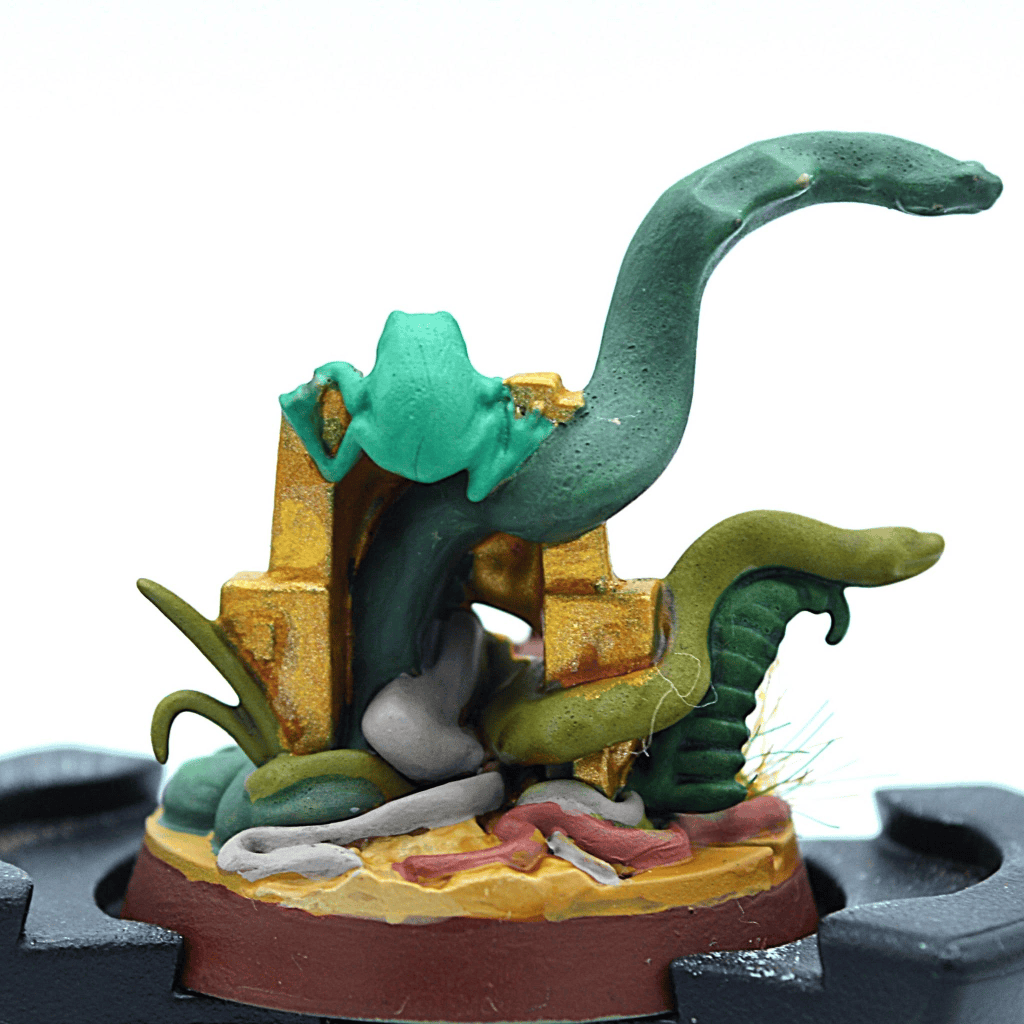
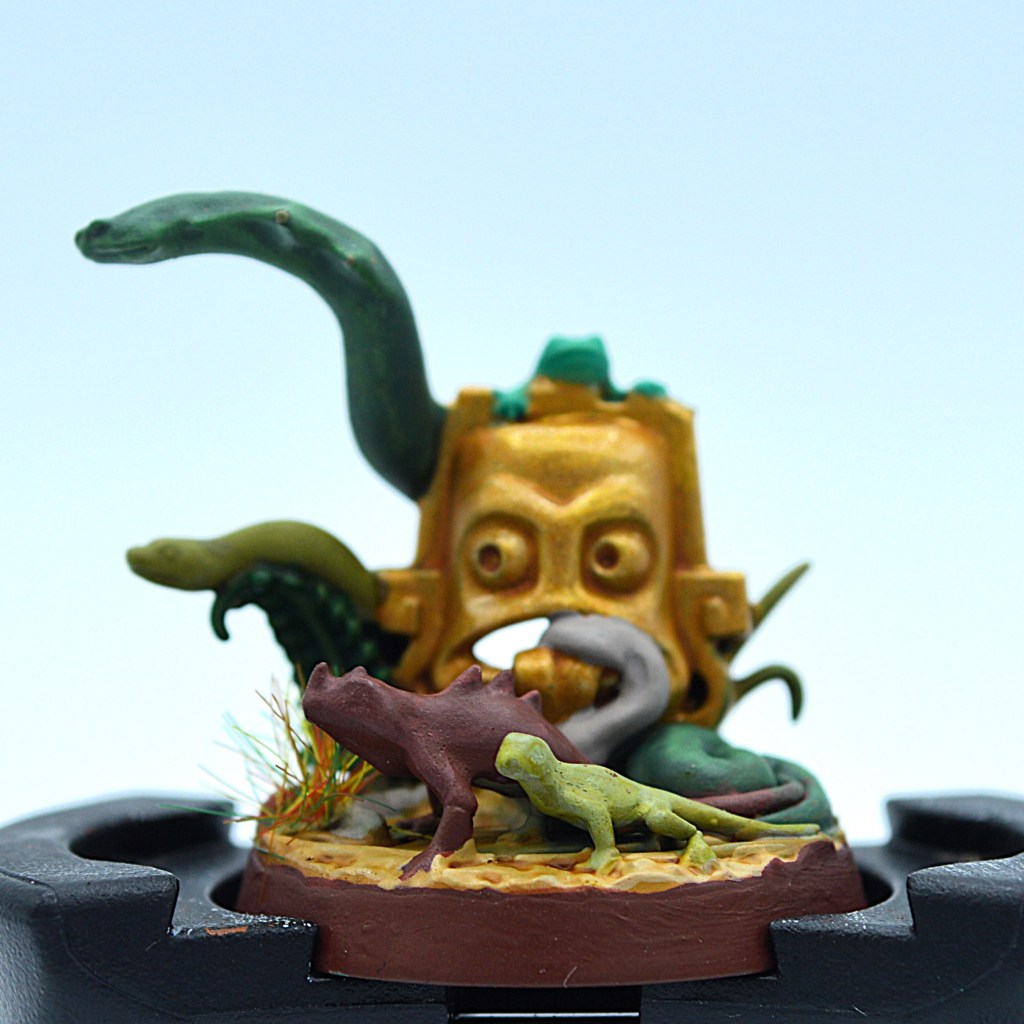
The last fighter is the small pile of reptiles and amphibians known as Sotek’s Venomites, just vibin’ on a gold statue. Right away, the stats are much less impressive than those of the saurus with only 1 HP and a trash attack of 2 swords for one damage. Mobility is also very average here with 3 of movement. From a defensive point of view, it must be assumed that he will die the first time he is attacked with his only HP, but his 2 dodge dice can still play tricks on the opponent. And above all, even when he dies, he is worth 0 glory points and therefore brings nothing to the opponent except the fact of removing a thorn from his side.
The power of this fighter lies in their ability to provide support to the saurus to make their attacks more reliable, and he does this very well thanks to the ability dedicated to him in warscroll. In a pinch they’re also a good token holder since the opponent is unlikely to waste time attacking them, and the warscroll move can let them get to a token for holding or delving without ‘wasting’ an activation on them.
Potential Pairings
Overall, the warband can be played with almost any deck and a lot of combinations.
The saurus’ elite fighter stats and ability to deal extra damage can steer them toward aggressive play using Blazing Assault or Reckless Fury.
Their large HP stock, as well as their access to the free movement of the Venomites and the ability to have a fighter that cannot be driven back for an entire round, can also allow them to be played well with Pillage and Plunder, Emberstone Sentinels or Nexus of Power.
These somewhat flexible qualities also make them shine in a flex game type by combining some of the previous decks and/or using Wrack and Ruin (especially since it’s a ping-fest), Deadly Synergy (you love Flanking!), or Countdown to Catalcysm (more pings and great positional cards).
They can even do Edge of the Knife since they begin with a tempered fighter and appreciate being damaged anyway thanks to Savage Mauling.
In Practice
Data from the Nemesis Statistics Project show the Jaws of Itzl have a 47.1% win rate across the while edition, with 952 games recorded. It goes up to 48.6% if you include world qualifier tournaments, and even up to 51.2% in the Spitewood meta. They’re a perfectly reasonable warband with middle of the pack results, but in the hands of some of the strongest and most experienced players they can be incredibly powerful. I suspect this average is actually diluted somewhat by newer players (who should still play this fun warband)
Please add to this project by recording your games with any warband and submit your results here!
I personally have played this warband 10 times with a 7-3 record. I don’t think I have ever used the same pairing twice and still had fun and could do cool things, hitting an average glory differential of +5.9. I have played against Jaws 22 times, with a 72.7% win rate and average +4.3 glory. I have gotten incredibly lucky against them in tournament settings, and if the dice were just a little kinder to my opponent I would be singing a very different story. The games I lose when playing against Jaws, I tend to lose to hold flavored deck combos since they’re less dice-reliant in that build.
I heavily suggest you read Jon Grant’s article on attack profiles for anybody, but definitely for a warband that will live or die by hitting 4 sword attacks. The long story short is you effectively NEED to have flanking or surrounding in this situation, but once you do you’ll be a machine. I have seen many, many people inspire a saurus and then not hit things – this is a dicey warband, and if you can’t tolerate that kind of variability this warband may not be for you, at least if you want to play Strike.
Despite this vulnerability (combined with the casino gambler defense ping), the warband has performed very well competitively for the entirety of the game with many different pairings.
On this very page, I shared Mads B.’s Love Letter of his ES/PP deck that finished seventeenth at Worlds 2025
Mark/Baconborne of Path to Glory wrote up a good analysis of his BA/PP deck that finished tenth at Worlds 2025
Val took 2nd Place at Warhammer World Grand Clash ’25 with this BA/CC deck, though this was pre-rules update. Here’s the Love Letter he wrote to describe the event!
This ES/Wrack deck took second place at the Moscow Team Tournament
CC/WnR is a ping-heavy combo that plays quite well as evidenced by the 5th place finish at Birmingham and the 3rd place finish at the Moscow Team Tournament. Here’s a French Language article describing the deck taken to the Ludiverse event in Paris that took first place in that event. I also was sweating tough when I had to play into it against Yury Romanov at the Tacoma Open – long story short CC/WR is a rockin’ pairing for Jaws.
Staggerers have put together cool stuff in their Dexamples Series: Here’s an article and a deck describing Edge/RF. Here’s another article and deck link for NP/RF
I don’t have a deck for it, but I have also enjoyed playing them with Emberstone Sentinels/Reckless Fury for a little aggro hold fun.
You can even BA/RF with them, like you can with all elites, but you’ll need to pay special attention to getting a charge token on the venomites. Pack Braced and Headcase for sure.
Wrap
It’s extremely nice to be able to play the same warband in so many different ways. Generally speaking, when building decks, the Jaws of Itzl particularly appreciate:
- Pings can be played during the opponent’s turn.
- The upgrades that allow them to obtain cleave because they do not have any occurrence of it on their base profiles.
- Cards that allow you to perform pushes (like most warbands) to be able to position yourself to attack without charging, generate supports, or unleash Savage Mauling.
- The cards allow you to improve their speed, which remains very average overall.
- Accuracy boosts that allow for the automatic generation of supports such as Hidden Aid.
- Cards that allow you to go on guard to be able to take tokens even more and prevent the opponent from taking them back.
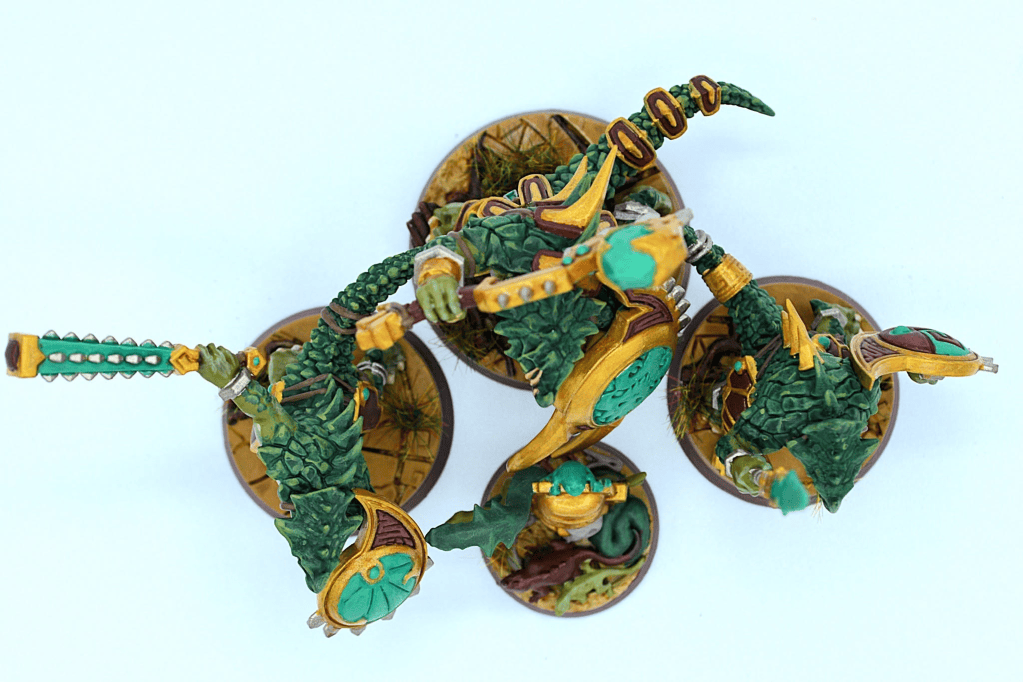
However you flavor your dinosaurs, I AM ABSOLUTELY POSITIVE you will enjoy spending your glory with the Jaws of Itzl. They even were voted second most fun warband to play in the whole game!

To hear a lot of this in audo format, here’s a link to the Seraphon Underworlds Underground podcast episode



 Spent Glory
Leave a comment