
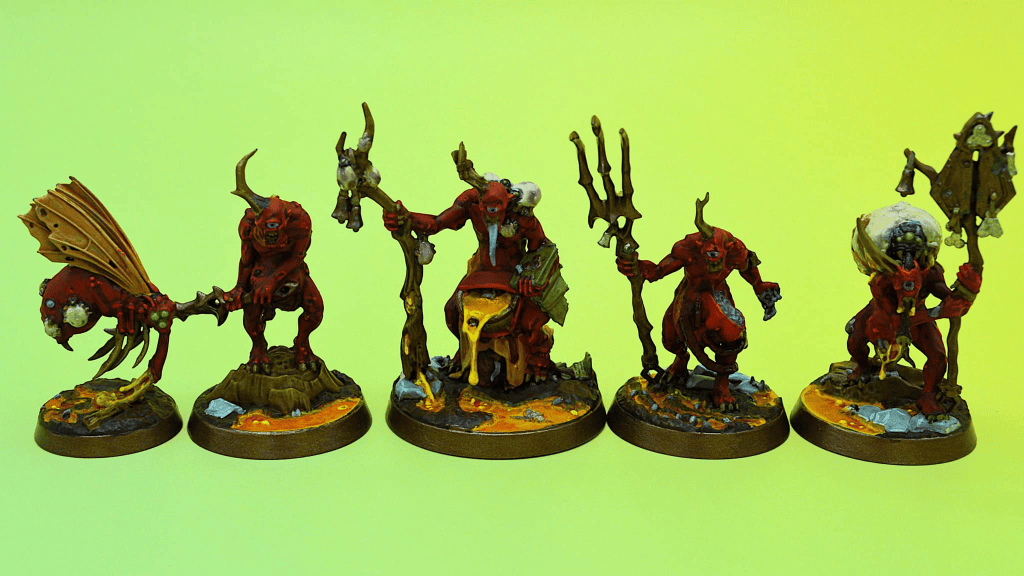
This time around, we’ll be looking at Grandfather’s Gardeners, a 5-fighter Standard warband that is appropriately designated as Mastery – something that I would very rarely say outside of this group of plague friends. Among the most unique warbands from both a model perspective and mechanical ruleset, Grandfather’s Gardeners allow you to play the game in an entirely different way than usual and will require some real conscious effort and planning out of both their pilot and their opponent.
Click here to see a Master List of all warbands in the game
Grandfather’s Gardeners: The Lore
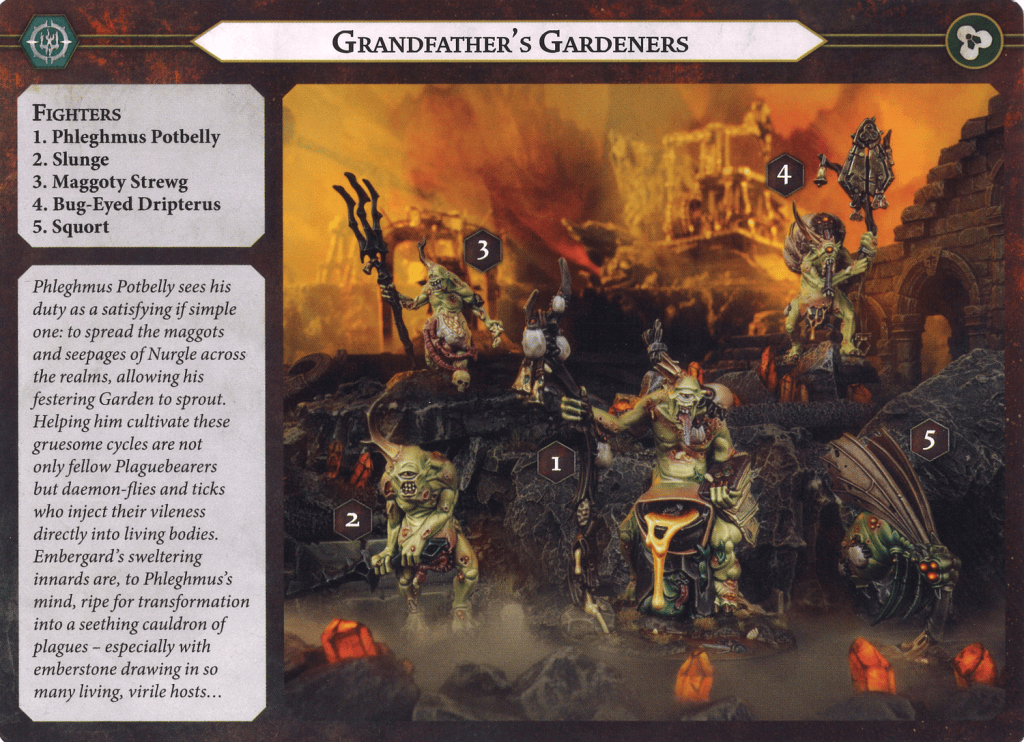
Phlegmus Potbelly, who literally has a cauldron for a tummy, is a plaguebearer of Nurgle whose purpose is to spread his granddaddy’s “maggots and seepages” across the realms. He brings along some friends and a heaping… heap… of insects to inject those juices directly into some fertile hosts. Seeing as the Embergard is a nice hot oven to brew and bloom in, with the Ragerock bringing in so many new people to expose, it seemed like the perfect business trip locale and he set off packing.
Grandfather’s Gardeners: The Warscroll
Inspire
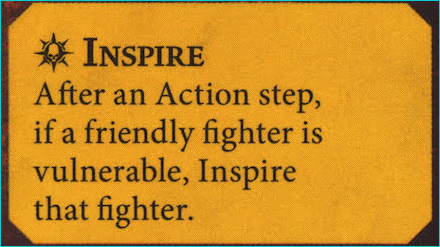
This warband inspires individual fighters when they become vulnerable. This is a huge bummer. The good news is you have a way to much more reliably become vulnerable yet not die, which we will cover quite soon. The benefits for inspiring are pretty nice in that they often come with more health, and this warband has some healing baked in, so don’t sweat the ‘my guy is gonna die before I get his inspired profile’ thing.
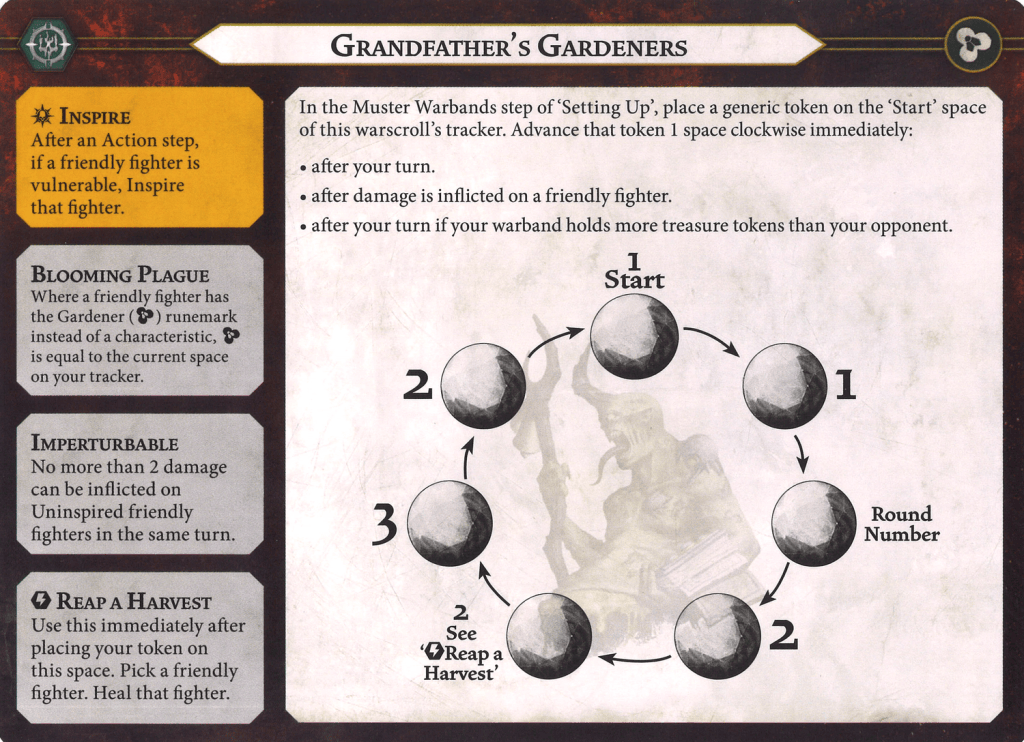
Blooming Plague
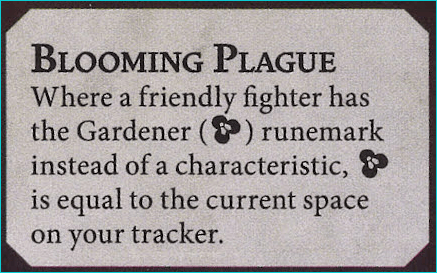
There’s a fancy gardener’s flower symbol here which exists on your four plaguebearer’s weapon profiles as their damage characteristic. Depending on where you are on the cycle (more to come later in this article), your fighters’ damage will change. This can mean any of your fighters could potentially only be hitting for 1, and they all could also potentially be hitting for 3. Being able to make this happen the way you want and when you want it is where a lot of the mastery comes in.
Imperturbable
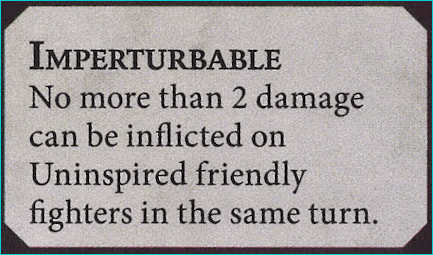
This is one of the craziest things in the game, and also why the inspiration still works for them. You uninspired fighters can NOT take more than 2 damage in a turn. If I hit you for 3, you only take 2. If I try to hit you for 2 and then hit you with a power step afterward, you don’t take that third point since it’s still in the same turn. Heck, if the inspired Wielder of the Blad comes at you with Twist the Knife for 5, you still only take 2. Oh, and then you inspire. Gucci.
Once inspired, you can take unlimited damage like anybody else, but this makes all four of your plaguebearers tough nuts to crack at the start of the game – if you should so happen to give Great Fortitude to Squort he will work the same way. The best way to kill a Gardener is for the opponent to ping them in one power step, and then hit them for 2 damage in the following activation, but that’s not always guaranteed and probably only will work for 1-2 of your guys across the game.
This means that in effect the opponent can only 1-shot Squort and must 2-tap everyone else, and your warband will take a minimum of 9 hits to kill, but only have 12 activations to play with. That’s assuming you never Stand Fast or heal. Speaking of which…
Reap a Harvest
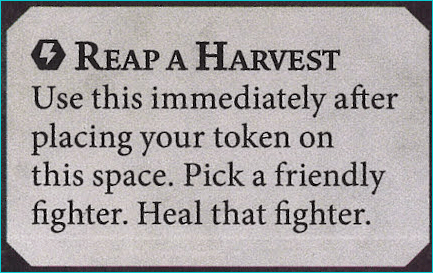
… you can heal multiple times a game without using any cards. Once your tracker lands on the Reap a Harvest spot, heal one fighter 1 point of damage. Assuming you want to – it’s a surge ability and therefore optional.
We will cover the cycle in more detail in a second but this ability can, if things go really well for you, land on/jump through the healing space 4 or even 5 times in the course of the game. This makes your ‘gotta hit me 9 times’ effect turn into a potential 11-14 times, which you will recognize as basically impossible for most warbands and decks. I’ve heard legends whisper of instances where the Gardeners had no models left at the end of the game, but I’ve never seen it myself.
The other thing that’s miraculous about this ability is that you trigger the heal immediately, and one of the things that moves the wheel is ‘a friendly fighter takes damage’. Imagine a scenario where I have your fighter with 1-2 health left, and I hit them for enough to kill them exactly. They take the damage and are reduced to zero health, the tracker moves, and then you heal a point so you’re back to one health. THEN you check to see if the fighter is out of action. Guess who isn’t zero health anymore? That’s right, my guy, you!
Gardners are very, very hard to kill, just how Papa Nurgle likes.
The Cycle
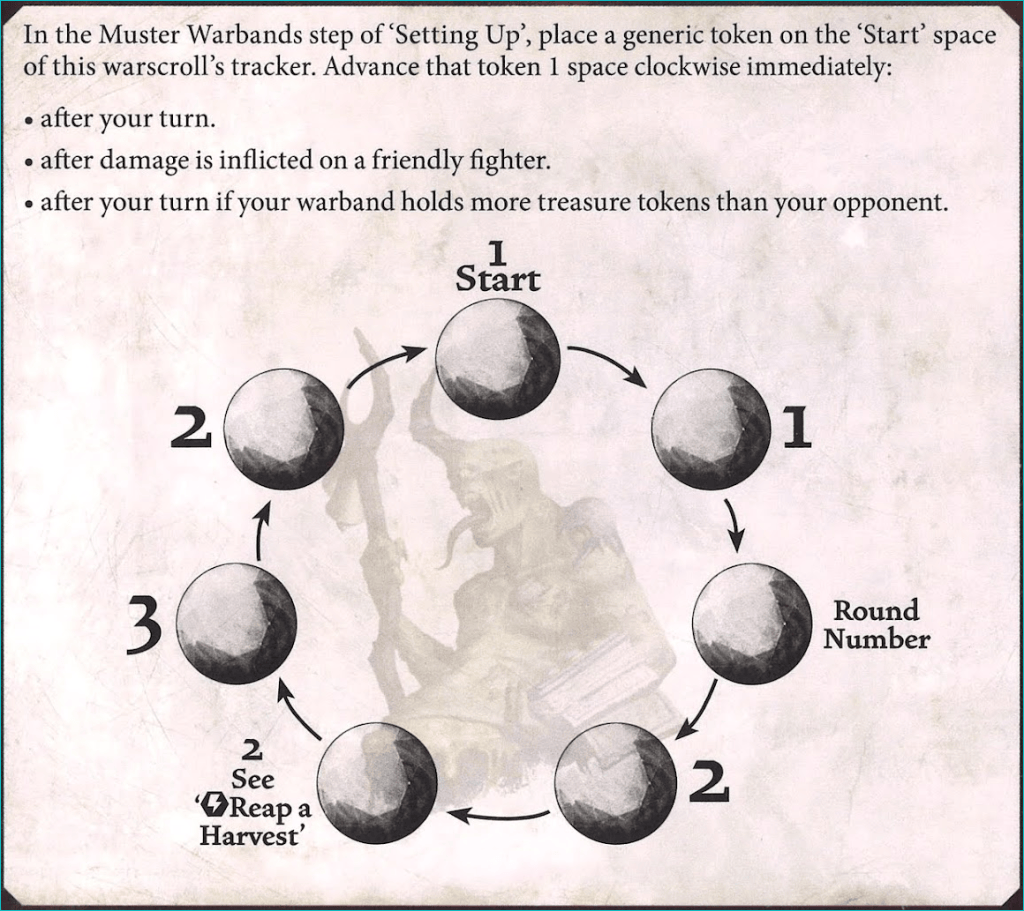
OK gang, the meat of it is actually covered in the sections before this, but you have a fancy 7-space tracker to play with all game long. Advancing this tracker is NOT optional, so you’ll need to be very aware of where it is and where it’s supposed to go, especially if you forget to move it once or twice and have to try and back-track. This takes practice, for both players in many cases.
Place a token or counter on the first space. Every time a qualifying event happens (either the end of your turn or anytime your fighters take damage) you advance it. At the end of your turn it goes 1 space. If you’re holding more treasure than the opponent at the end of that turn, it moves 2 spaces instead. You take damage, and it moves again.
Remember that the number next to the space is how much damage your plaguebearers do. It waxes and wanes across the round, though does build across the game as one of the spaces is named ’round number’ – this will be only 1 damage in round 1, but 2-3 damage in rounds 2-3. Later game you’ll have more opportunities to hit for 3 base damage, which is a quite important trait to have if you want to succeed in a flex or strike playstyle in second edition.
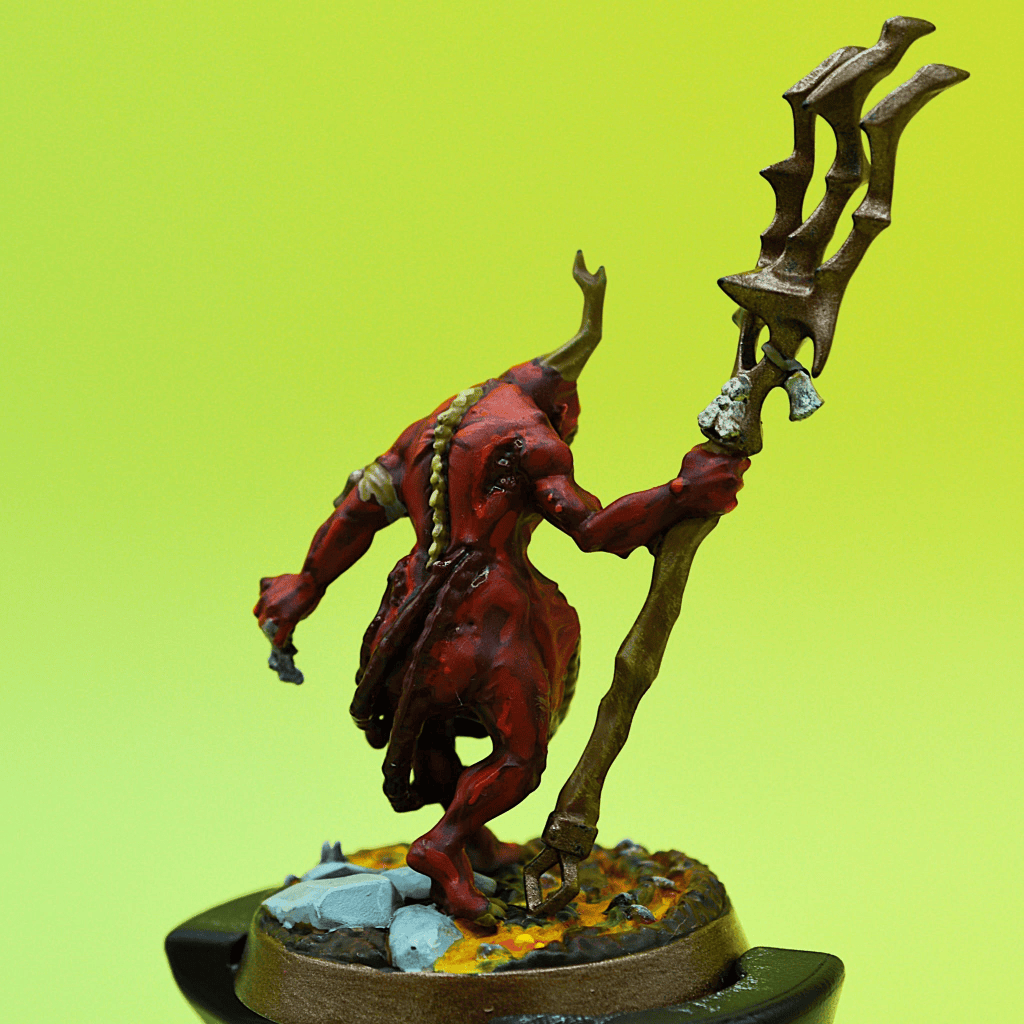
There are two general approaches I have seen Gardeners players take.
Method 1 is to try and manipulate the cycle to spend as much time in the 2-3 damage spots as you can for aggro purposes. Take self-ping cards to tag yourself in the enemy power step before your turn to advance it to the 3 damage and then make your attack right after, and be sure to delve tokens up or down as needed to either be holding more or not holding more than your opponent when you need to speed up or slow down. This takes a lot of finesse and, well, mastery, but can reward you with lots of opportunities to do 2-3 damage (albeit with limited accuracy).
Method 2, which I personally prefer, is try as hard as you can to spin the cycle as fast as it goes and grab as many heals as possible. Try to always be holding more treasure than your opponent, never delve things to cover if you can avoid it, and trust that you can weather the beating you’ll get for being a more passive Take and Hold team.
Grandfather’s Gardeners: Fighter Cards
Phlegmus Potbelly
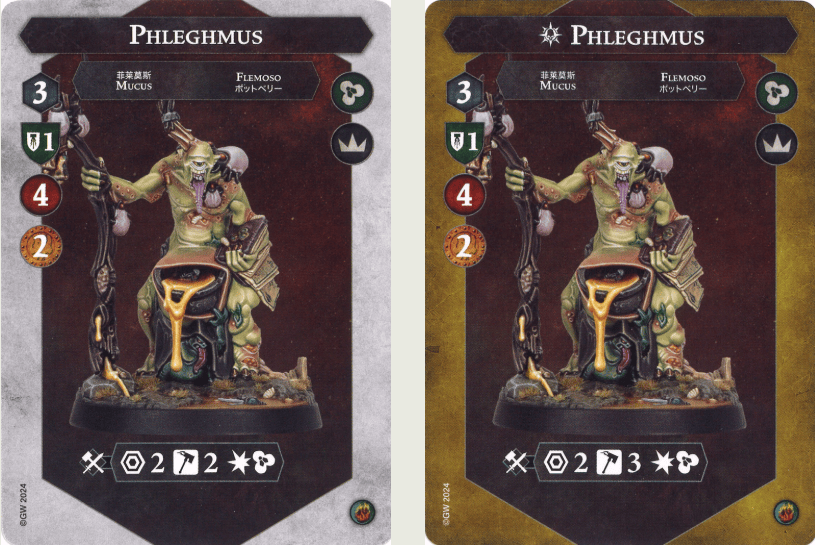
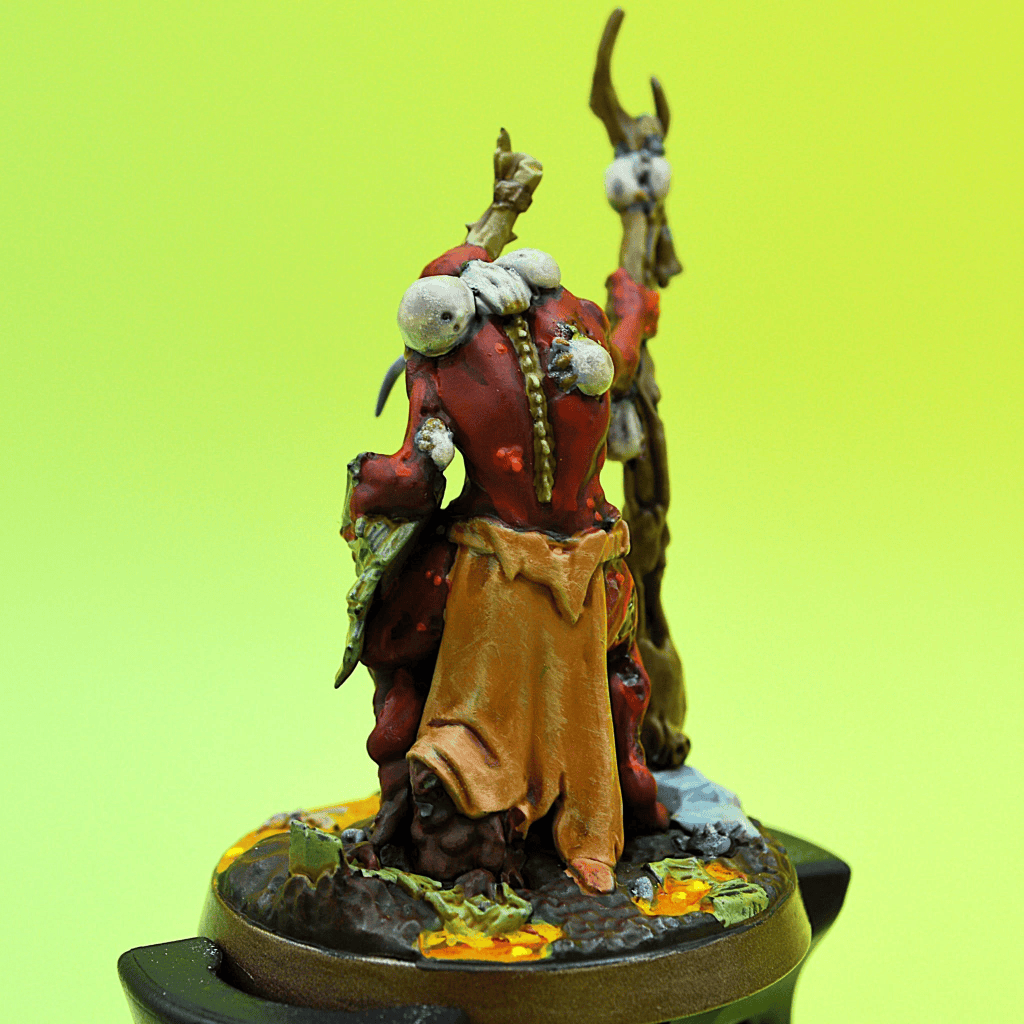
Here’s your fearless leader, and he’s not a bad fighter per se but considering that he has 4 health uninspired, he’s more of a liability. Your enemies won’t really have to work around the restrictions placed on them by Imperturbable and he will quite rarely get to inspire unless you damage him yourself which is too bad. If he does so happen to inspire, he has the excellent profile of 2 range, 3 hammers, X damage which would be as much as 3 and leaves room for weapon abilities like cleave or grievous. He unfortunately does not gain a health like the other daemons when he inspires though, so he’ll be sitting vulnerable once inspired and may not survive for long without Reap a Harvest heals since he also remains on 1 shield.
Slunge
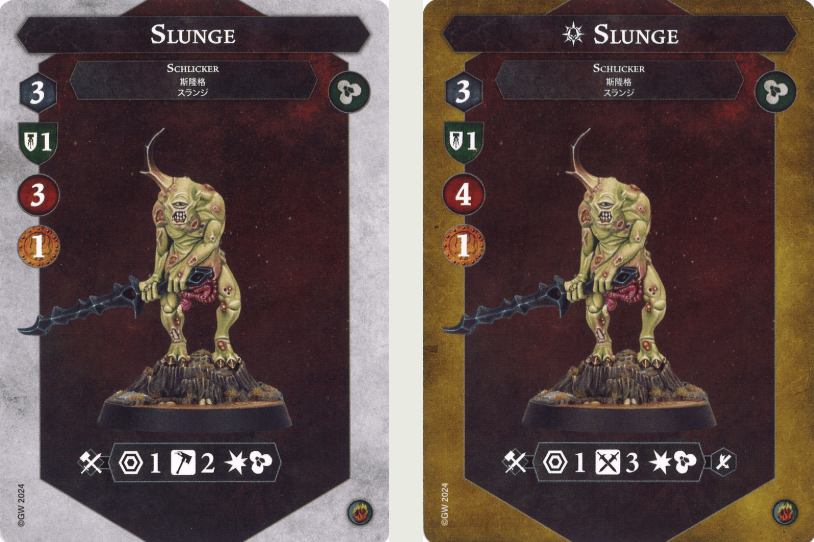
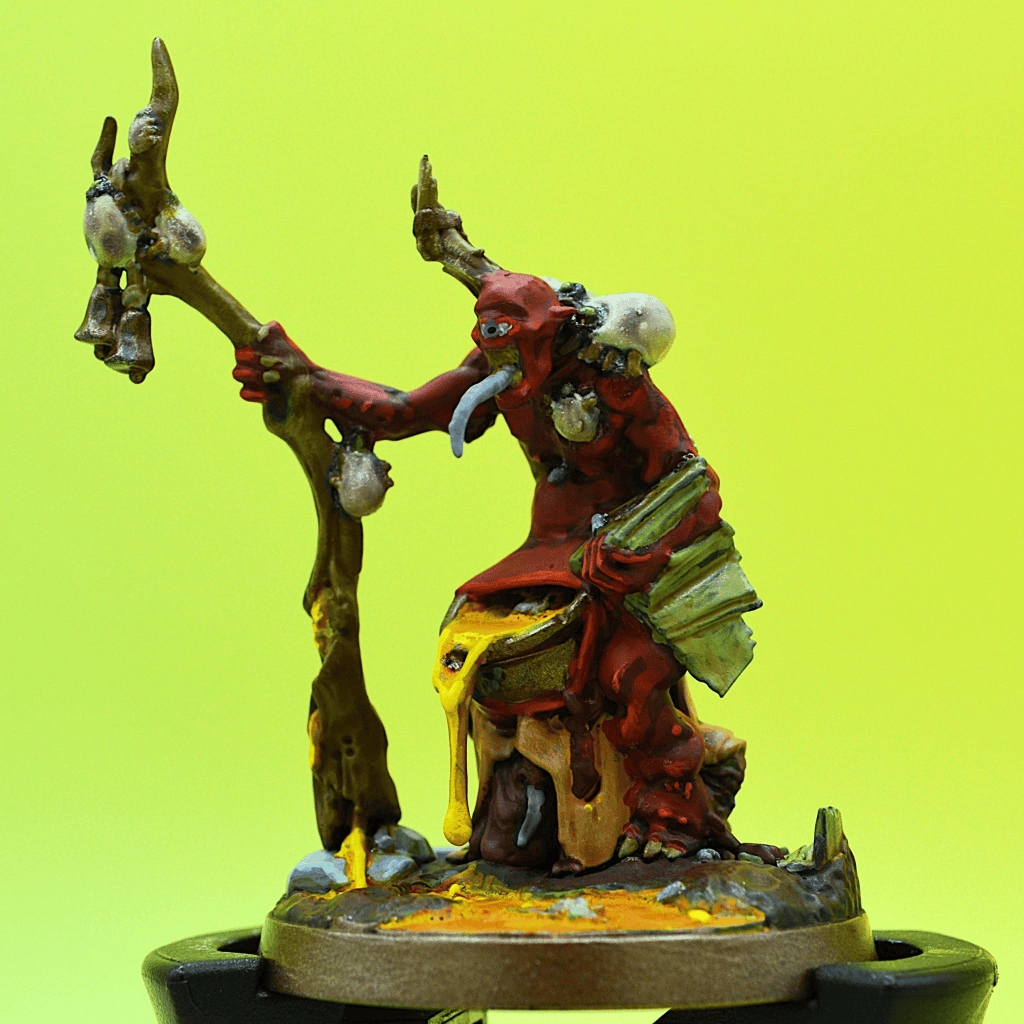
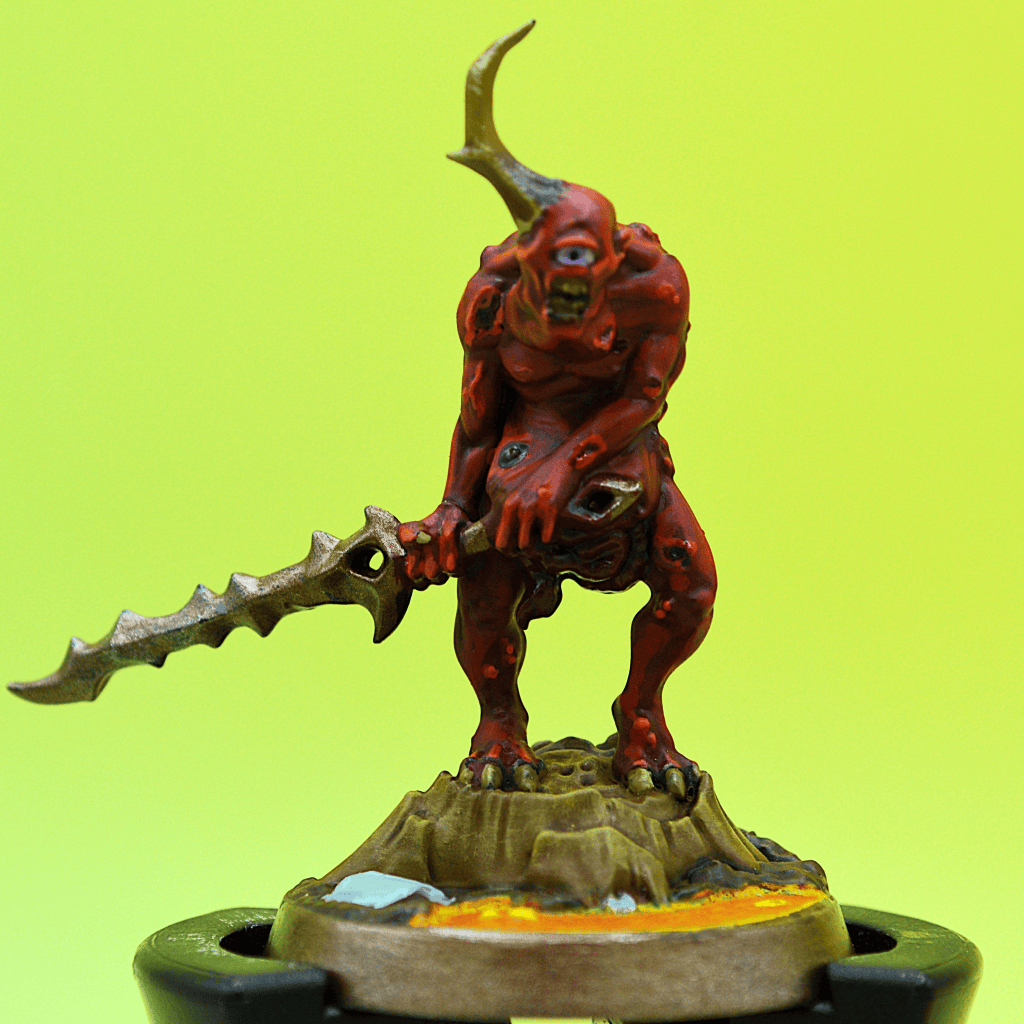
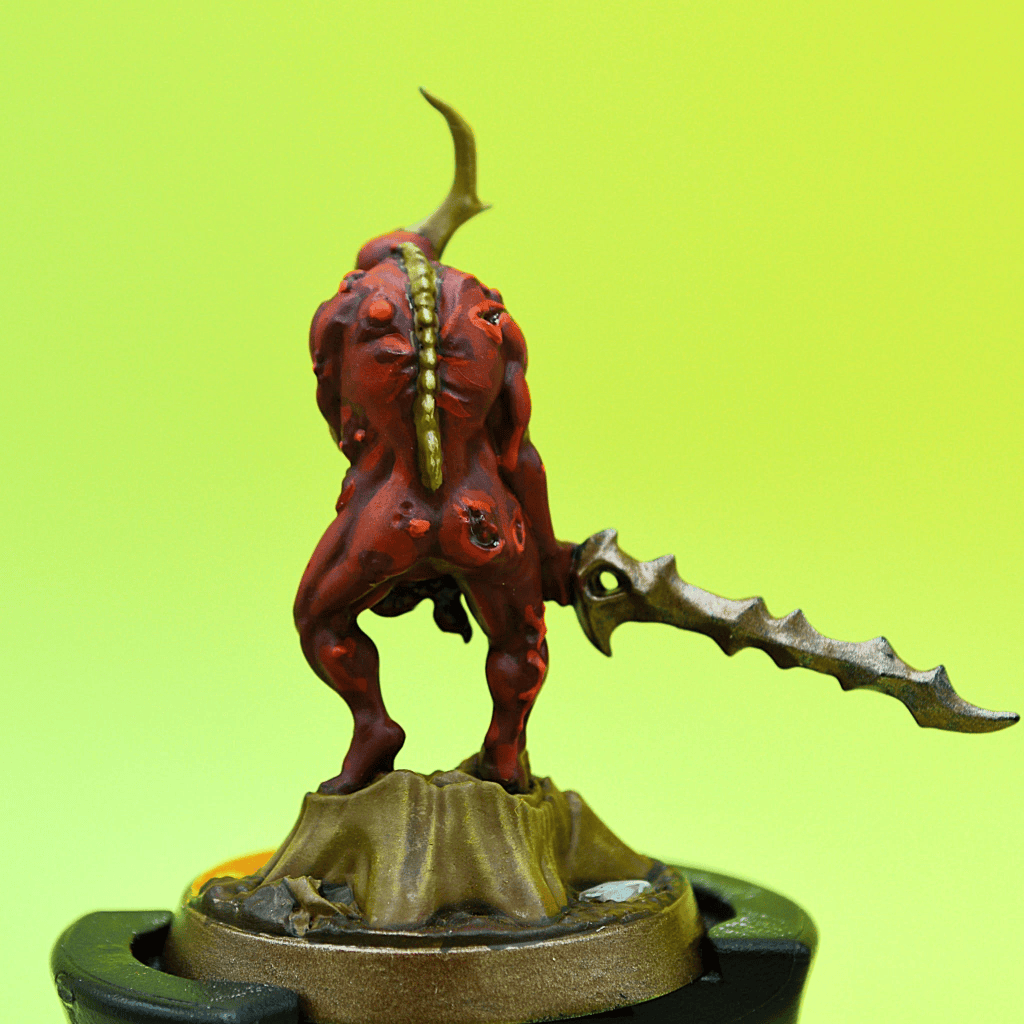
Our swordsman is probably my favorite model of the bunch, and he is the only Nurgle-adjacent guy I’ve ever seen who doesn’t look even the slightest bit happy to be doing his job. Slunge has a respectable 2 hammers attack and only gives up 1 bounty, so he’s a great opening piece who is guaranteed to survive the first clap-back. His main limitation is the range 1, which means you may have to choose between letting him smack something or getting onto treasures for cycle advancement and scoring purposes. Once inspired he goes to 3 swords which is a bit of a side-grade, but does pick up ensnare. More notably he gains a point of health so he’s back to not-vulnerable, which is a real nice benefit.
Maggoty Strewg
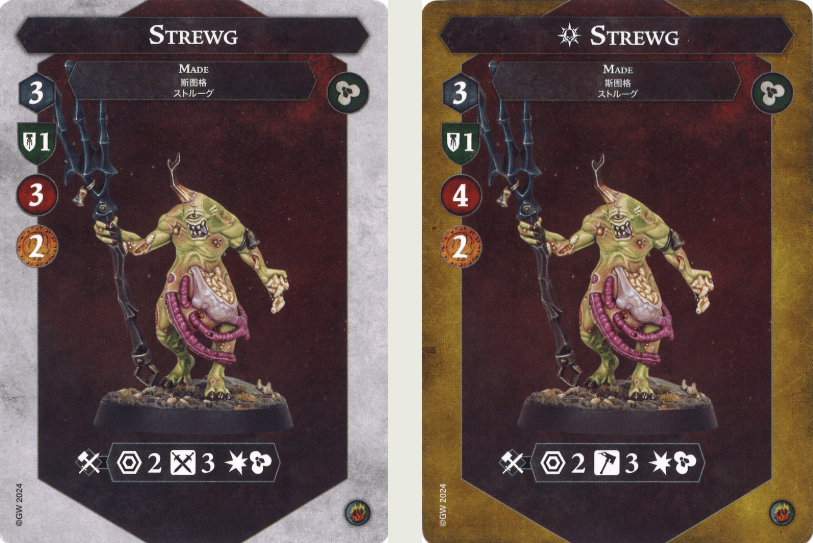
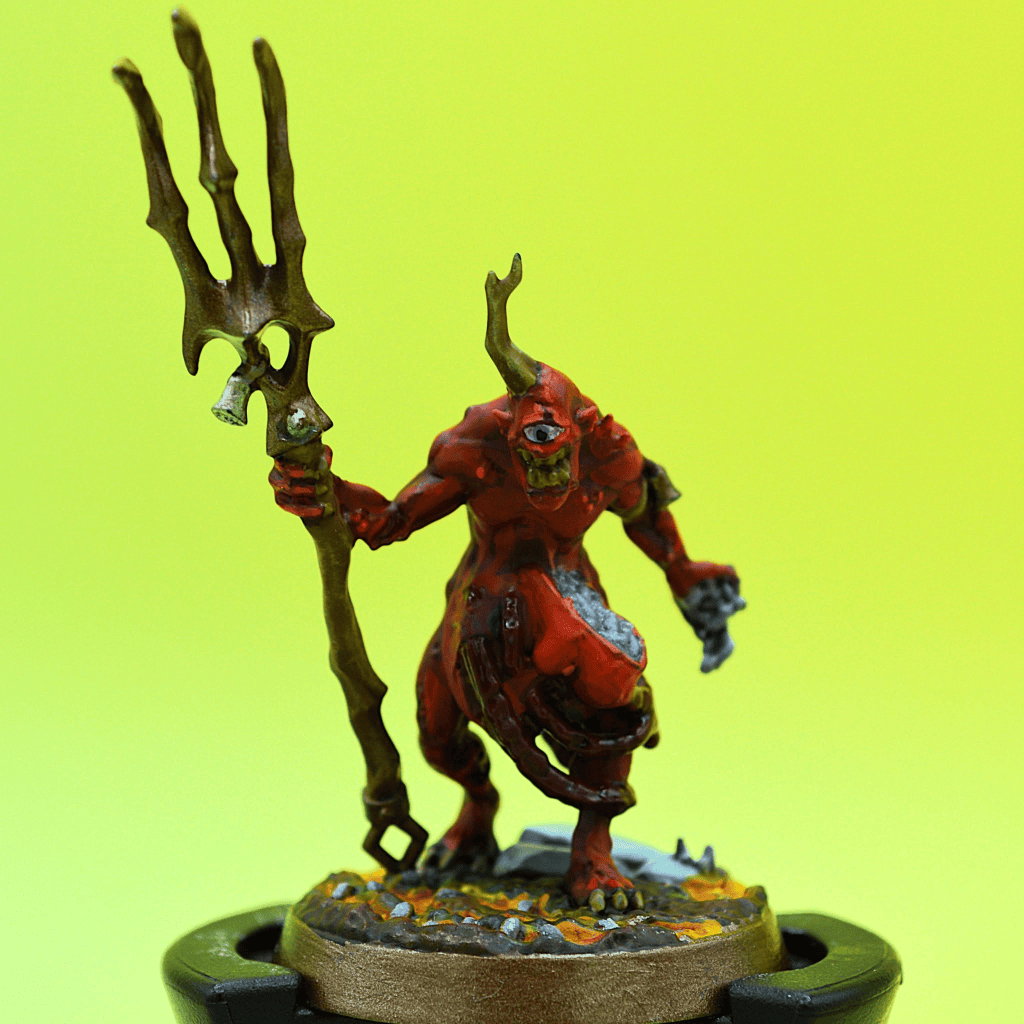
Strewg is the all-star and MVP of this team, who should be used with care as he’s the priority target for your opponents. Easily the most accurate fighter you have and also able to dish variable damage at range 2, he gives up 2 bounty. Try your best to keep him safe until it’s time for that 3 damage wallop since he’ll probably hit while also being able to occupy a token.
Bonus points for the Johnny Appleseed vibes, I can absolutely imagine this guy skipping and singing as he scatters the maggots around his freshly raked earth.
Bug-Eyed Dripterus
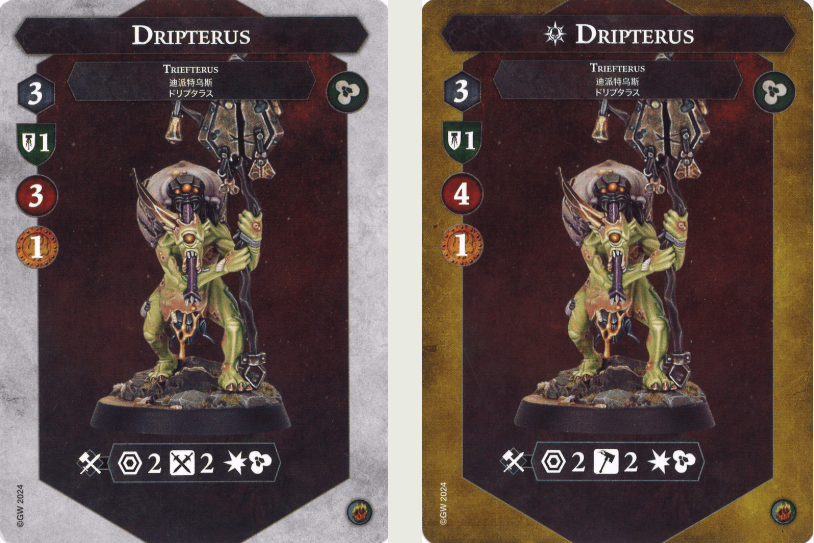
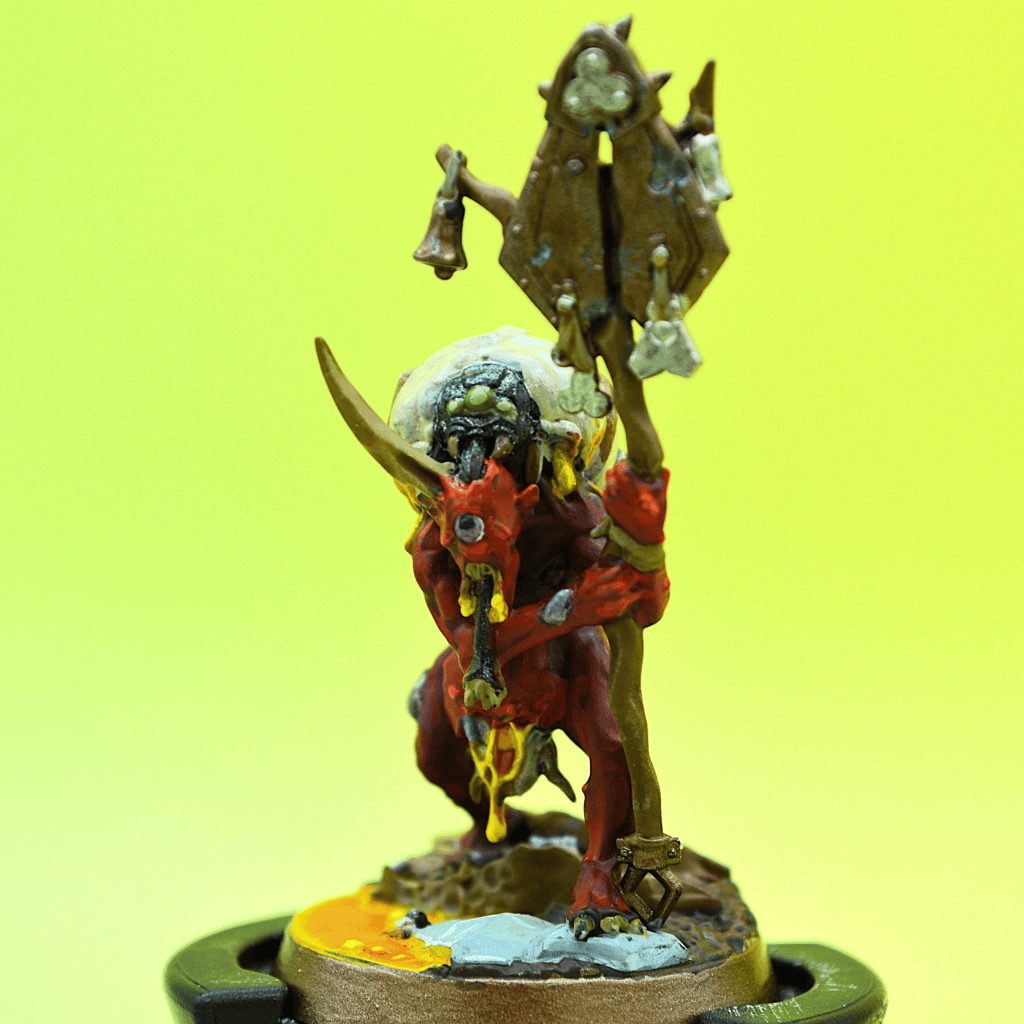
Ok, this guy is your worst fighter by a country mile, at least assuming you want to do any damage. He has the same defensive profile as the other two non-leader daemons, but his accuracy is just awful until he inspires, and even then it’s nothing special. At least it comes in at range 2, so you can make some potshots from a token and pray you land the occasional greedy swing.
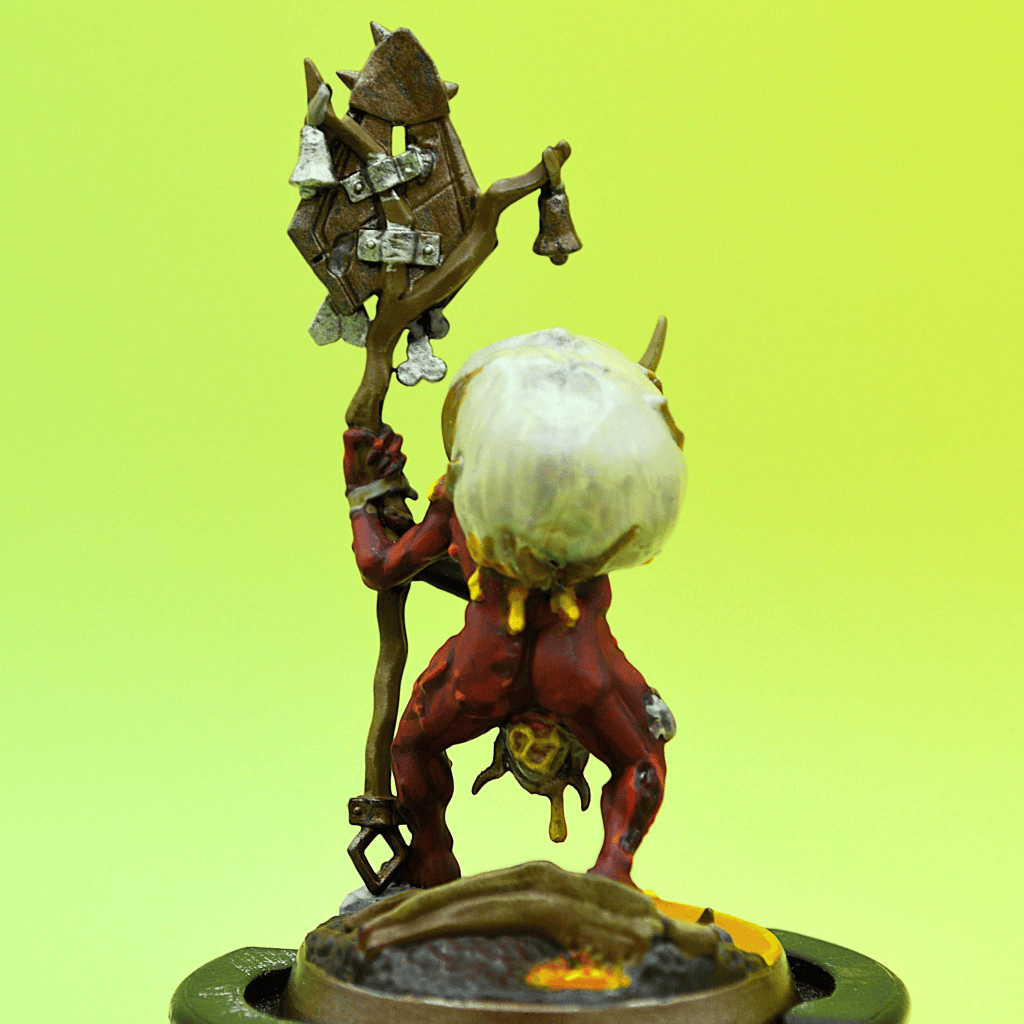
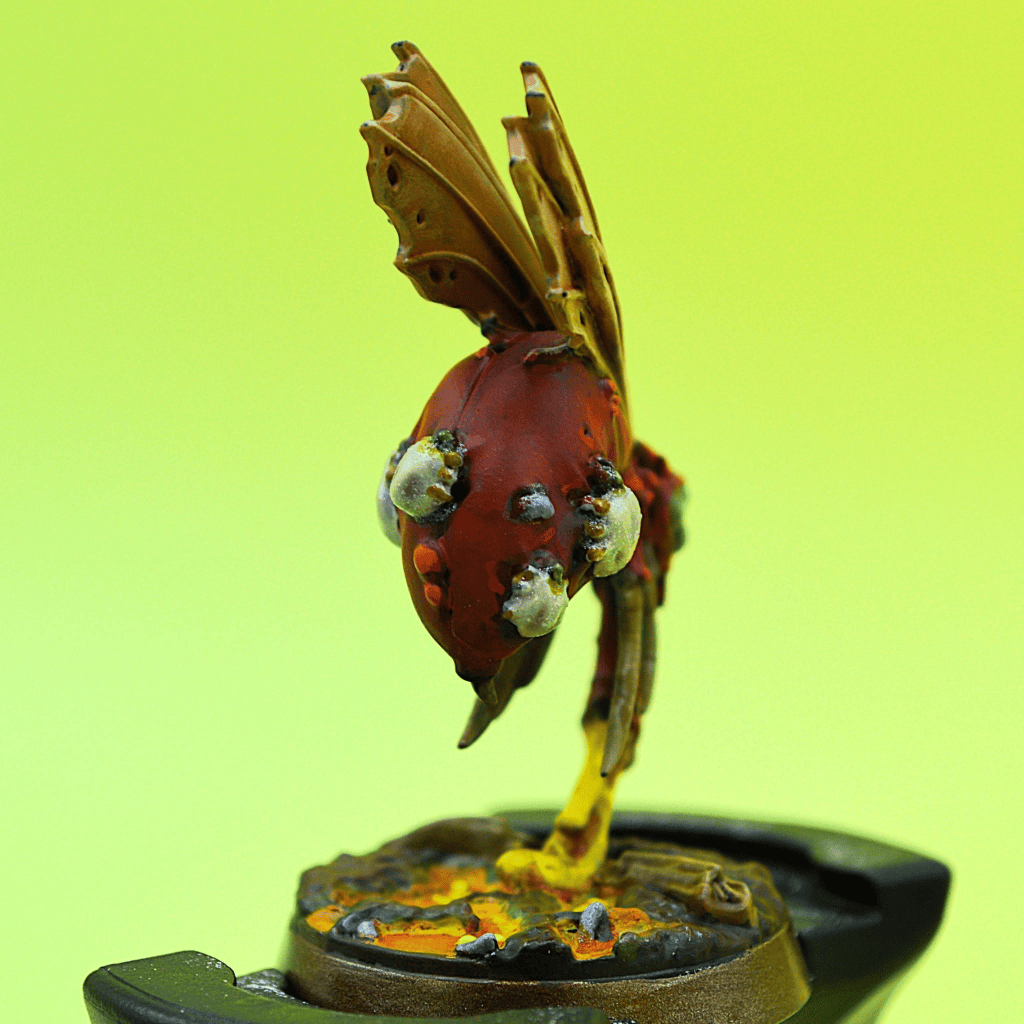
What he is good for though is grossing everybody out. Look how bloated that backpack tick is, with the proboscis quite literally through his brainpan and out his mouth. Another tick being birthed in breech position, a little maggot riding along the slip and slide of anastomotic mucus and everything. A stunning leap forward in plastic model anatomic technology. 10/10 stars.
Squort
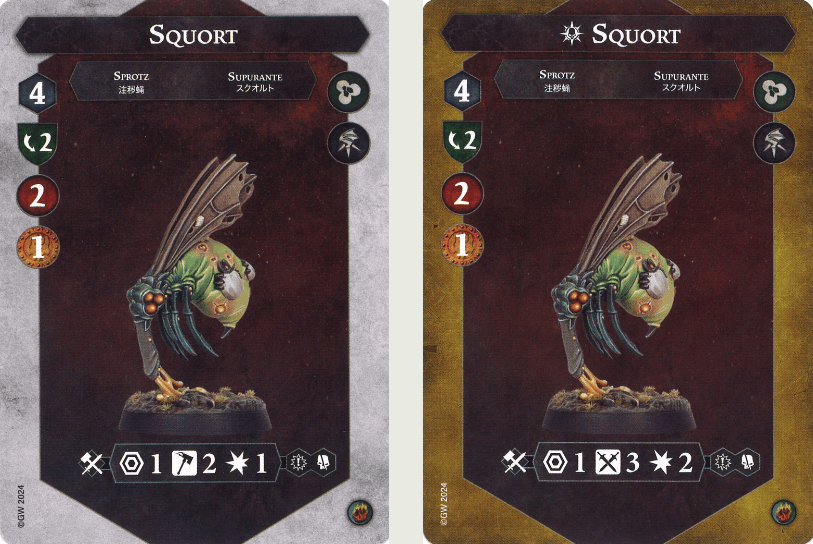
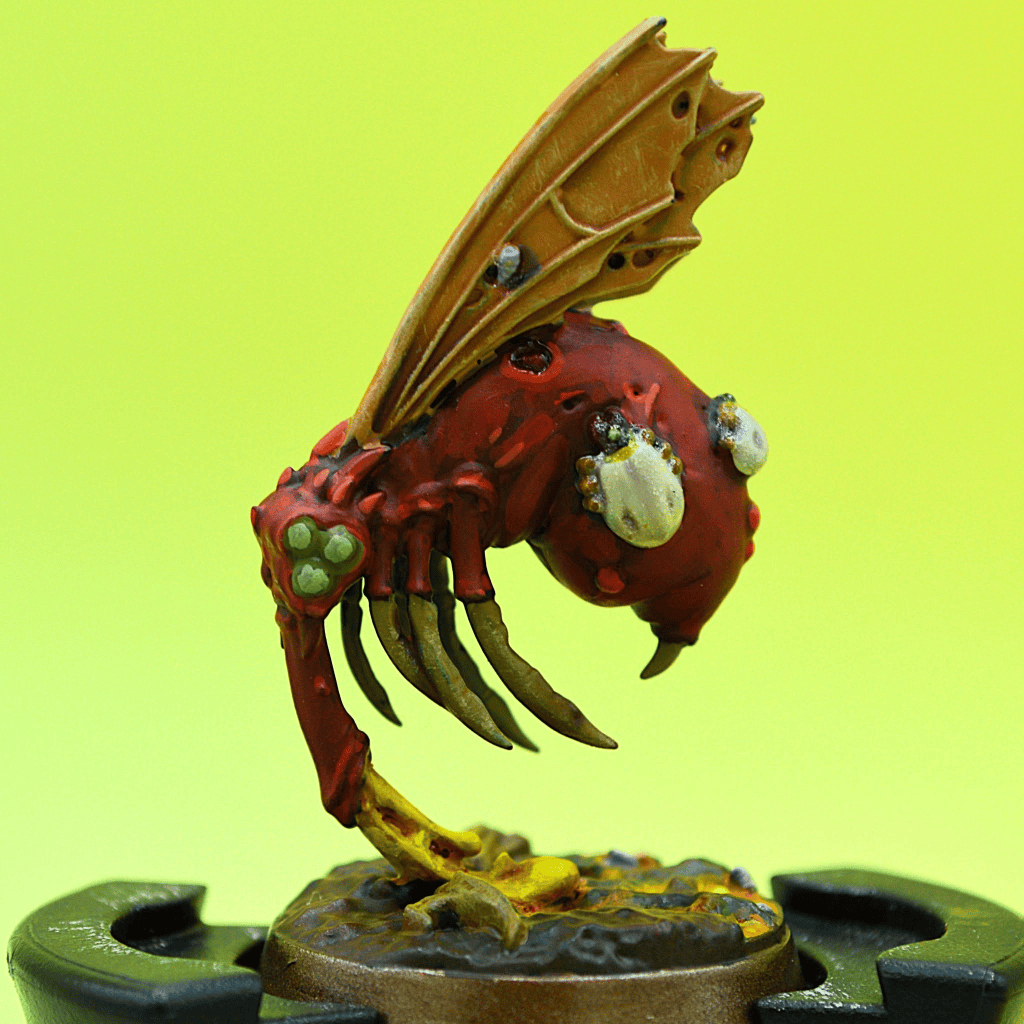
Every warband worth its salt comes with a pet, and this literal bugger is ours. His profile is pretty unique in this warband – first off he moves 4 rather than 3, and has flying so he’ll be able to get where the rest of your team can’t. He also saves on 2 dodge, making him better defensively than the rest of the team and really enjoying guard tech if you have it.
Squort’s major drawback is that he only has 2 health, so imperturbable capping damage to 2 won’t save him. You can get him inspired if they’re foolish enough to attack him for 1 damage, you manage to get a crit and stand fast against a 2 damage attack, or you ping him yourself to advance the tracker and make him vulnerable before his charge. Why do we want him inspired?
Well, he has the unique distinction of being the only fighter on the team who does not have the blooming plague symbol for a damage characteristic and instead hits for 1 damage uninspired, and 2 damage inspired – both profiles with crit grievous. This means he threatens 2-3 damage no matter where the cycle currently is and can be a great tool for slaying things that need to be slain when your cycle is stuck in the 1 category.
He does give up a bounty though, so you may not get a second torpedo out of him, and your opponent might dive him to make sure you never get the first one either. Much of your aggro success will live and die by this guy, so if you’re leaning flex/strike be sure to use him wisely.
Potential Pairings
Emberstone Sentinels is a natural choice for the warband as they’re already incentivized to get on treasure tokens and ideally more than their opponents do in order to spin the cycle. It also gives them a bit of help on both attack and defense as well as a Healing Potion for the lolz. They may struggle to stay on those tokens being only 1 defense, but they won’t be dying anytime soon and can generally hold reasonably well – though beware the warscroll provides no pushes, guard, or out of sequence moves you’d generally enjoy for Holding.
Pillage and Plunder has typically been a strong choice for Gardeners, especially with Emberstone Sentinels. The choice to delve up or down allows you to manipulate the cycle more easily, and pairing provides yet another heal, guard, accuracy, and most notably a weapon that doesn’t rely on cycle position to do 2 damage.
Countdown to Cataclysm is an excellent choice for them as it works alongside the Token Hold gameplan, provides pings that can hurt you if needed to manipulate the cycle, and has a 3-damage weapon upgrade (that also hurts you!).
Wrack and Ruin is an option for this warband that takes a huge amount of brainpower to use well as the warband’s cycle can go haywire – either in ways that allow you to do ungodly things, or in ways that make your damage output bad and your objectives fail to score should your healing come at the wrong time. When done right though, it’s hot fire.
Hunting Grounds is a viable choice (so long as you can convince them to come to you with your other deck in Nemesis) – the warband will appreciate the offensive output benefits considering their otherwise lackluster attack profiles, and you’ll be able to survive long enough to make use of the power cards.
Nexus of Power is a deck that has some serious downsides, but Gardeners are able to ignore a little bit of their usual weaknesses when applying this deck to their gameplan. They’re replete with range 2 attacks so the Nexus range extension isn’t that big of a deal, but the nice thing they’ll enjoy is the near guarantee of never dying right away. Sure, you were driven off the token, but you’re still Covetous since you’re within 1 of it after the driveback. then you just walk back on. You’ll also almost always be holding more than your opponent since they’re best counterplay will be to stand on cover tokens, but that just means your cycle spins mighty fast and you’ll heal all day.
In Practice
Data from the Nemesis Statistics Project has this warband rocking a 51.2% win rate across 697 reported games through the whole of second edition. Remove busted legacy scrolls and it’s up to 52%. It remains 52.2% in over the two most recent metas recorded, so they have been reasonably placed across all time since their release. A solid warband that will hold up against a lot of threats!
Please submit your games to the Nemesis Stats Project by clicking here, I promise it’s not hard.
Spent Glory’s recent ITC meta-analysis demonstrated that in the past year at registered tournaments, Grandfather’s Gardeners are in the B Tier. This puts them in the middle of the pack competitively, but in the upper third-ish. You see them fairly often, they win at reasonable rates, and can handle ‘real competition’ without falling flat. You may not take home gold with them, but they’re a legit choice even at the highest tournament levels.
I personally have played this warband 7 times, going 3-4. I do have a +1.6 average glory differential despite a losing record, so they’re still looking pretty reasonable! My best results were with ES/PP which aligns with what a lot of people tend to run them with.
Brian of What the Hex took this ES/PP to a bunch of things, qualified for Worlds, then took it to Worlds 2025 and ended up in 38th place after going 6-4. Here’s a Love Letter he wrote to describe it!
Staggerers cooked up this Coutdown/Wrack ping-filled pairing for cycle spinning and killing stuff with plague magic, if you’re into thinking way too hard
This ES/Wrack build took 58th place at the World Team Championships in 2025 when piloted by Gerardo (USA! USA!)
Finally, this Emberstone Sentinels/Nexus of Power build designed by Martin Higham took second place and went undefeated in a nearly 100-man field at the biggest Warhammer World Clash of 2026.
Wrap
Grandfather’s Gardeners are a totally new way to play the game and a blueprint for the coolest things warscrolls can offer in second edition. Your fighters are near impossible to kill, everybody can threaten big damage, and you have agency from both sides of the table to manipulate their stats. What more could a board game nerd ask for?
Whether you’re scouring Nurgle’s rot from the underworlds, or planting some maggots ripe to bursting, I hope you enjoy spending some befouled glory!



 Spent Glory
Leave a comment