
This article is a part of the Contender Series, the goal of which is to encourage players to begin participating in Organized Play events, attending tournaments and Grand Clashes, and overall up their competitive game to improve as players and ultimately win more often. While I am not personally some competitive ace taking home glass every weekend, I do have advice to help get newer players off the ground and set you on the path to success, and also can point you to better players than myself where you can get more focused advice when you’re at that stage. I will attempt to keep this article series ‘timeless’, so while I’ll reference specific warbands, cards, and mechanics occasionally, I want it to be relevant for years and so will try to refrain from focusing too much on today’s current competition climate. With those things said, let’s dive into this article’s main topic: Choosing your board and rotating it to your advantage.
Articles in This Series:
Articles in This Series:
Warband Selection
Choosing a Deck/Pairing
Deckbuilding Overview
Evaluating Surge Objective Cards
Evaluating End Phase Objective Cards
Evaluating Ploys
Evaluating Upgrades
Deckbuilding: How Many Cards?
Opening Hand and The Mulligan
Board Choice and Orientation
Feature Token Placement
Fighter Placement
So You Won the Roll-Off – Do You Choose First or Second?
Practice
Event Format Considerations
Elites
Big Boys
Hordes (Coming Soon!)
Check out other tournament related articles:
Counterplay Series
Participating in Your First Tournament
What to Expect at your First Grand Clash
How to Run a Local Tournament
Building Your First Nemesis Deck
Overview
Having already chosen your warband and if applicable, the cards for your deck, it’s finally time to sit down and play a game. The first step you’ll take is rolling for who chooses and places the board. But before we even get to that stage, a savvy competitor will have evaluated the boards available to them and know which ones they want for what scenarios, based on their warband’s characteristics, the deck strategy, the opponent, and what cards you expect to playing against. Let’s take a peek at how to evaluate board quality.
A Note on Orientations
There are two main categories of board orientations. The placing player decides whether to orient things in a ‘wide board/fives’ orientation with five hexes on neutral territory, or a ‘long board/nines’ orientation which has nine hexes of neutral territory. This choice can be dependent on their plan and/or their opponent’s perceived plan.
Fives: This is generally best for Aggro gameplans, or slow warbands who cannot afford to waste activations positioning fighters too far away from enemy territory. It is also useful for situations where your cards specify things within friendly or enemy territory (and it reduces the total area in neutral and maximizes ‘owned’ territories), or if you want to fit 3-4 treasure tokens in a single player’s territory. You will also hurt opponents who require things to happen in neutral territory, as wide-boarding significantly shrinks this area.
Nines: This orientation positions opposing players’ starting hexes slightly further from each other on average. Generally, a Longboard is the better placement for a defensive warband who is interested in passive scoring, while disadvantaging an opponent who needs to invade their side. You will get the best leverage out of longboarding if you have good mobility and ranged attacks and Objective cards that don’t require interaction with the opponent. You will hurt your opponent the most with Longboarding if they have lower movement (move 3 or less), or have a warband that requires them to engage in enemy territory.
Starting Hexes, Features, and Implications
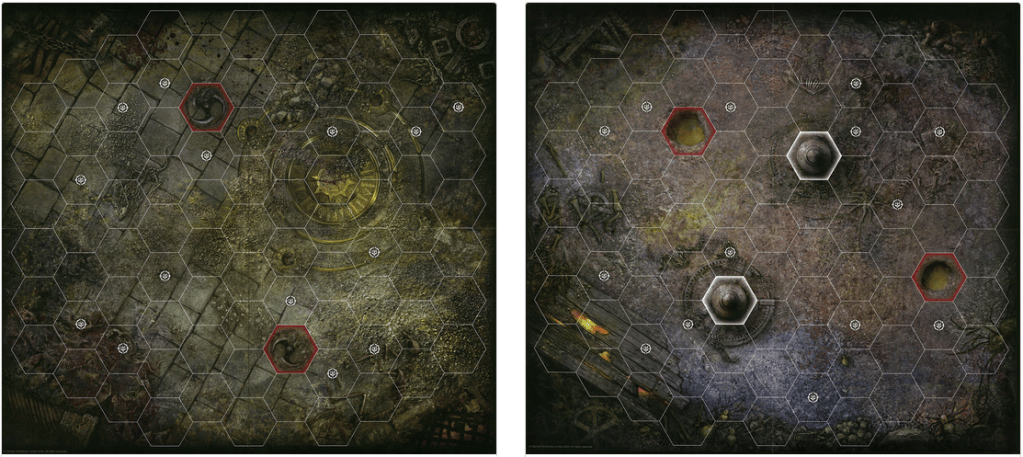
Every board has seven starting hexes, but they will not all be in the same spots. After evaluating your deck and your warband, consider the following things about your starting hexes; are there good ones near edges or in the middle, are there starting hexes adjacent to one another, and are they near features that impact your plan?
Starting hexes near the middle of a board can be very useful for invading aggro, as you will have reduced the distance you need to travel to enter enemy territory. Be warned that they may not be balanced across both sides of a board, so be mindful of the orientation you choose to allow for as many 3-hex charges as you can get. Adjacent hexes can be quite important for some warbands, especially if playing with Deadly Synergy – perhaps you have an ability on a character card that requires an adjacent fighter, or cards that want you to have support or fighters ‘within x’ of another friendly fighter. Adjacency hexes make this much easier to establish at the start of the game without the need for pushes or moves.
The boards you choose may contain special feature hexes. How many, which type, and where they are located (as well as their relative position to starting hexes) will be very relevant for some warbands.
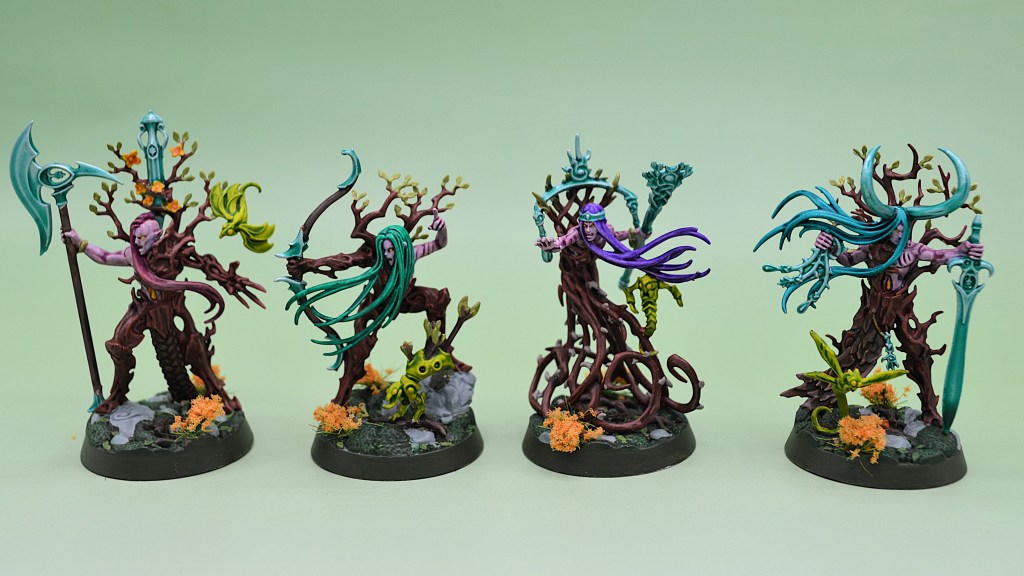
Perhaps your warband or deck relies on stagger hexes to activate the effects of some power cards/score some objective cards. You’ll want a board that has enough stagger hexes in relevant positions to take advantage of this. You can also use Stagger hexes as a method for making your enemies more easy to hit – if you can orient the board so they have starting hexes adjacent to the stagger and you can manufacture the ability to push them in, that may well be to your benefit. Conversely, you can be pushed into them yourself, so be mindful of this, especially when planning to play more defensively.
Blocked hexes can interfere with charge lanes and line of sight, so can be useful for a defensive warband, especially one that doesn’t want to use ranged attacks. Note that in second edition Flying no longer allows you to pass through Blocked hexes, so they can be quite effectively used to limit enemy mobility. IF you know your opponent is slow and needs to come to you, or wants to take ranged shots as you come in (and you have the speed to overcome it), A blocked hex-heavy board may be your friend.
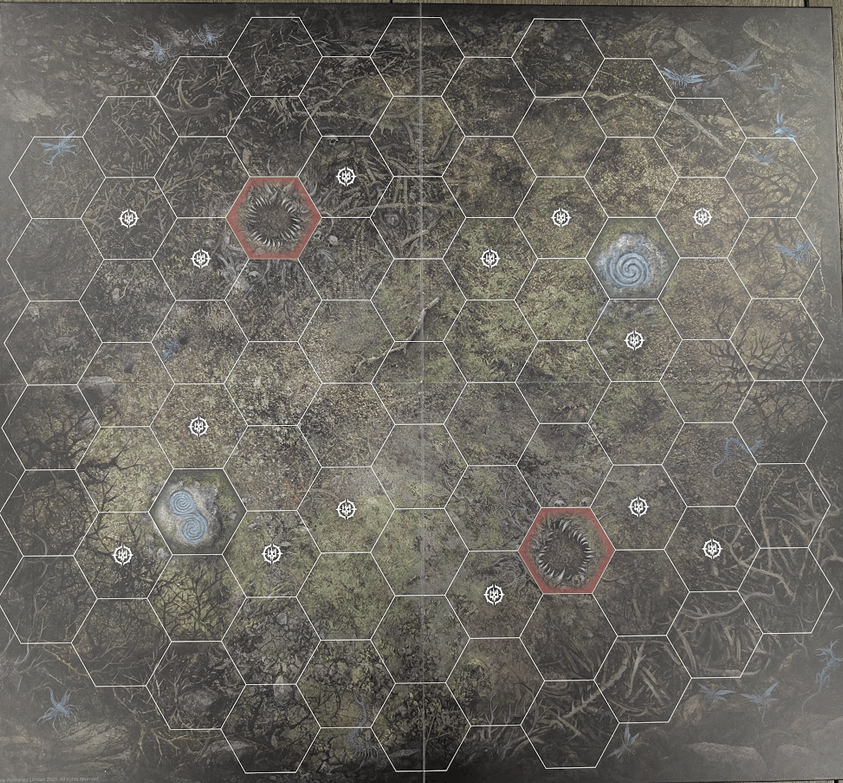
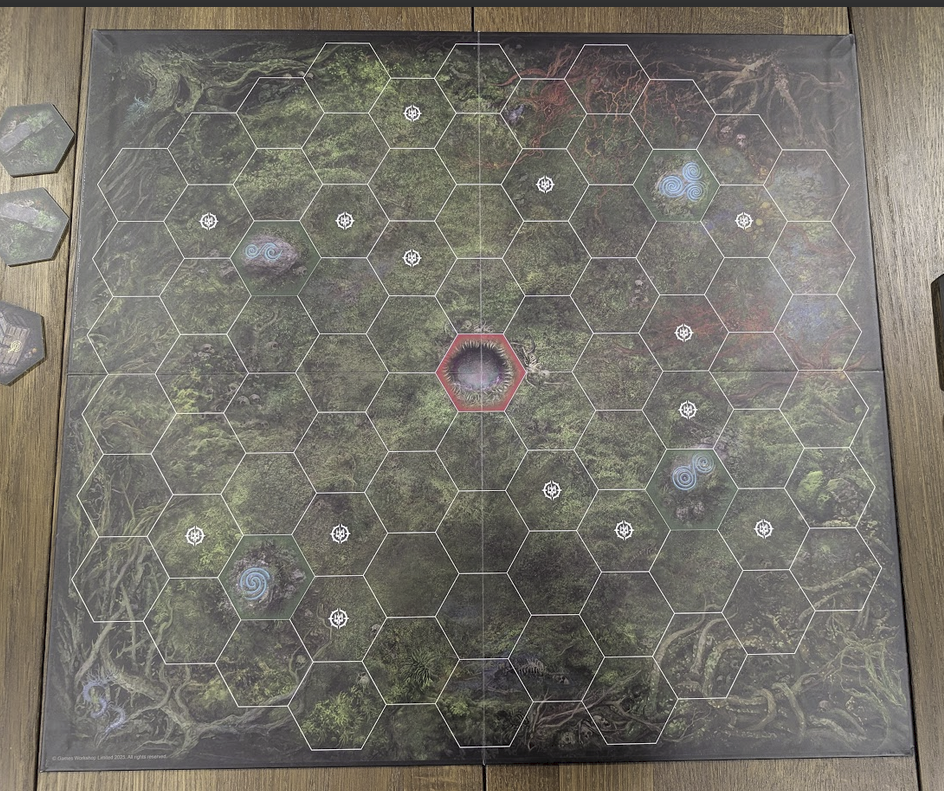
Waystone Hexes are present as printed hexes on the new Spitewood board. Waystone hexes are sanctified ground that let you re-roll one dice in an Attack or Save roll. No matter which of the Spitewood board sides you take and regardless of the orientation you choose, each player will have the same number in their territory: either 1 or 2. Neutral territory will never have a Waystone Hex.
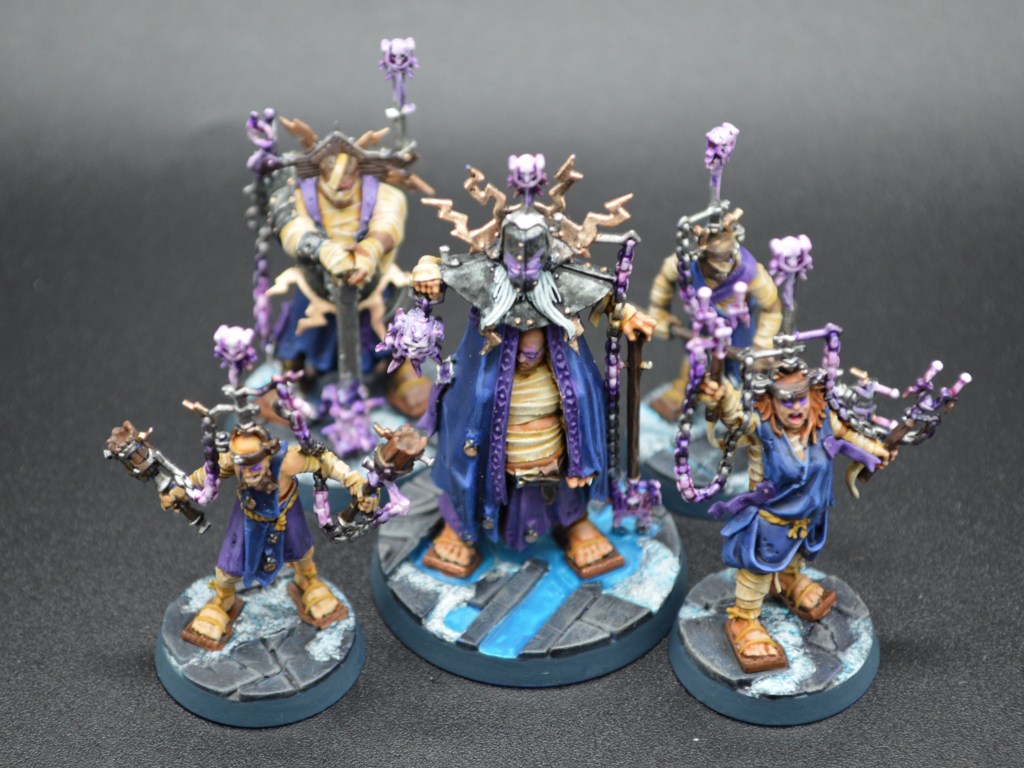
Warbands with ranged attacks may appreciate these as they’re able to reroll attacks regardless of where they are attacking into and will get the reroll on saves if anybody tries to knock them from their turret perch. Aggro/Strike invading teams may benefit from this as well should they be able to land in one in enemy territory to get busy slaying.
In most mathematical scenarios, the attacker benefits more than the defender from a single reroll. Someone planning to play invasive aggro may be more inclined to take boards with waystone hexes, especially if they have additional pushes and moves to get onto them. Even should the defensive reroll your opponent gets potentially give you pause, a defensive player likely has far less reason to stand in a Waystone hex. In my experience, waystones benefit the attacker and invading team far more.
Matching the Board to the Warband
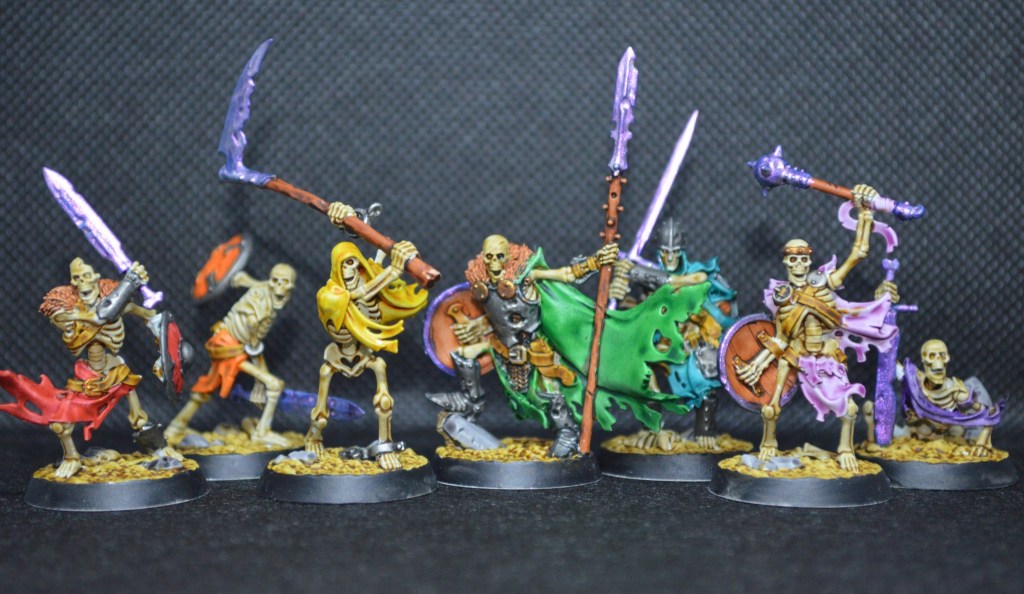
Different boards, depending on the starting hexes and features, may work better with certain warbands. A warband with seven fighters will have to occupy every starting hex, so you’ll want to like all of them in a given orientation (or be willing to place a fighter or two in a dangerous position/too far away to contribute). Warbands or decks that want adjacency need good adjacent starting hexes. A given board may be considered ‘good’, but might not fit your warband, so make sure to look for yourself.
Matching the Board to the Playstyle
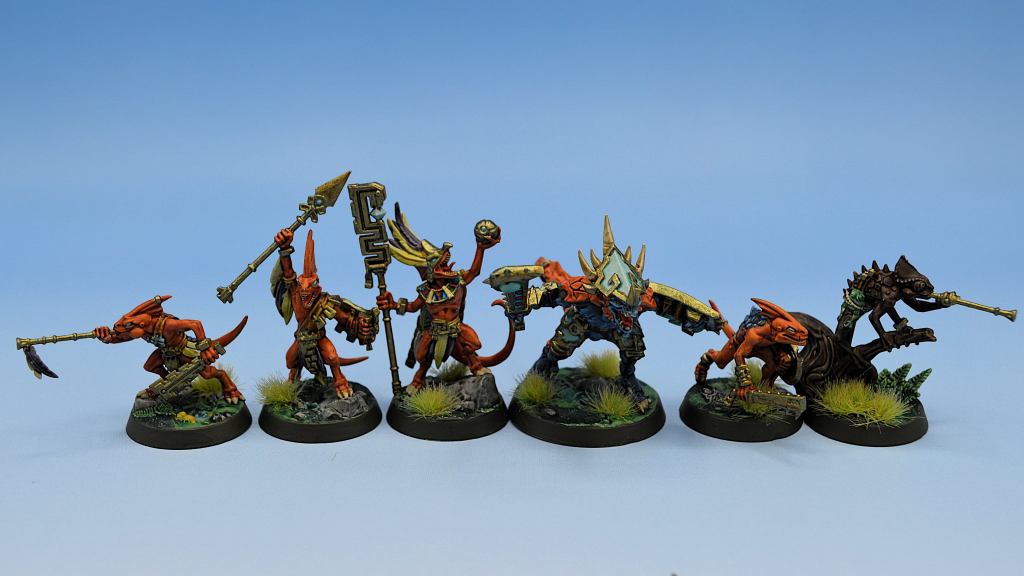
A player who wants to invade will want starting hexes near the center. A player who wants to hold treasure (and wants three on their side) will want to have appropriately spaced starting hexes and feature hexes to allow for three objectives to ‘fit’, hopefully in safe enough locations. A player who hopes to make the most use of neutral territory will want few feature hexes there as they will occupy space a treasure token could go, or make for fewer/more dangerous spots for their fighters to stand in. Conversely, if you believe your opponent will be making use of that space, filling it with starting hexes and feature hexes will limit their ‘useful’ options.
Matching the Board to the Opponent
All of the above points have relevance when considering your warband, deck, and playstyle, but be aware of what your opponent may want as well. When possible, you should pick a board that suits your needs and causes problems for them. If you’re playing a best of three, you will have seen what they have and their general plan in the first game, which should inform your choices for games 2 and 3. In a best of one, you can make assumptions off of the warband itself, and any plot cards that they may reveal at the start of the game. In a rivals matchup, your information will be much more complete, but for Nemesis you’ll need to play a bit of a guessing game. Prioritize playing your game and picking a board that works for you, but don’t forget to think about their plan as well! You’ll have the most success disrupting your opponent in the board orientation step should you win the roll off and choose that, but the board itself can play a role.
Best of Three Considerations
If you’re playing a single game, that game itself and the boards chosen are all that matters. In a best of three format, however, there are a couple extra things to consider. The winner of the first roll-off is presumed to lose the second, so generally you’ll be placing the board in either the first or second game and not in the other one. Should the match go to a third game, however, you’ll roll off again, so there’s a chance you get to use your prior information to choose. Knowing what board they placed and how they oriented it in their prior game, you’ll be in a good spot to choose the ‘right’ board you place for game three, and that’s the most important game of a match.
If the board played a role in you winning one game, consider doing that again. If the board played a role in you losing, probably avoid that one. If you’re unsure, you can always simply choose the board that most different from whatever your opponent chose when they got the chance, since that’s presumably not what they were hoping for.
Wrap
As I have stated before, I’m far from the authority on board placement, but I have picked up a few tricks. In general when choosing your board, be mindful of feature hexes (such as Blocked or Waystone) and make sure they’re ones you can accept or take advantage of. Look at starting hexes and make sure you have enough adjacent ones or edge ones etc to execute your plan. Look at where the stagger hexes are and make sure your game plan can accommodate that. After the board is placed, you’ll move onto placing feature tokens, which we will look at in the next article. Until then, get out there and spend some glory!






Leave a Reply