
This article is a part of the Contender Series, the goal of which is to encourage players to begin participating in Organized Play events, attending tournaments and Grand Clashes, and overall up their competitive game to improve as players and ultimately win more often. While I am not personally some competitive ace taking home glass every weekend, I do have advice to help get newer players off the ground and set you on the path to success, and also can point you to better players than myself where you can get more focused advice when you’re at that stage. I will attempt to keep this article series ‘timeless’, so while I’ll reference specific warbands, cards, and mechanics occasionally, I want it to be relevant for years and so will try to refrain from focusing too much on today’s current competition climate. With those things said, let’s dive into this article’s main topic: So you won the roll-off, do you choose to go first or go second?
Articles in This Series:
Warband Selection
Choosing a Deck/Pairing
Deckbuilding Overview
Evaluating Surge Objective Cards
Evaluating End Phase Objective Cards
Evaluating Ploys
Evaluating Upgrades
Deckbuilding: How Many Cards?
Opening Hand and The Mulligan
Board Choice and Orientation
Feature Token Placement
Fighter Placement
So You Won the Roll-Off – Do You Choose First or Second?
Practice
Event Format Considerations
Elites
Big Boys
Hordes (Coming Soon!)
Check out other tournament related articles:
Counterplay Series
Participating in Your First Tournament
What to Expect at your First Grand Clash
How to Run a Local Tournament
Building Your First Nemesis Deck
There will be a roll-off to open the game after fighter placement is complete, the winner of which will determine who takes the first turn, and therefore the first activation of the game. In about half of your games as a player that person is going to be you – and the decision to go first or second to open the game will undoubtedly have implications for your competitive success. A similar decision will need to be made in rounds 2 and 3 after the roll-offs in those rounds, though arguably the first round is the most important. Which should you choose in different situations, and why?
Remember Your Objectives
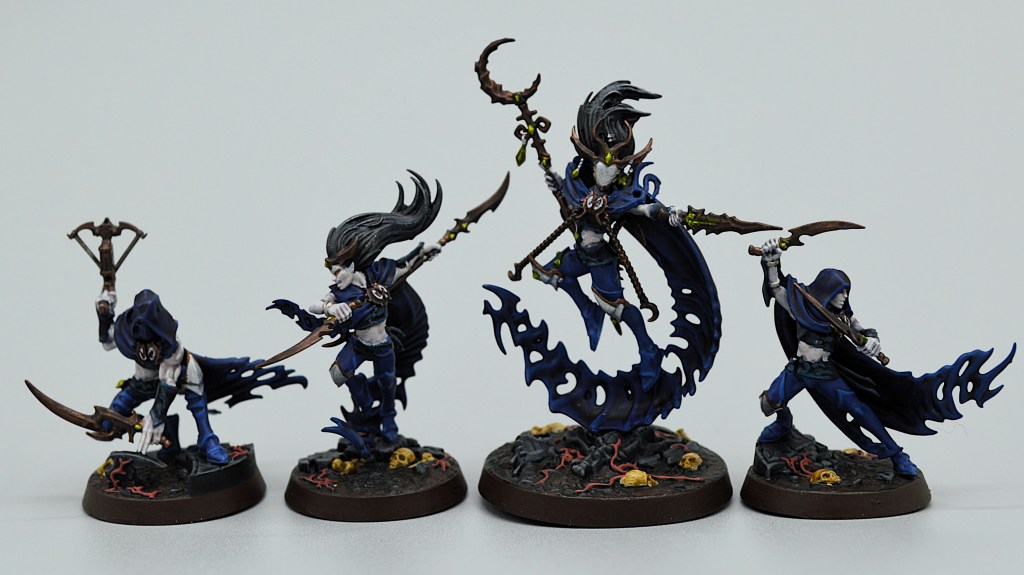
Prior to this step, you have drawn your cards and then taken a mulligan if necessary. Do not settle into the comfortable routine of “I like to go second with this warband” or what have you. If you have a card that you’re much more likely to score going first, or a warscroll ability that you would love to play before your first action step of the round/before your opponent gets to take an action, use that information to aid your decision. Your cards should inform your strategy. You win the game by scoring your Objective cards. (You can ALSO win the game by denying your opponent the ability to score their Objective cards, so consider choosing whichever priority is worst for them).
That said, there are some considerations for each round when you win the roll-off. Let’s go through the options. One of the better parts about Underworlds is that there are very few “always” and “never” absolutes.
First Turn: Opting to Go First
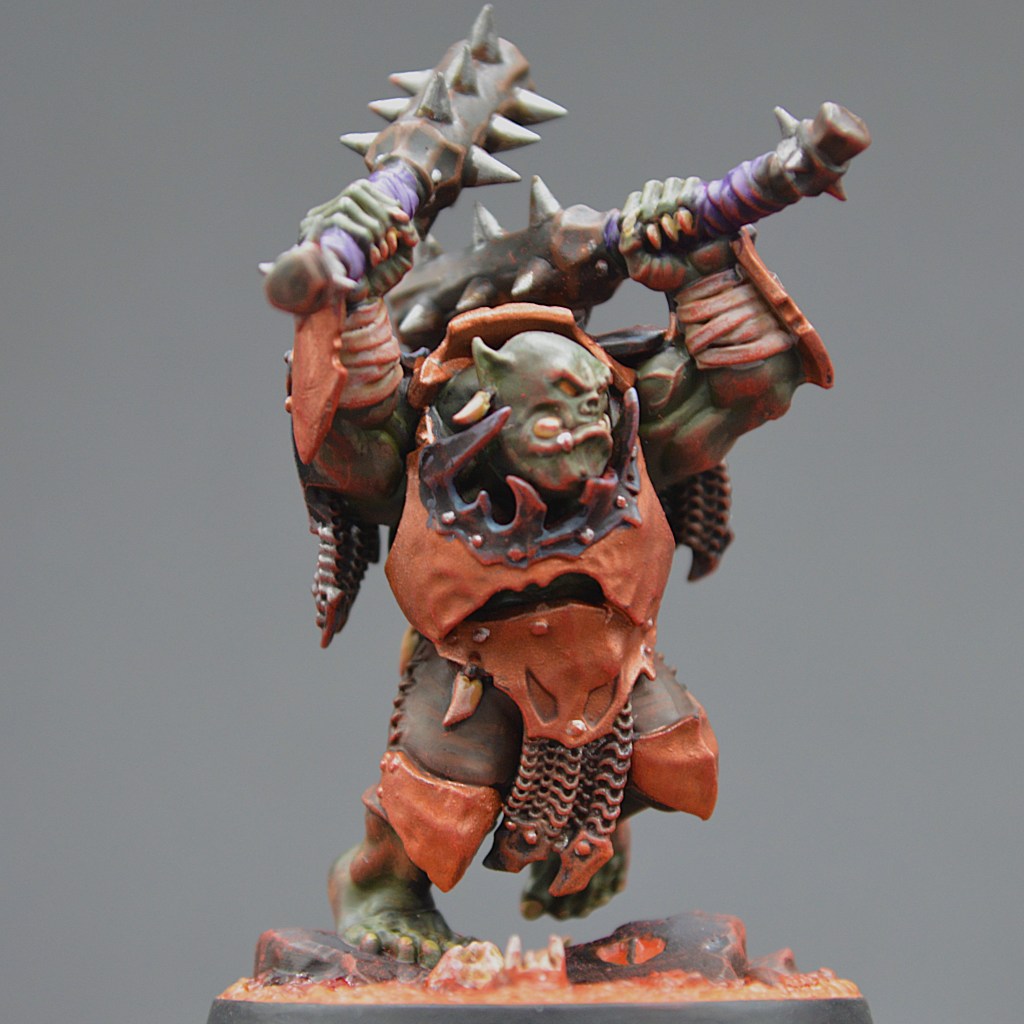
The biggest incentive for many warbands, especially in the aggro or flex gameplans, is the first opportunity to deal some damage and potentially take a fighter out of action. It can be important to take the initiative if you have the chance to snipe a troublesome fighter before it has put out damage if you go first, provided it’s in range. If there’s a fighter you know is important to the opponent’s gameplan (being the leader or having a specific keyword or ability for example), it can be hard to pass up the chance to put some hurt on it early. However, you should be aware that there is no Power step before the first activation, so you’ll be making that attack without being able to play cards beforehand (unless you have some special mid-charge reaction card).
While you won’t get to play a card before your first activation, the player who takes the first turn does have the first opportunity to play a Ploy card or use a Warscroll ability afterward. If there’s a very cool effect you want to have in play before your opponent can make their first action – say a Domain card that will set the tone for the rest of the round, or a Control-style card that will make their first activation minimally impactful, getting to play that before they make a move can be a strong incentive to go first.

The player taking the first activation also has first opportunity to score a Surge (or score them earlier). If you have a surge you can score before the opponents’ first action, that’s another great reason to take first. Just know it comes with real risks. But again, you win the game by having more glory, and generally obtain that by scoring more cards. The earlier you start churning through your Surge Objectives, the sooner you’ll see the next card, and the sooner you can score that one too.
You can also potentially occupy a critical token with a fighter that is very difficult to displace. Certain matchups can even further accentuate this. You probably will still want to go second more often than not, but there exist situations where it makes sense to do the opposite. The general principle we can apply here is the ability to occupy an important position or token and then not be driven back should you have a card or warband ability (such as the Starblood Stalkers’ Bulwark Celestial) that allows you to do that. A fighter who takes the second turn might not get the chance to land just where they want, but going first means that spot is theirs for the taking and they won’t be taken off of it very easily.
This last point is somewhat dependent on your warbands’ specific traits, but in some instances taking the first activation also means you have potential for earlier inspiration. Some warbands and gameplans really depend on inspiration, and if you can inspire mid-round after a condition is met, you may be able to meet that condition sooner if you go first.
First Turn: Opting to Go Second
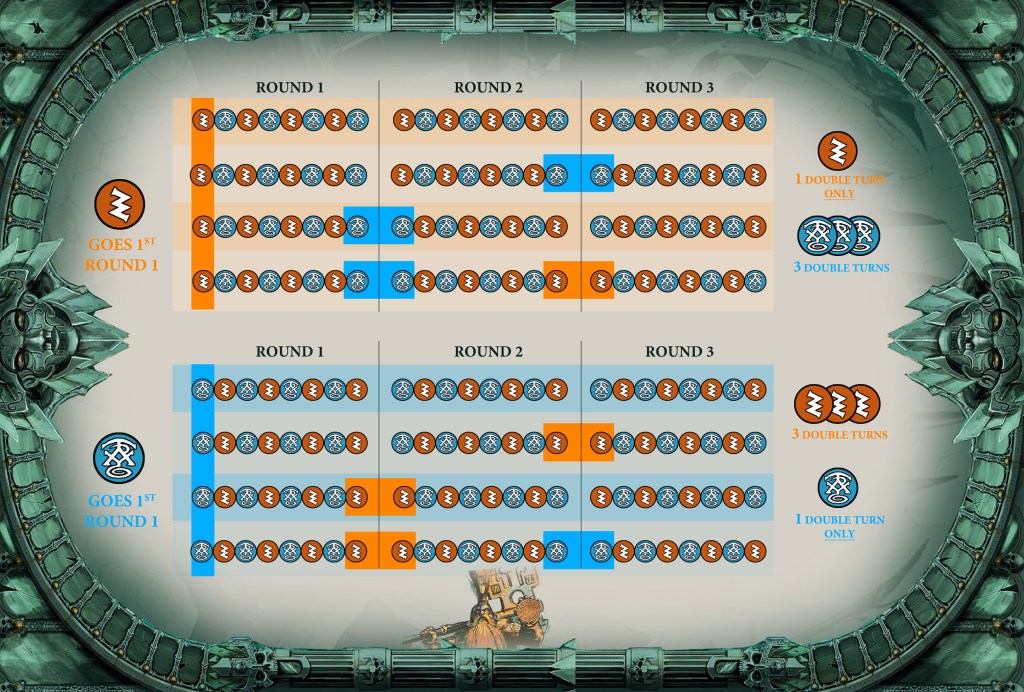
Likely the biggest incentive to go second, and the reason many people choose to unless they have a strong reason to do otherwise, is the chance at a ‘double turn’. Wathlab, a community hero from first edition, outlines the theory in on old post that remains relevant today, and I have pasted the turn order diagram above. Please note this does not factor in the tiebreaker for Underdog which moves the needle slightly, but the general theory remains.
The player who goes second to open the game has a ~50% chance of going first in round two, and again a ~50% chance of going first in round 3. This gives them a solid chance of getting a ‘double turn’ at one point in the game, where that player has the final activation of a round, and then the first activation of the following round. This gives you two unanswered activations in a row – a chance to get two attacks off in a row, or a chance to set up the board state how you like it and then capitalize without any interference from your opponent. Regardless of your playstyle, warband, or plan, this is almost always a benefit, and even if it isn’t a big boost to you, you still have the chance to deny it to your opponent if you go second.
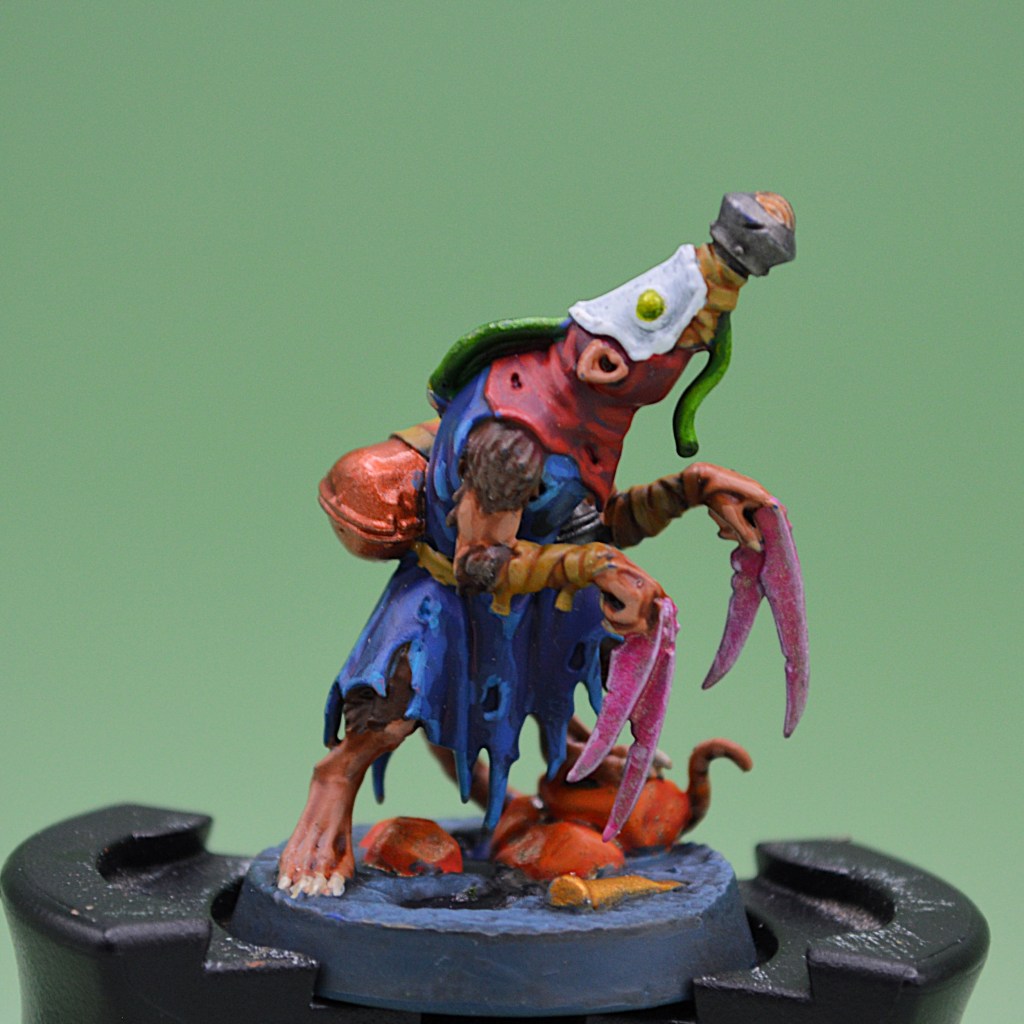
The player who goes second also gets the last laugh with the final activation in a round – you can move onto a critical location without the enemy getting to activate to stop you, or make the last attack to kill/drive back a fighter off of their preferred spot. It’s very common for Take and Hold style play to prefer to go second – lots of your glory is likely tied up on end phase big scoring cards that require you to hold a certain number, a specific objective, in certain territories, etc. The poison pill for that strategy is having your opponent go second, and in their final activation of the round hit a fighter holding a treasure token that you simply NEED to have, either taking them out of action or driving them back. This can take a 5+ glory end phase down to zero very quickly. If that’s your plan, you want to deny that chance to your opponent, and if that’s their plan, you want to go second to block it at the last moment.
Another major advantage of opting to go second in round 1 is that you then force your opponent to go first. Generally speaking, that’s an activation that most of time has less value – they may not have as many charge targets, won’t be able to play cards before that charge, and won’t be flanking on the attack in most cases. If you’ve deployed well or placed treasures well you may have limited many of their options in that first activation, and they won’t necessarily be able to succeed without you helping to close the distance and getting the ball rolling with midboard engagement.
Another advantage of opting to go second in any round is that you get to play power cards before all four of your activations. Depending on what cards you’re trying to score, a power step before the activation can really help meet some conditions and you’ll have four shots at that rather than only 3.
Much like we covered in the Fighter Placement article, one reason you want to go second is the information advantage. Forcing your opponent to place the first fighter lets you know what to look out for and informs where you place yours. Having your opponent make the first move tells you what their immediate goal was and lets you make your first activation with more evidence about their potential Objective cards or gameplan. You don’t just want to score your cards, but also prevent them from scoring theirs, and the more information you start your turn with, the better chance you have of pulling off that dual aim.
Finally, and this is a pretty minor concern, but you have less worry about getting staggered on your turn or suffering any modifiers as a result of any ‘cost’ you need to pay for a card you play, ability you use, or path you move along because your opponent will have less time to make use of it. Imagine getting staggered in the fourth activation in order to pull off some big move – if you went second, those tokens and effects will clear before your opponent can capitalize on them. It’s a niche case, to be sure, but if your warband or deck has that baked in, the cost is lower to you. Similarly, you have less need for going on guard or using defensive boosts since you’ll be getting the last turn.
Round 2: Opting to Go First
In round 2, opting to go first comes with similar considerations from round 1 but with the added potential advantage of the potential ‘double turn’. You’re giving up less ‘information’ and likely have more valid targets to attack, more supporting fighters, etc, so the cost of going first is lower and the benefit is higher.
Round 2: Opting to Go Second

Going second in round 2 has similar considerations from round 1, but with the chance to set yourself up for a possible double turn in round 3 instead. Sometimes, round 3 opens with just one fighter per side left remaining, and getting to double turn into that increases your odds of ‘tabling’ your opponent by eliminating all of their fighters before they eliminate yours.
Round 3: Opting to Go First

Again, there are similar considerations from round 2 here, but without the risk of giving away a double turn. As previously discussed, getting a double turn into round 3, or even just getting to swing first to open the third round can shut the door on your opponent and I usually opt to take it if I think I can finish off that last fighter (or at least get one last stab out of my final survivor before he/she’s taken out of action).
Round 3: Opting to Go Second
Again, similar considerations from round 2 for going second but no chance at double turn (with no round 4). Going second in round 3 also means you will have the final activation of the game, so you have a chance at making a definitive move action to end the game on the hexes you needed to secure victory. One team potentially is tabled and it matters less, but I have seen plenty of games won by the final activation moving into a given territory or onto a treasure or AG token, into/out of adjacency or an edge hex, and so on! Being able to seize a win with the final activation is a great feeling, and if you are playing or counterplaying those positional decks, this is a solid option.
Wrap
You’ve spent a lot of effort to get to this point – you chose your warband, you composed the best deck you could, made the most informed board choices, feature token placement, and fighter deployment choices based on the information you had. That’s a solid foundation to winning a game and giving yourself the best chance at success. Now that the dice are about to get rolling and the fighters are ready to move, knowing whether you want to take that first move or cede it to your opponent will be pretty impactful to your odds of success. Of course, you may not be the one making this decision to open the game, but in the games that you have the choice, the best competitive players know which they prefer in a given scenario. You’ll also have a ~50% chance in the subsequent rounds of getting to make that choice, which can potentially be hugely impactful as well.
From here in subsequent articles we will move onto talking about practice ahead of your event, and then eventually to collected wisdom and tactical tips to close out the Contender Series. Until then though, we have worked our strategy all the way up to the Action Phase, and now you’re ready to earn (and spend!) some glory. Have fun out there!






Leave a comment