
Continuing our beginner-oriented series on The Hobby, today we will be looking into Contrast or Speed Paint to get started on painting miniatures. All the images I’ll use in this article are from warbands that I painted primarily with Contrast paint from the Citadel line, but you can expect a similar effect from other speed paint lines from other manufacturers as described previously.
Articles in this series:
The Benefits of The Hobby
Building Underworlds Models
Painting Supplies
Primer, and Why to Use It
Contrast/Speed Paint
Acrylic Paint
Miniature Basing
Lore, Novels, Art, and Fan Fiction
Making It Manageable
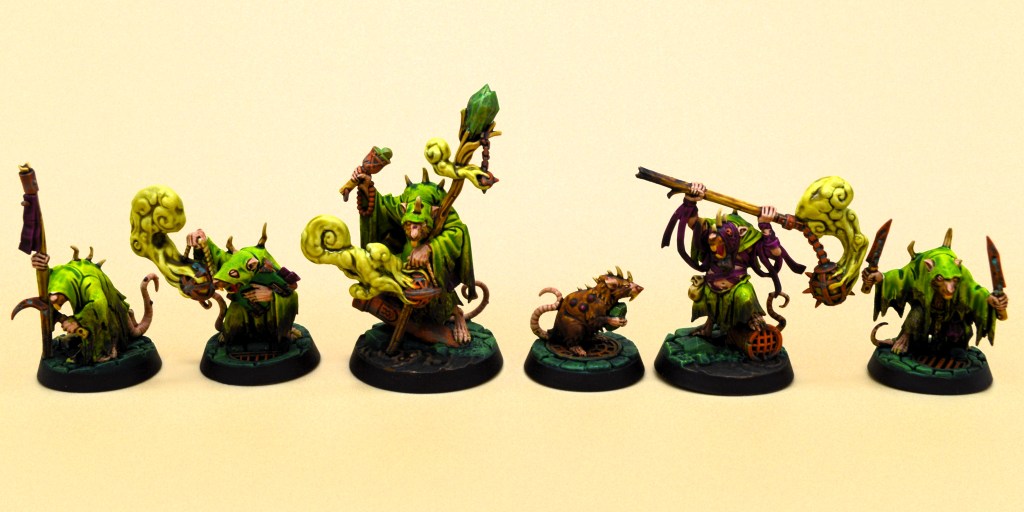
As discussed in the painting supplies article, Contrast branded paint from Citadel (Games Workshop) and other ‘speed paints’ premiered in the last few years, providing a time-efficient option for experienced painters and a great beginner-friendly tool for others. It got a bit of a bad rap when it first came out, sometimes derided as being ‘easy mode’ or even ‘this looks bad, just learn to paint like the rest of us’, but now that it’s been around for a while and people have gotten to really play with it, Contrast paint is an accepted option and I personally make use of it with regularity. I’ve decided to lead with Contrast rather than traditional paints for this series because it can be a less intimidating way to get started on your painting journey. I don’t mean to imply it is ‘easy’, and there are definitely varying levels of skill and result like with any tool, but being able to say ‘I want this model to have brown hair’ and then putting a single brown paint on their hair can help you get things on the table much faster without sacrificing too much in appearance.

As a refresher for what it is, and how it differs from ‘regular’ paint, Contrast is almost a ‘base paint, shade, and highlight’ all in one coat. This is an oversimplification, but in the right setting you really do only need one coat of contrast on a given surface to give it vibrancy and depth. If you prime the mini with a lighter color, and then apply a single consistent layer of the speed paint, it pools in the recesses of the model and pulls from the edges to create a somewhat naturally dark-to light highlighted effect with much less effort than a traditional acrylic method. The effect generally isn’t as great (once you’ve gotten good at acrylics), and the speed paints can be splotchy on smooth or flat surfaces, but it’s much faster and lower effort with a more accessible skill floor than traditional paints. Contrast also has a high skill ceiling and is every bit as legitimate of a paint style and material, and isn’t just ‘babby’s first paint for noobs’. I like to think I’ve gotten pretty good with contrast in the couple years I’ve used it.
The first thing to note is that not all speed paints are the same, especially within the Contrast line. Some of them provide great solid coverage and work almost like an ink, but don’t have the shading and darkened recesses effect. Others have a different pigment distribution and medium consistency, and so will end up making darker recesses and lighter edges assuming you apply them smoothly. Below I’ll attach a picture guide of the Contrast line (because it’s the one I’m familiar with, not because it’s necessarily better than the competitors), but you’ll see what I mean. If you paint something with Magmadroth Flame, the whole surface will be a strong, uniform orange. If you painted it instead with Gryph-hound Orange, you’ll get much more variable shades and intensities depending on how much paint pools in a given spot. Both types have their place, but you will want to make sure you’re using the kind you intended of you might have some trouble getting the effect you were hoping for. Check out this graphic helpfully composed by Tale of Painters:

The second key thing to note for speed paints is that when you prime (and you MUST prime for these paints), what color you prime with makes a much greater difference than it would for standard acrylics. When you paint with an acrylic, the goal is to get complete coverage with multiple thin coats, so the base color from your spray prime will mostly affect the number of coats needed to reach that point (though it does determine the character of the layer to an extent). In Contrast paints, the undercoat matters a great deal. I’ll illustrate this below with a classic picture from Chaos Bunker that shows how a single contrast paint looks quite different over multiple primer colors.
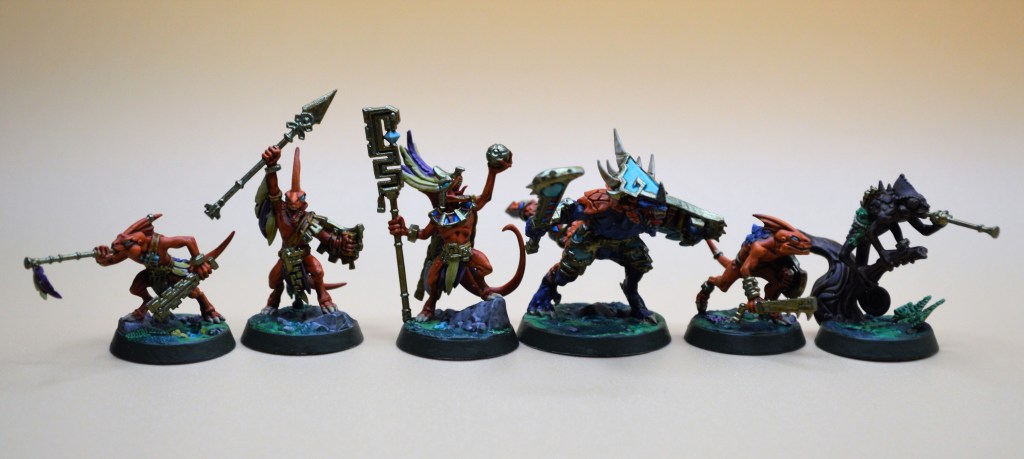
This picture only demonstrates Contrast over neutral or metallic paints, but you also have the option to paint contrast over colors rather than shades of white, beige, and grey. The effect will be much more subtle in many cases, but as an example you can get a nice deep red by painting a red, yellow, pink, light brown, or orange speed paint over a red basecoat. This can be done with a colored spray primer or by applying contrast over an acrylic layer you painted on by hand. You can also paint speed paints over a metallic basecoat, especially lighter shades and brighter silvers and golds, which can result in some pretty fancy effects. Most Contrast paints don’t dull the metallic too much, so you can get a shiny blue armor like I did here by painting a Kroxigor Scales Contrast layer over Stormhost Silver.
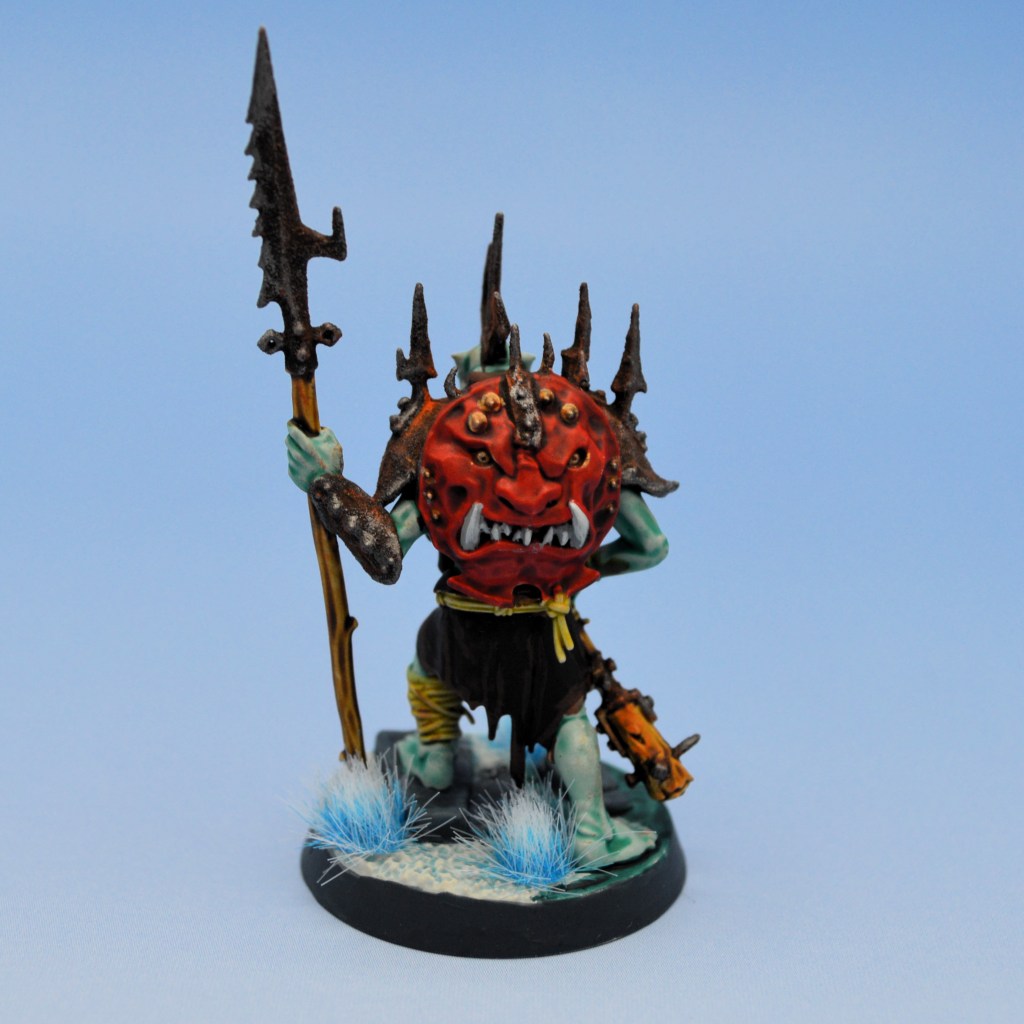
You also have the option with speed paints to do something really cool known as Slap Chop/Zenithal (and in art people circles as En Grisaille). The general idea is to prime a dark color, then drybrush or layer greys in lighter and lighter colors until white at the extreme top/edge. This gives the impression of shadow as a base layer, and then you can paint over this greyscale base with your preferred colors to get a stark highlighting effect. When using Contrast or speed paints, this makes a single layer of color do some really impressive things and can allow you to paint to a pretty good standard quite quickly. Here’s the Slap chop step by step from the Reddit page Minipainting, with directions and links that should carry you through the process better than I can. I gave Slap Chop a try here on Daggok’s Shield:
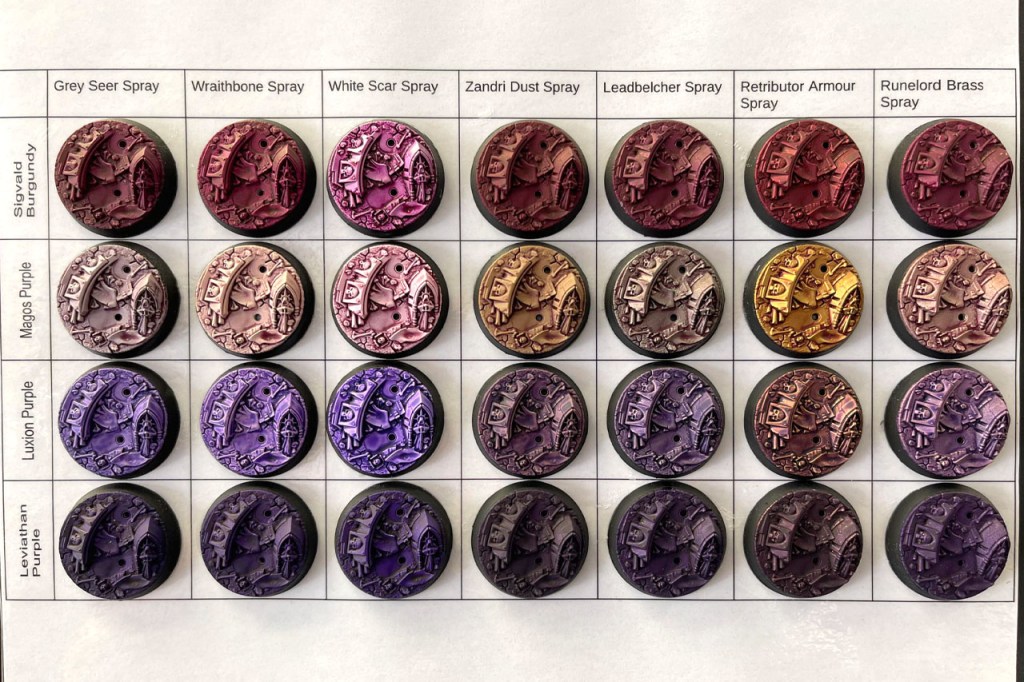
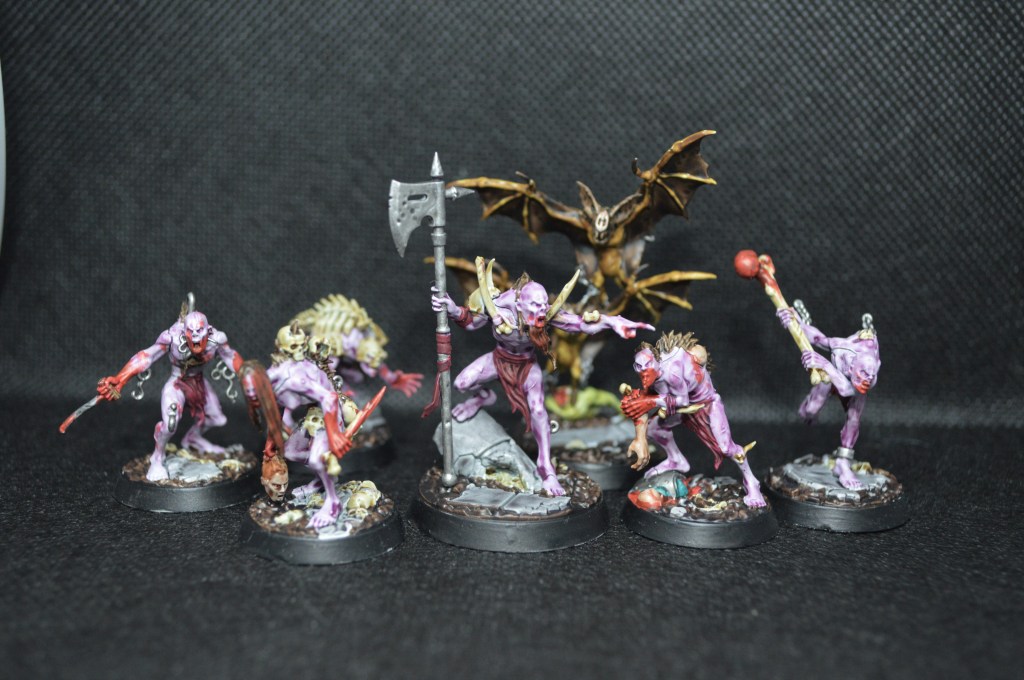
A major drawback of some speed paints is that they are ‘thick’ in some sense, and if painted over a smooth, broad, or flat surface, might come out as a bit streaky and not leave a clean finish. The paints work best on highly textured surfaces like fur cloak fringes, but can look patchy and spotty over Stormcast armor plates. I’ll spend a lot more time discussing ‘thinning your paints’ in the Acrylic paint article, but you can also thin your speed paints. Be sure to use Contrast Medium or a similar product and NOT tap water, as they are not truly water based paints and so instead of a nice solution, you’ll get a somewhat emulsified mixture and as a result, an even patchier and streakier finish if you do. Alternatively, just stick to painting standard acrylics on those smooth flat parts and use the Contrast on more textured surfaces. Here’s what happens when you apply thick contrast too fast and streaky on smooth surfaces – check this Magos Purple over Grey Seer I did on my Grymwatch back when I was first trying out Contrast.
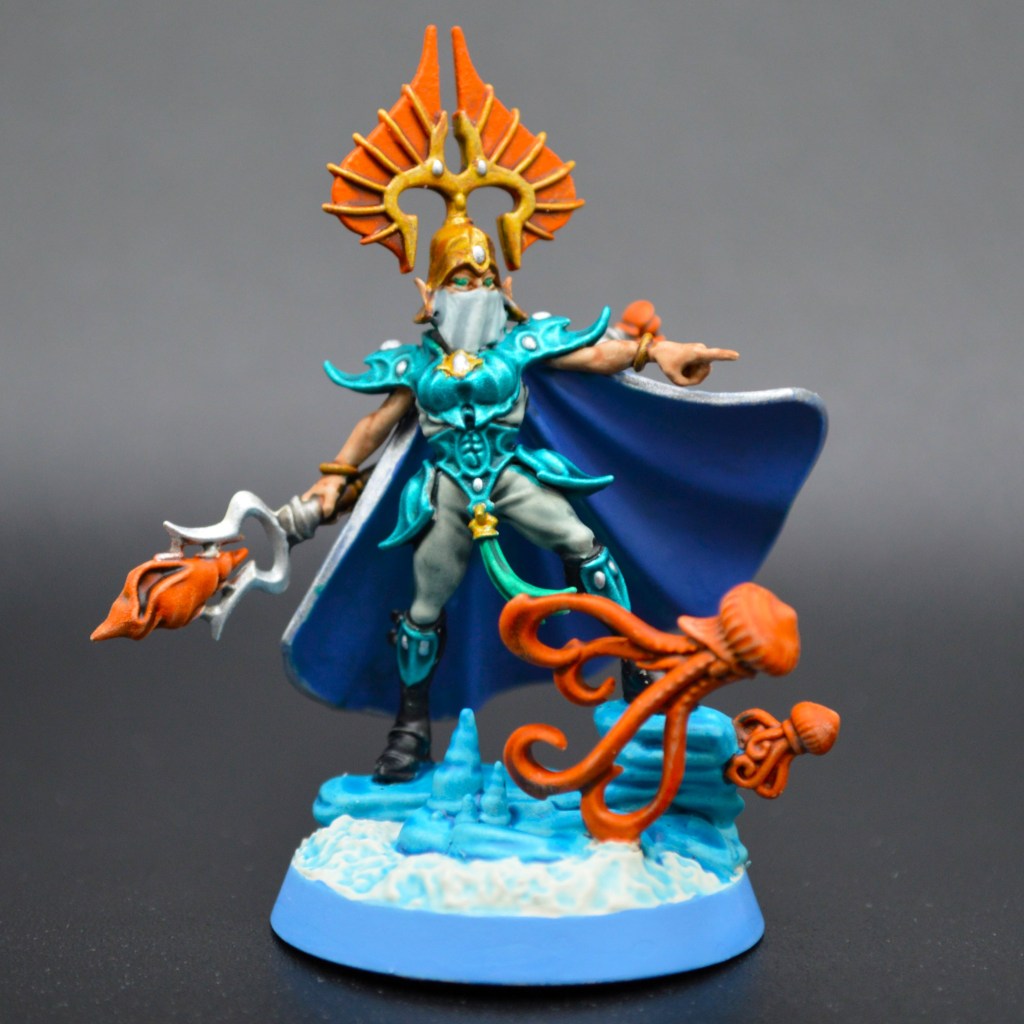
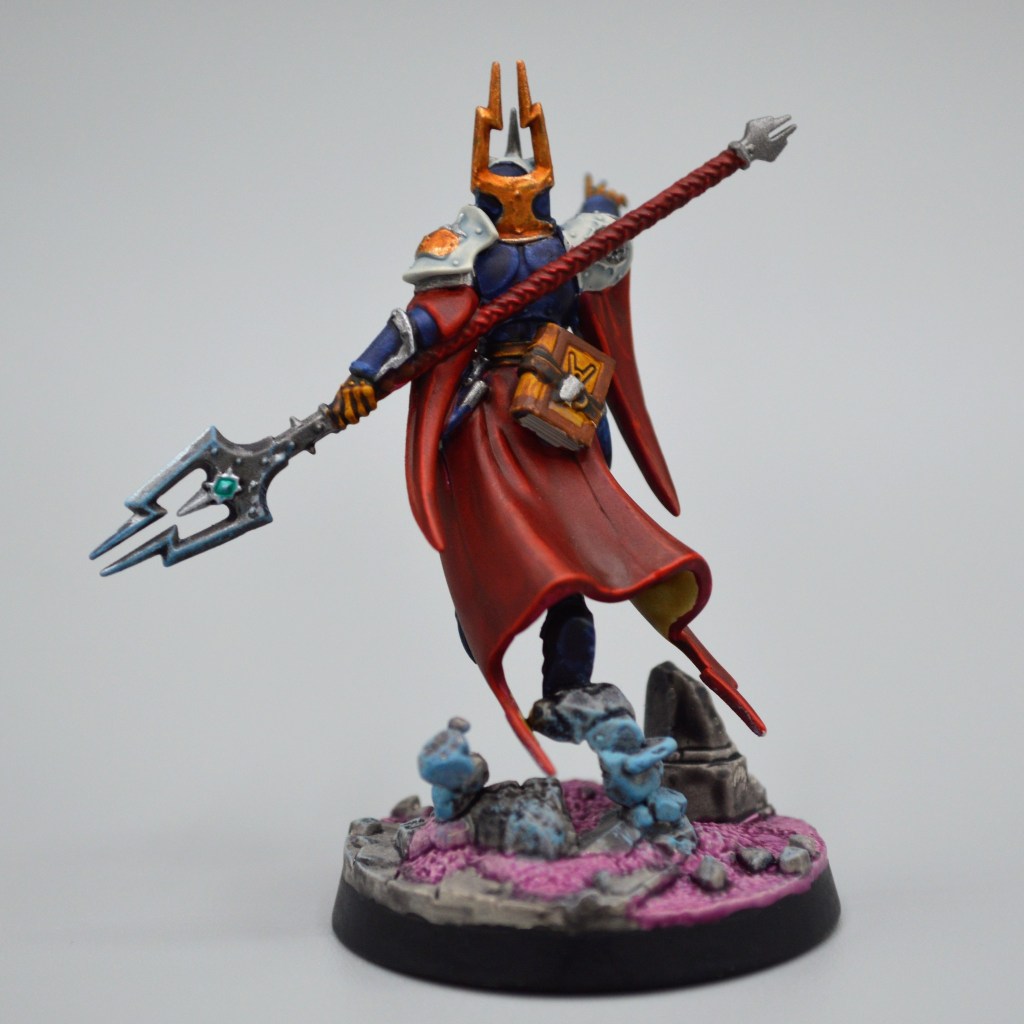
Contrast can also be used in a similar fashion to a ‘wash’ or ‘shade’ paint, where you apply it selectively to the deeper recesses and not at all to the raised components of a given model. You can really darken down the edges of something if you apply a very small band of speed paint just where you want something shadowed. That’s how I did Leona Straosi’s cloak here, which Blood Angels Contrast over a Wazzdakka Red layer paint (her armor is all straight Leviadon Blue or Apothecary White Contrast)
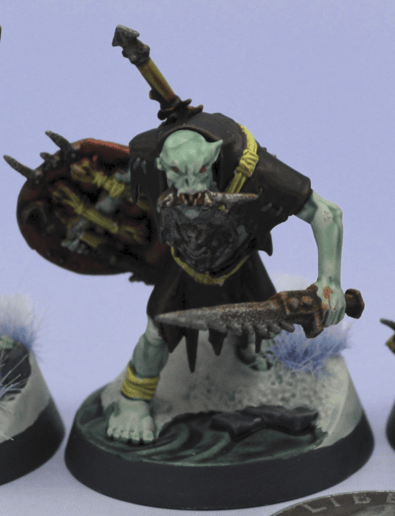
My general technique when using contrast is to stick to a single component and paint it completely before moving on to another area. If you do just the front of an arm, for example, then move on to the face and legs, when you go to do the backside of that arm the front will have already dried in all likelihood. You will probably end up with a visible line between the two halves that wouldn’t have been there if the whole thing was painted wet and the pigments could flow out across the whole area and settle in a more natural gradient. Check out this ‘how-to’ from Goonhammer that shows the step by step process of painting a mini with speed paint and you’ll see what I mean. It will take a bit of practice to figure out how much paint is the ‘right’ amount, so start small and you can always dip back into your pot for more as long as you keep the paint wet and flowing over the whole segment . If you notice a bunch of paint has pooled in a spot you don’t want it and you try to spread it around after it has started to gum up and dry, you’ll get a dark ring with a light center and there’s not much you can do about it. Take a look at my Jagz da Bleeda (whose head had a little too much Aethermatic Blue for too long before I came back to smear it around) as an example.
I’m by no means an expert in painting, and definitely not the best around with speed paints, but I have come a long way since I first started using them. Don’t be discouraged if your first few models don’t look phenomenal! If you’re more of a visual learner, here is a video by Drive thru Games showing how a contrast painted mini might look, with several Underworlds warbands as examples.
My last tip for you if you plan to dive into speed paints or Contrast is to note that they can really ruin your brushes. The normal rule of thumb for mini painting is to not let your paint touch the ferrule (the metal part at the base of the bristles) and that’s mostly because it can dry in there and cause issues with the bristles down the line. Contrast paint gums up and dries pretty quickly and makes the bristles of my brushes very tacky and even fall out with surprising regularity. I have quarantined a subset of my brushes to be “Contrast brushes” which have made the noble sacrifice to take that bullet for their comrades who can stay quality for longer and work with my acrylics. To keep this from getting out of hand, be sure to clean out your brush much sooner than you normally would and not let things get too sticky and dry inside the brush when you’re speed painting.
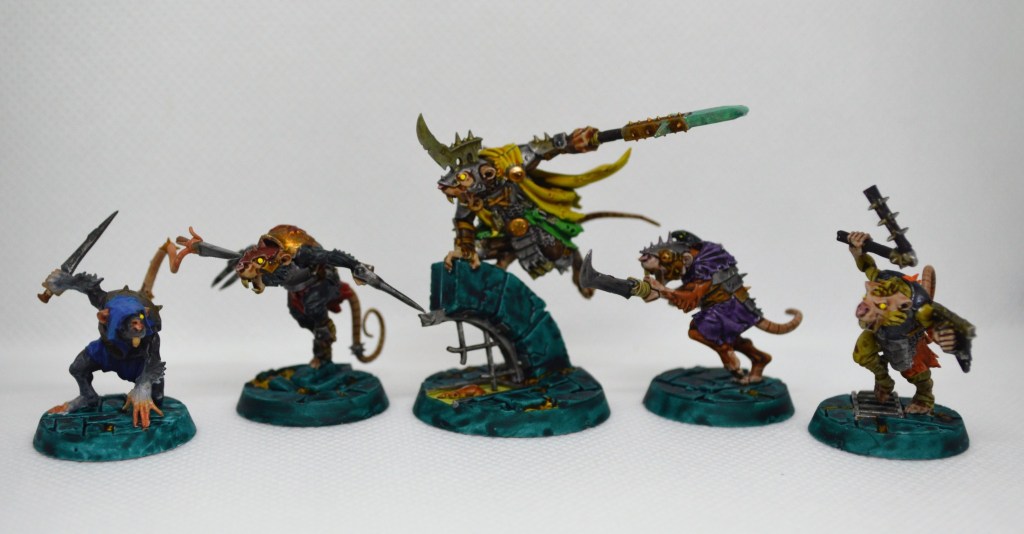
Go ahead and give speed paints a try! Grab your models, prime them a lighter color, and then paint by number! You might be surprised at how good they look. As you develop your skills, things can really start to shine, and you are more than able to mix and match Contrast with standard acrylics and metallics to complete a single miniature. While Contrast can certainly be your only paint flavor, it can also be just one more tool in your toolbox as you explore other options. Until next time, enjoy making those models pretty for the tabletop, and don’t forget to spend some glory!





Leave a Reply