
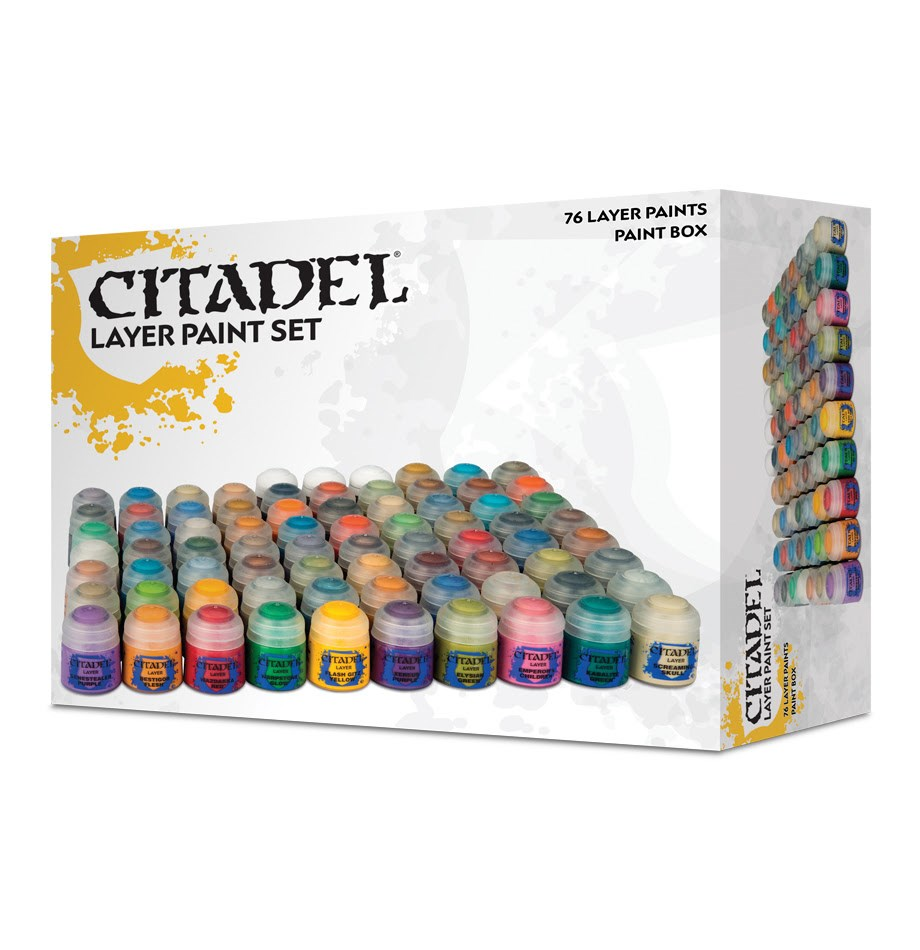
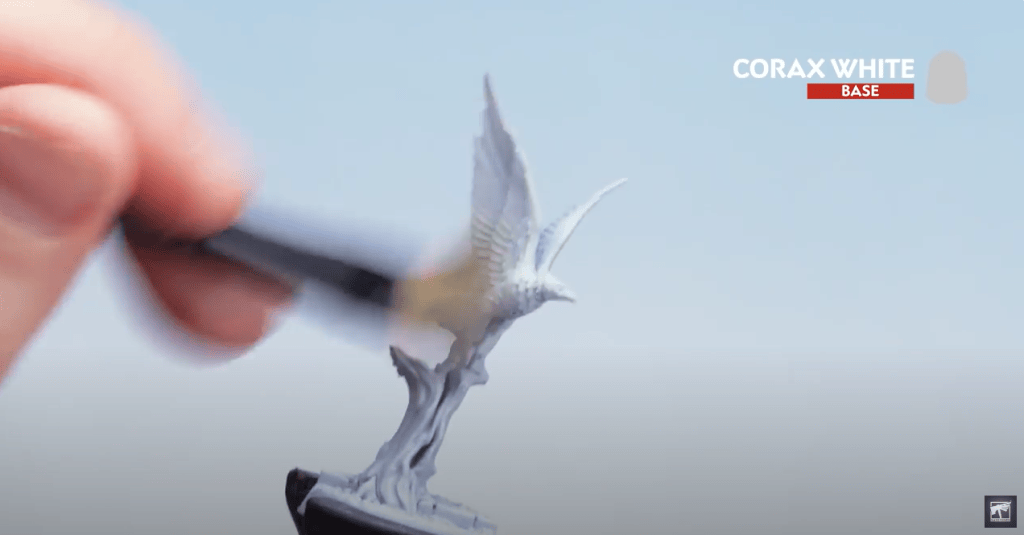
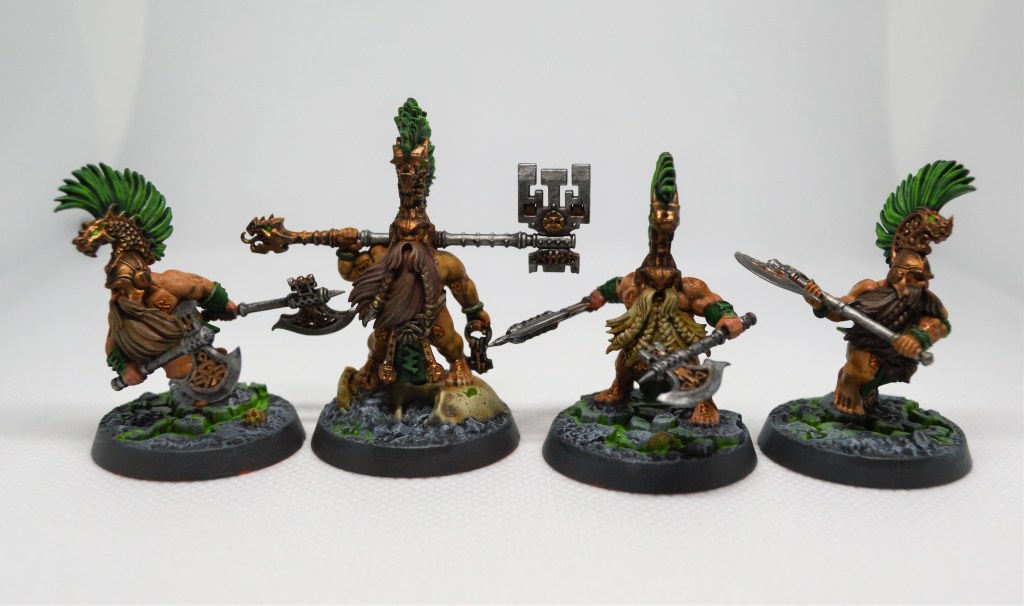
Continuing our beginner-oriented series on The Hobby, today we will be looking into Acrylics to get started on painting miniatures. Most of the images I’ll use in this article are from this video by the Warhammer Studio that shows Peachy painting Xandire’s Truthseekers, and the rest will be from warbands that I painted primarily with acrylic paint from the Citadel line. You can certainly expect similar results from other companies’ products, though I have less experience with them.
Articles in this series:
The Benefits of The Hobby
Building Underworlds Models
Painting Supplies
Primer, and Why to Use It
Contrast/Speed Paint
Acrylic Paint
Lore, Novels, Art, and Fan Fiction
Making It Manageable
Continuing our Hobby series, today we will take a brief look at traditional acrylic paints. In the deep dark past, this was the only way anybody painted miniatures, before washes, oils, Contrast, and the like came into play. I’ll be up front with you and say that I am by no means an expert in this area, and it’s incredibly well trodden ground. I’ll cobble together a rough framework in this article, and you’ll mostly benefit at the end when I start linking you to external sources that cover this with both more eloquence and authority than I’m going to be able to muster.
Basecoating/Blocking
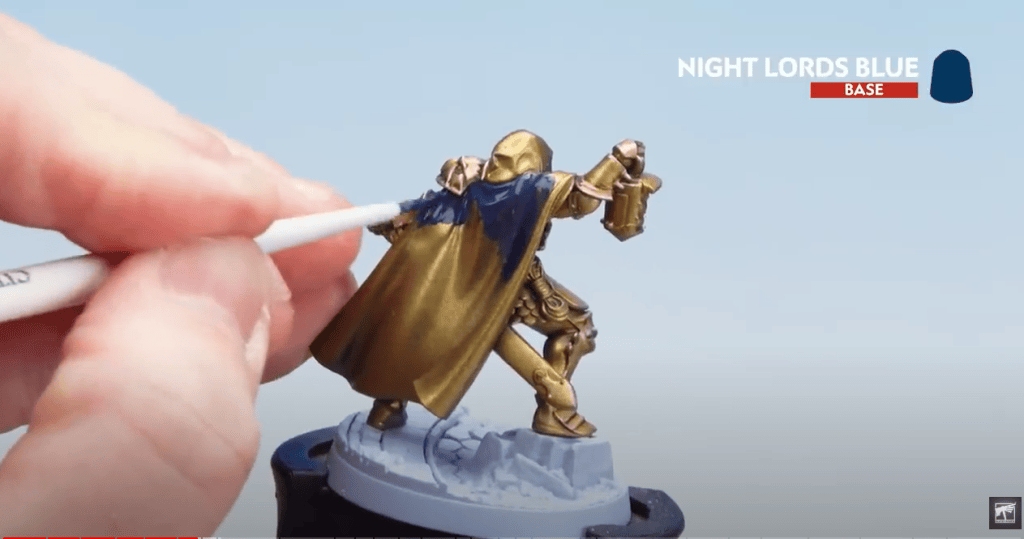
After you’ve primed the model, you’re going to be ‘blocking’ out sections of the model with basecoats. Think of this as the ‘paint by numbers’ phase. It’s one of the longer parts mentally, because while really all you’re doing is saying ‘he needs a green shirt so let’s cover it in green, and a brown belt/leather gloves so those will be brown’. You cover the full surface of the model and this will be a lot of tedium where it doesn’t feel like you’re making much progress and the model doesn’t really look very good yet. Just grind through it, and know that you’ll tie it together later on.
I can’t cover this section or really any of the others without mentioning ‘thinning your paint’. Often times, acrylic paints are relatively viscous coming out of the paint pot or droppers, and if you apply them directly onto the model they will either fill in details of the model (like with over-spraying as mentioned in the primer article), look streaky, or both. You’ll want some method of ‘thinning’ the paint to prevent this. Many people use a wet pallet or some kind of plate/tile/surface to mix in a bit of water or some thinning medium – the general goal is to get it the consistency of whole milk. I personally never enjoyed using a thinning surface like a wet pallet and just ‘pre-load’ my brush with water before hitting the pot, then try to hit my consistency by hitting the lip/rim of the paint pot until it feels right. Definitely a professional painter over here.
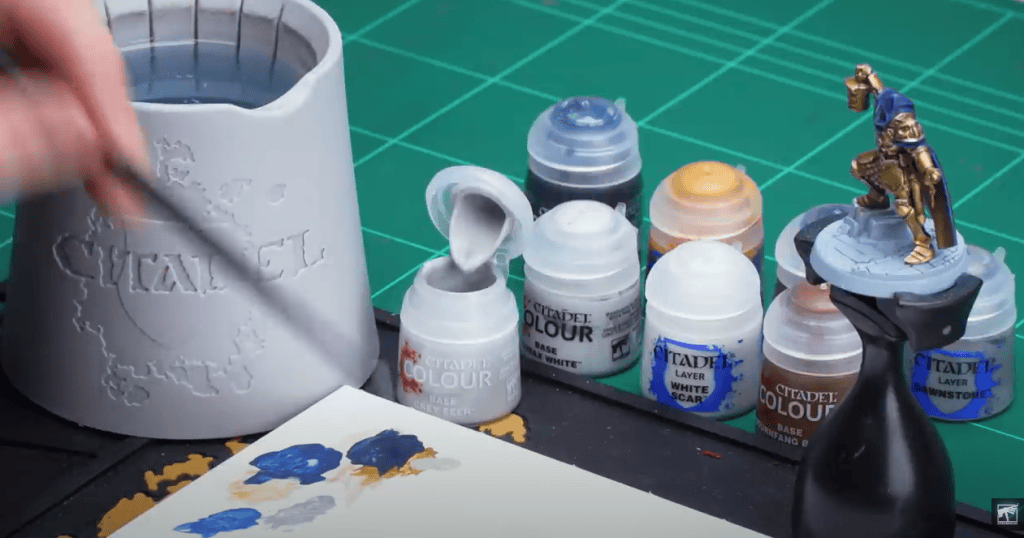
What this means though is that this blocking part is going to take a while. As painting educator extraordinaire Duncan Rhodes has coined, you want two thin coats of paint, rather than one thick one. This means you’ll be doubling (or even tripling) your time in this step if your base color is lighter or significantly different than your primer coat, but I promise it’s worth it. and chunky/chalky/over-smooth issues you cause here will compound across the whole model, so while this part is mega boring you should focus on doing it right.
Shading
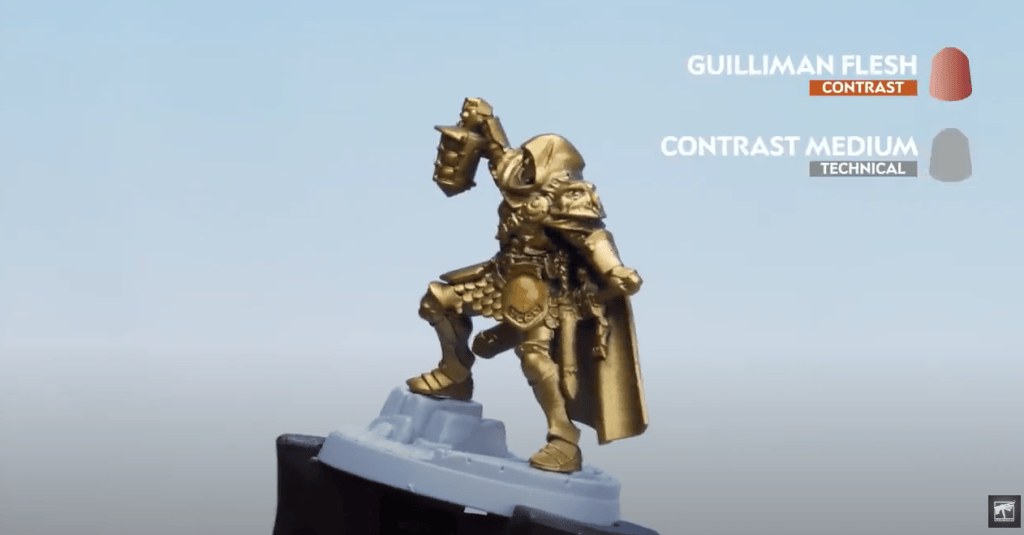
OK, you have a basecoated model now, at long last. Skin parts have skin color, metal parts have an appropriate black brown or what-have-you with or without the metallic color over that, cloth and leather have their flat broad red or something. Looks like the crayon drawings you used to do in grade school. You might now be feeling like you’ve entered ‘The Ugly Phase’ as my friends call it, where each stroke of the brush seems to make the model look worse, and you’re contemplating just giving up and trying a new project or maybe watching TV instead. Power through! Shading is where suddenly it turns around, because you get to use ‘liquid talent’.
Shade paints, inks, oil washes, or even contrast paint put over the base layer you’ve made will provide a huge amount of depth to your figure and you’ll get real fast results after the slog of basecoating. Just apply whatever product you like, be it Nuln Oil, Agrax Earthshade, or my personal favorite Seraphim Sepia in heavy doses around the model. These types of paint product are far more watery and will run and pool in the recesses of the model, provided you didn’t flood them with primer or base paint first. The end effect is your base color on the raised parts and a darker tinted version in the deeper parts with a nice gradient between implying shadow. Contrast/speed paint can do this as well as long as you don’t overdo it, and allows for some great color saturation effects.
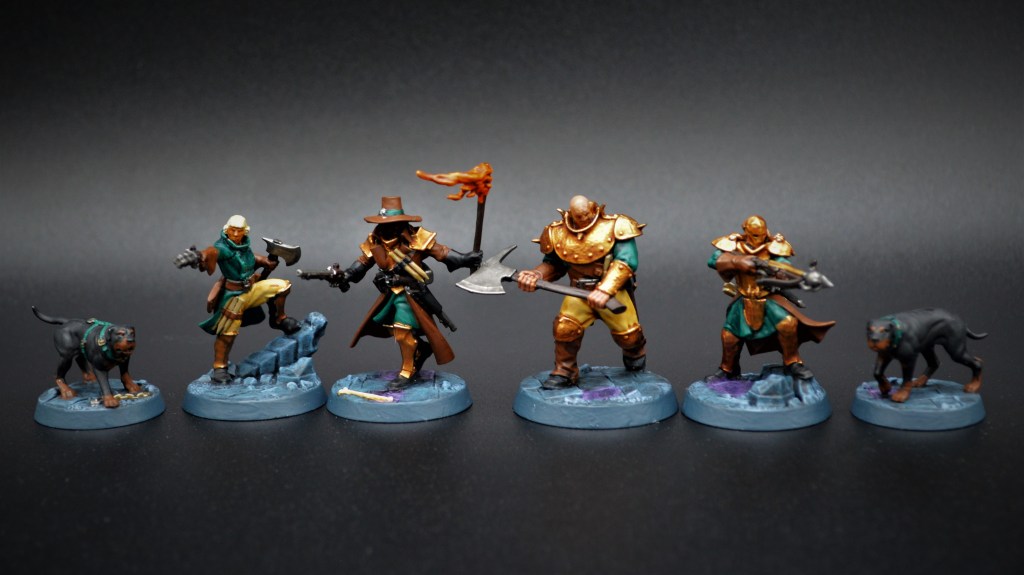
You can use different color washes across the model, so two of the same basecoat brown will look like two different colors after the fact. You can use the same color wash across the whole model, so that the entire thing has a cohesive tint that dies together the disparate blocks. Either style works depending on your desired outcome.
Layering
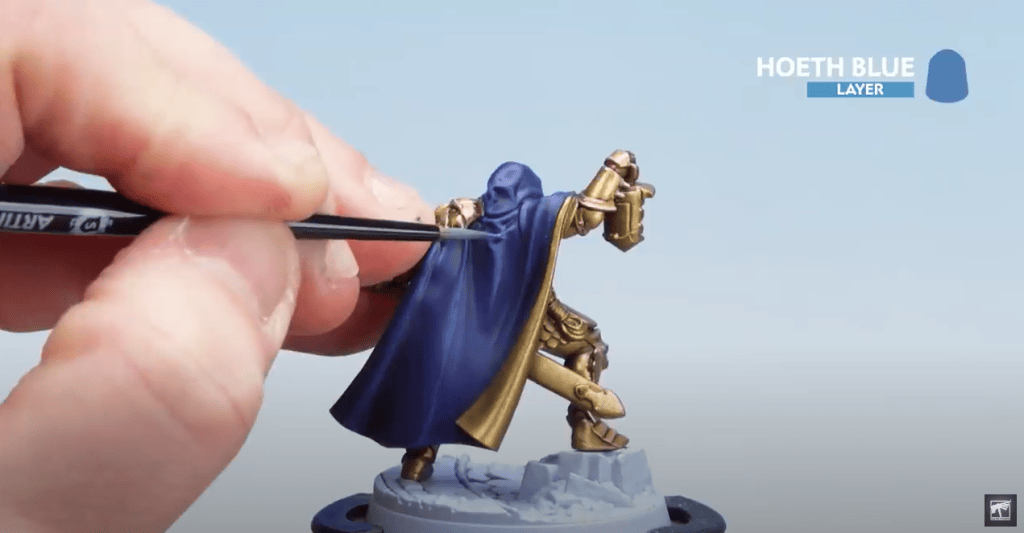
Now back to the boring part, and definitely the true ‘ugly phase’. Now that you’ve shaded your basecoated model, it looks like a rough version of what you want, but you have to get to the cleanup. You’ll be adding vibrancy and varying colors to those higher parts, and removing shade where you don’t want it in the middle parts. Say you have a model that has a pink tabard. You used a medium to dark pink as a basecoat, then gave a pink or purple or blue or red) wash, and now it’s time to bring out a lighter pink to paint ~50% of the pink areas again. Understand that this part is going to possibly feel like you’re ruining’ it, since the post-shade model didn’t look that bad.
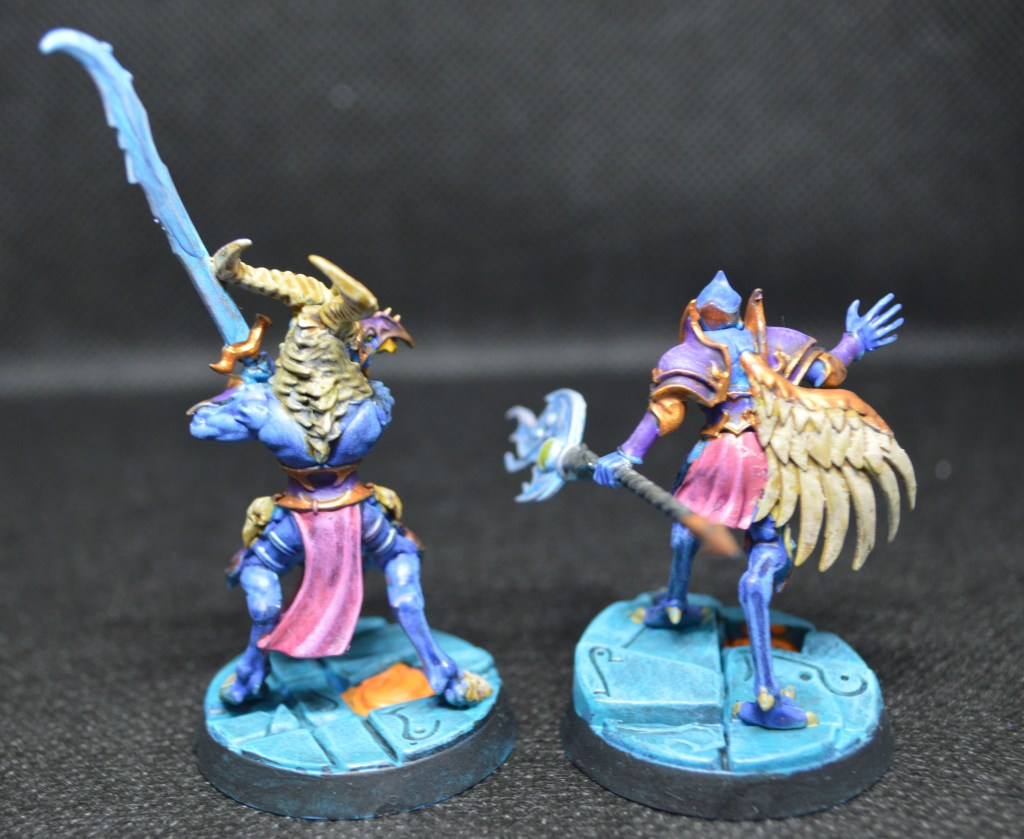
Focus on the more raised components of the model (i.e. the parts that don’t really have much shade on them), but also the parts of the model that are ‘higher’ off the ground as well. The tip of a boot, for example, will get more than the crease around the ankle, but also the top of the boot should get more than the side. Slowly apply small strokes and lighter and lighter paint until you get the effect you want – a well-lit model with depth. This part is the opposite of shading; now were are lightening/brightening.
Thinning your paints will continue to be important here, and you will again need multiple layers to get the brighter, contrasting effect that makes your model pop. If this step is too frustrating for you, you feel too slow, or you don’t feel like you have the physical control/dexterity, you can probably skip this part and move straight into drybrushing which I’ll cover below – the effect is much faster and easier but will usually not have as good of an end product, even for newer painters.
Highlighting
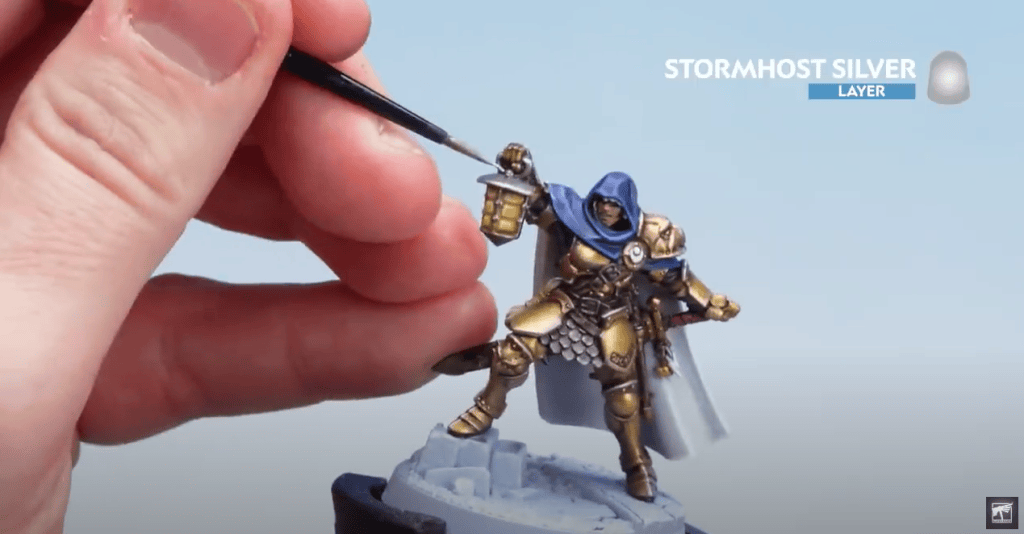
Your model now is starting to come out of the ugly phase. The areas should start to look visually distinct from one another, and a given section (say, the blue pants) will have at least three tones in there (deep blue or black shadows, medium blue in the transition, and a lighter blue on the raised parts/around the knee etc). We’re not quite done yet! It’s time to take the model to the next level. Each touch of effort here gets you much more bang for your buck than in layering, so lean in and enjoy your model turning from Not to Hot faster than Bob Ross can say Happy Little Accident.
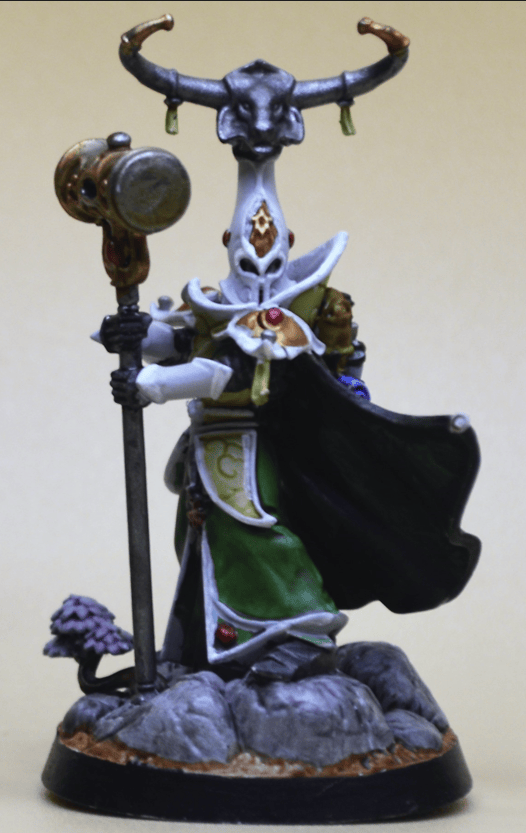
To highlight effectively, you’ll need to pay special attention to the areas that are at the outermost and topmost parts of the model. Generally speaking, the closer to the face you get the more attention you’ll want to pay and the brighter/lighter your paints should be. I’ll briefly touch two specialized methods of highlighting below, but it’s perfectly reasonable to just do the same thing you did for layering, just more intensely and in fewer places.
- Drybrushing: a quick and effective way to highlight across a large area or textured surface, with drybrushing you load your brush up with paint pretty heavily (no need to thin it), but then ‘dry’ the brush off by wiping a substantial portion of it off with a napkin or paper towel. Once your brushstrokes stop depositing much paint (or at least not wet-appearing paint), it’s time to hit the model. Lightly dust the model with side-swiping strokes and/or dabbing stab stippling. This will effectively only drop paint at the very outermost parts of the model, and can take a flat brown coat of fur to a very high-contrast cloak really quickly. The best drybrushes are actually big ole makeup brushes and not your usual minis brushes, so hit up your local beauty store. WAY more R&D money gets spent on that stuff and so they have some awesome products as a result, plus drybrushing can shred your usual paintbrushes which you want to keep a fine point on.
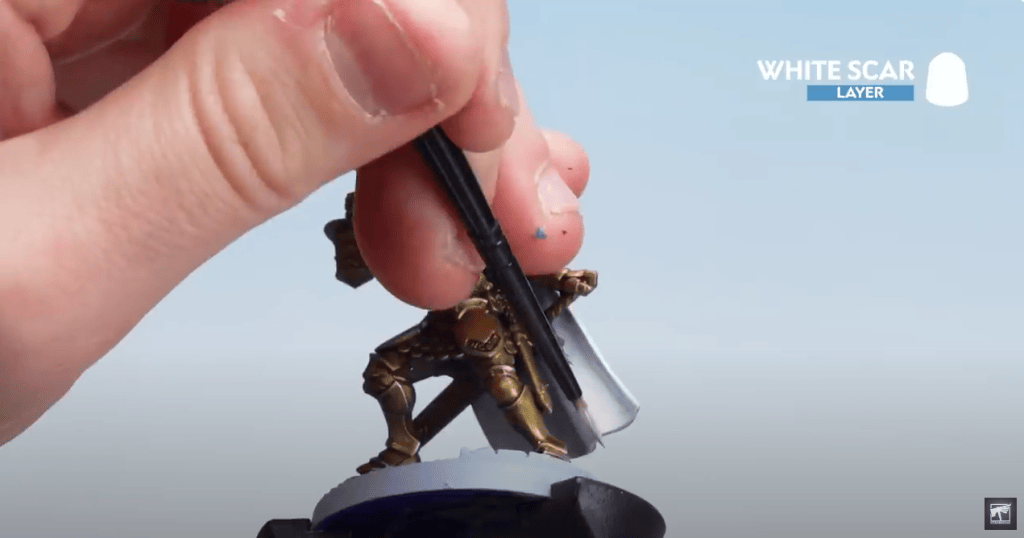
- Extreme edging: This is useful when a model has a sharp edge, corner, or angle that you want to pick out to exaggerate it. Let’s take an armor panel, for example. The armor color you’ve chosen is black, say, and you’ve done the flat surface in a black or dark grey. As you approach the edge of the model, take a brush and use the very side of it to blade along the edge in a lighter grey, leaving a thin line. Do this again with a smaller brush, a sharper blading angle, and a lighter color of grey, and continue until you have the eye-catching definition you like. You can do this on a smooth surface as well, but it’s a lot harder if you can’t use the physical edge to apply pressure to and will instead have to paint accurately like some kind of artist.
Detail painting
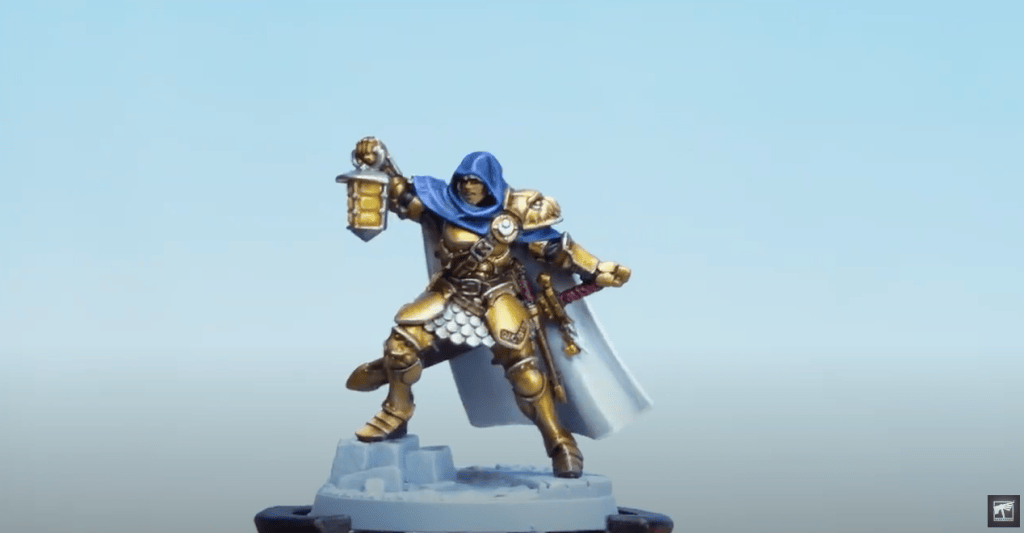
Now it’s time for picking out the last few details of the model and being able to call it a day. You can go back in and dot some things, add a line, freehand some symbols, stipple freckles, stubble, or liver spots, add scars, really anything goes. This is the fun part because it’s where you can really characterize and personalize, but you have to be careful because goofing here might undo a ton of work you took to get to this point.
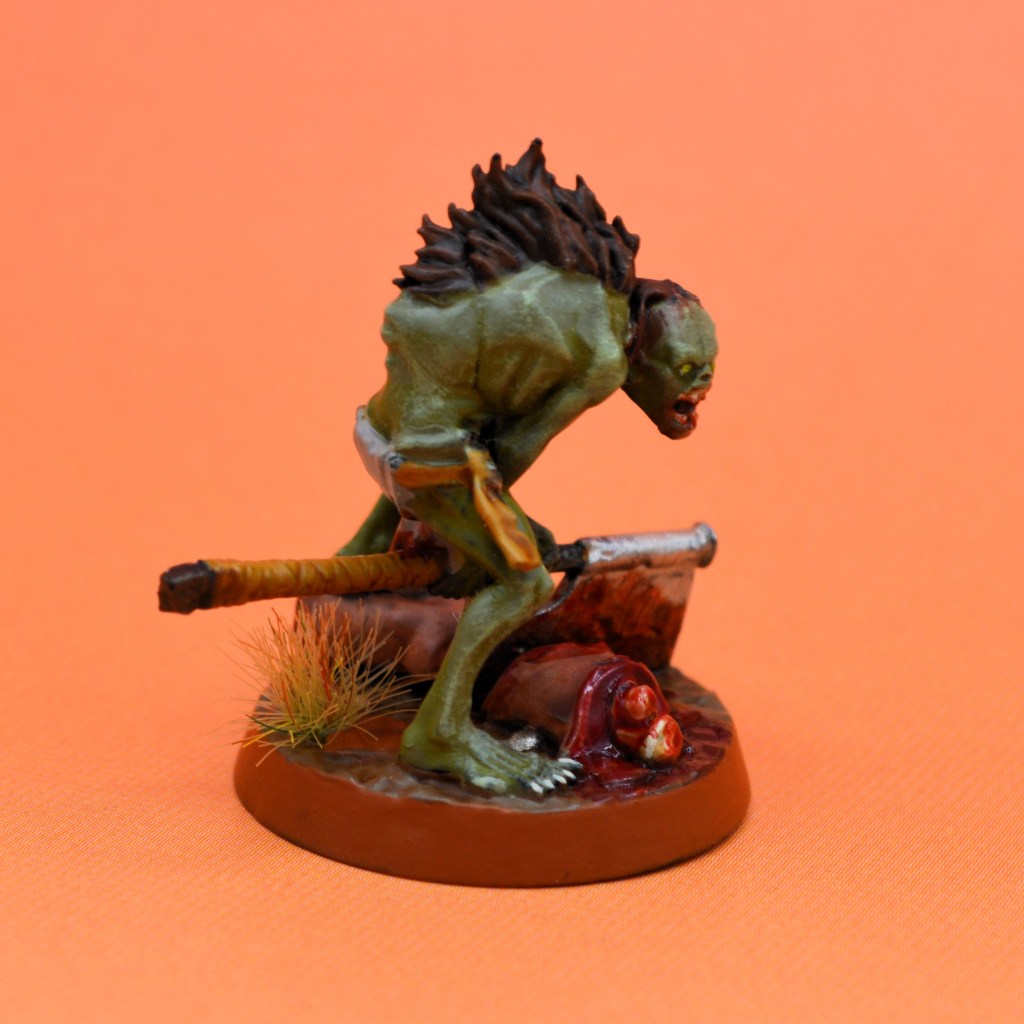
Useful links
As you can probably already tell, I’m not the guy to ask, but if you’re unlucky enough to have to ask me how to paint, you’re lucky that I can point you to somebody who is.
Goonhammer has a “Hobby 101” article on traditional acrylics
Basic Painting Terms and Techniques by Vince Venturella
The subreddit r/minipainting has a great list of terminology that also has dozens of links within
Paint your Army talks about:
Washes
Wet Palettes for thinning and mixing paints
Drybrushing
Painting sharp, Thin Lines by Vince Venturella
Inspirational ‘you are good enough’ and tips Ninjon wishes somebody taught him when he started
And finally, our Lord and Savior Duncan Rhodes described how and why to thin your paints
Wrap
That’s it for now – now go paint some models! It’s easier than it sounds and psychologically people are hesitant to start and quick to quit, but anybody with hands and eyes can do it (and even some without!). It’s a rewarding experience, you’ll get better each hour you spend working on it, and as everybody knows – painted models roll more crits. And without crits, how are ya gonna spend your glory?





Leave a Reply