
This article is a part of the Contender Series, the goal of which is to encourage players to begin participating in Organized Play events, attending tournaments and Grand Clashes, and overall up their competitive game to improve as players and ultimately win more often. While I am not personally some competitive ace taking home glass every weekend, I do have advice to help get newer players off the ground and set you on the path to success, and also can point you to better players than myself where you can get more focused advice when you’re at that stage. I will attempt to keep this article series ‘timeless’, so while I’ll reference specific warbands, cards, and mechanics occasionally, I want it to be relevant for years and so will try to refrain from focusing too much on today’s current competition climate. With those things said, let’s dive into this article’s main topic: placing feature tokens.
Articles in This Series:
Warband Selection
Choosing a Deck/Pairing
Deckbuilding Overview
Evaluating Surge Objective Cards
Evaluating End Phase Objective Cards
Evaluating Ploys
Evaluating Upgrades
Deckbuilding: How Many Cards?
Opening Hand and The Mulligan
Board Choice and Orientation
Feature Token Placement
Fighter Placement
So You Won the Roll-Off – Do You Choose First or Second?
Practice
Event Format Considerations
Elites
Big Boys
Hordes (Coming Soon!)
Check out other tournament related articles:
Counterplay Series
Participating in Your First Tournament
What to Expect at your First Grand Clash
How to Run a Local Tournament
Building Your First Nemesis Deck
Overview
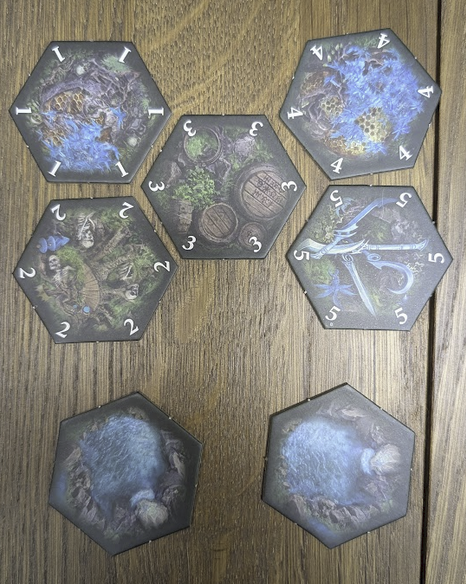
Believe it or not, Feature Token placement is where a lot of games are won and lost. I learned years (unfortunately) into my Underworlds journey that getting this part wrong makes it very difficult to win the game depending on your opponent and their gameplan. Don’t just think about where you want your tokens to go to meet your goals, but you also need to focus on how to ‘zone out’ your opponent and interfere with what they want to do. They may want a token in neutral territory, or just over the line in your territory, or held back near the far edge of their territory where it’s ‘safe’ from your attacks. This will take some familiarity with the opposing warband and what objective cards you expect them to have taken, but you have the incredibly powerful ability to disrupt their preferred placement with your own. They can’t place a feature token within 2 hexes of one that you’ve put down, so try to place yours somewhere that meets your needs but also prevents them from getting an optimal spot.
It is VERY important to note that you do not need to place tokens in your own territory, and often the better play is to put one in your opponent’s territory instead to block them out from getting to do what they want, maybe even limiting them to only 2 on their own side depending on where they placed a prior token. Many new players make the forgivable mistake of thinking ‘these are my tokens, so they’ll go on my side’, especially if they’re playing a Take and Hold gameplan.

The most important thing you’ll need to know for the token placement part of the game is how many treasures/feature tokens you want in each territory. You’ve worked on your deck and know whether you’re interested in standing on feature tokens, and where you need them to be. Does your deck want you to hold multiple treasure tokens at once? You probably want them on your side. Do you need to hold one in neutral territory or enemy territory to score a card? Make sure you have one in reach for you. You’ll also want to make a guess at your opponent’s plan and try to figure out what they’re trying to do and work to prevent it. Even if your deck has no mention of feature tokens whatsoever, don’t make the mistake of saying ‘well I don’t care since I don’t need to hold them’. Your opponent still might! Placing the tokens in a way that makes their scoring more difficult is still the play to make even if you’re just going to perform wild charges regardless of positioning.
THE GOLDEN RULE
If there’s one thing that Second Edition Underworlds has done a good job of making true, it’s this:
The game happens where the feature tokens are.
Some warbands have abilities that only work in friendly territory – Starblood Stalkers’ reroll on defense for the skinks, or Kurnoth’s Heralds’ ‘can’t be flanked’, inspiration condition, and flying abilities, for example. If you want to use those, you need to be in your territory. Other warbands have abilities that work only (or work better) in enemy territory, such as the Shadeborn’s defensive reroll. Similarly, there will be cards in your deck that care. Maybe you have a Ploy that only triggers in certain territories. Maybe you need to have some number of fighters in Enemy territory to score an Objective. Maybe you care about things being near edge hexes, and so on.
Coming into this step of the game, you should know ‘where your warband and deck want you to be’. Place the feature tokens in those locations. That’s where the game will happen, because so very many cards care about feature tokens in this edition. Fail to do this and you let your opponent dictate where the fight happens, and ultimately hand them a lever to gain advantage over you.
Even if your deck and warband don’t care about tokens at all, your opponent might. Place them where you think they don’t want to be. The game happens where the feature tokens are.
General Considerations
There are two general board configurations as discussed previously: Wideboard (Fives) and Longboard (Nines). Depending on who oriented the board, you will either be placing first (and have three tokens to place) or second (and have two to place). This means there will be four total situations you can find yourself in – and this is ignoring variations in boards such as Blocked, Stagger, or Waystone Hexes Starting Hex positions, etc. Those will all come into play in various ways so we will look at the general concept of those feature hexes here, then dive into considerations for each of the four scenarios.
Relative to Starting Hexes
Depending on the distribution of the seven starting hexes on each board, (and stagger etc hexes), you may have a limited number of available spaces to place a token. When considering board choices for yourself you’ll want to keep this in mind so as not to restrict your options. When I am placing feature tokens on my side, I want them to be near (hopefully adjacent to) a starting hex so that I can possibly use a push to get onto them without spending an activation. What you want to avoid if possible is an objective placed ‘in front’ of a near-midboard starting hex when possible – I try to make it hard for my opponent to charge at one of my fighters and be able to stand on a feature token at the same time. The opposite is true when placing on my opponent’s side – I want them harder to push onto, and I like one ‘in front’ of their near starting spots so I can charge onto it while hitting their fighter in activation 1.
Relative to Stagger Hexes

These hexes will guide you toward something of the opposite approach to Starting Hexes – you want them ‘behind’ your enemy so you can push them into them, and ‘in front’ of yourself so that you won’t get pushed in as easily. Alternatively, don’t put feature tokens you plan to stand on near stagger hexes if you can avoid it, so that you’re at the lowest risk (unless, of course, you plan to use a power card like Violent Blast to take advantage). They do serve as somewhat of a deterrent for range 1 charges though, so depending on your matchup hiding your feature tokens behind them can be a nice shield or at least a way to punish somebody who comes at you too hot.
Relative to Blocked Hexes
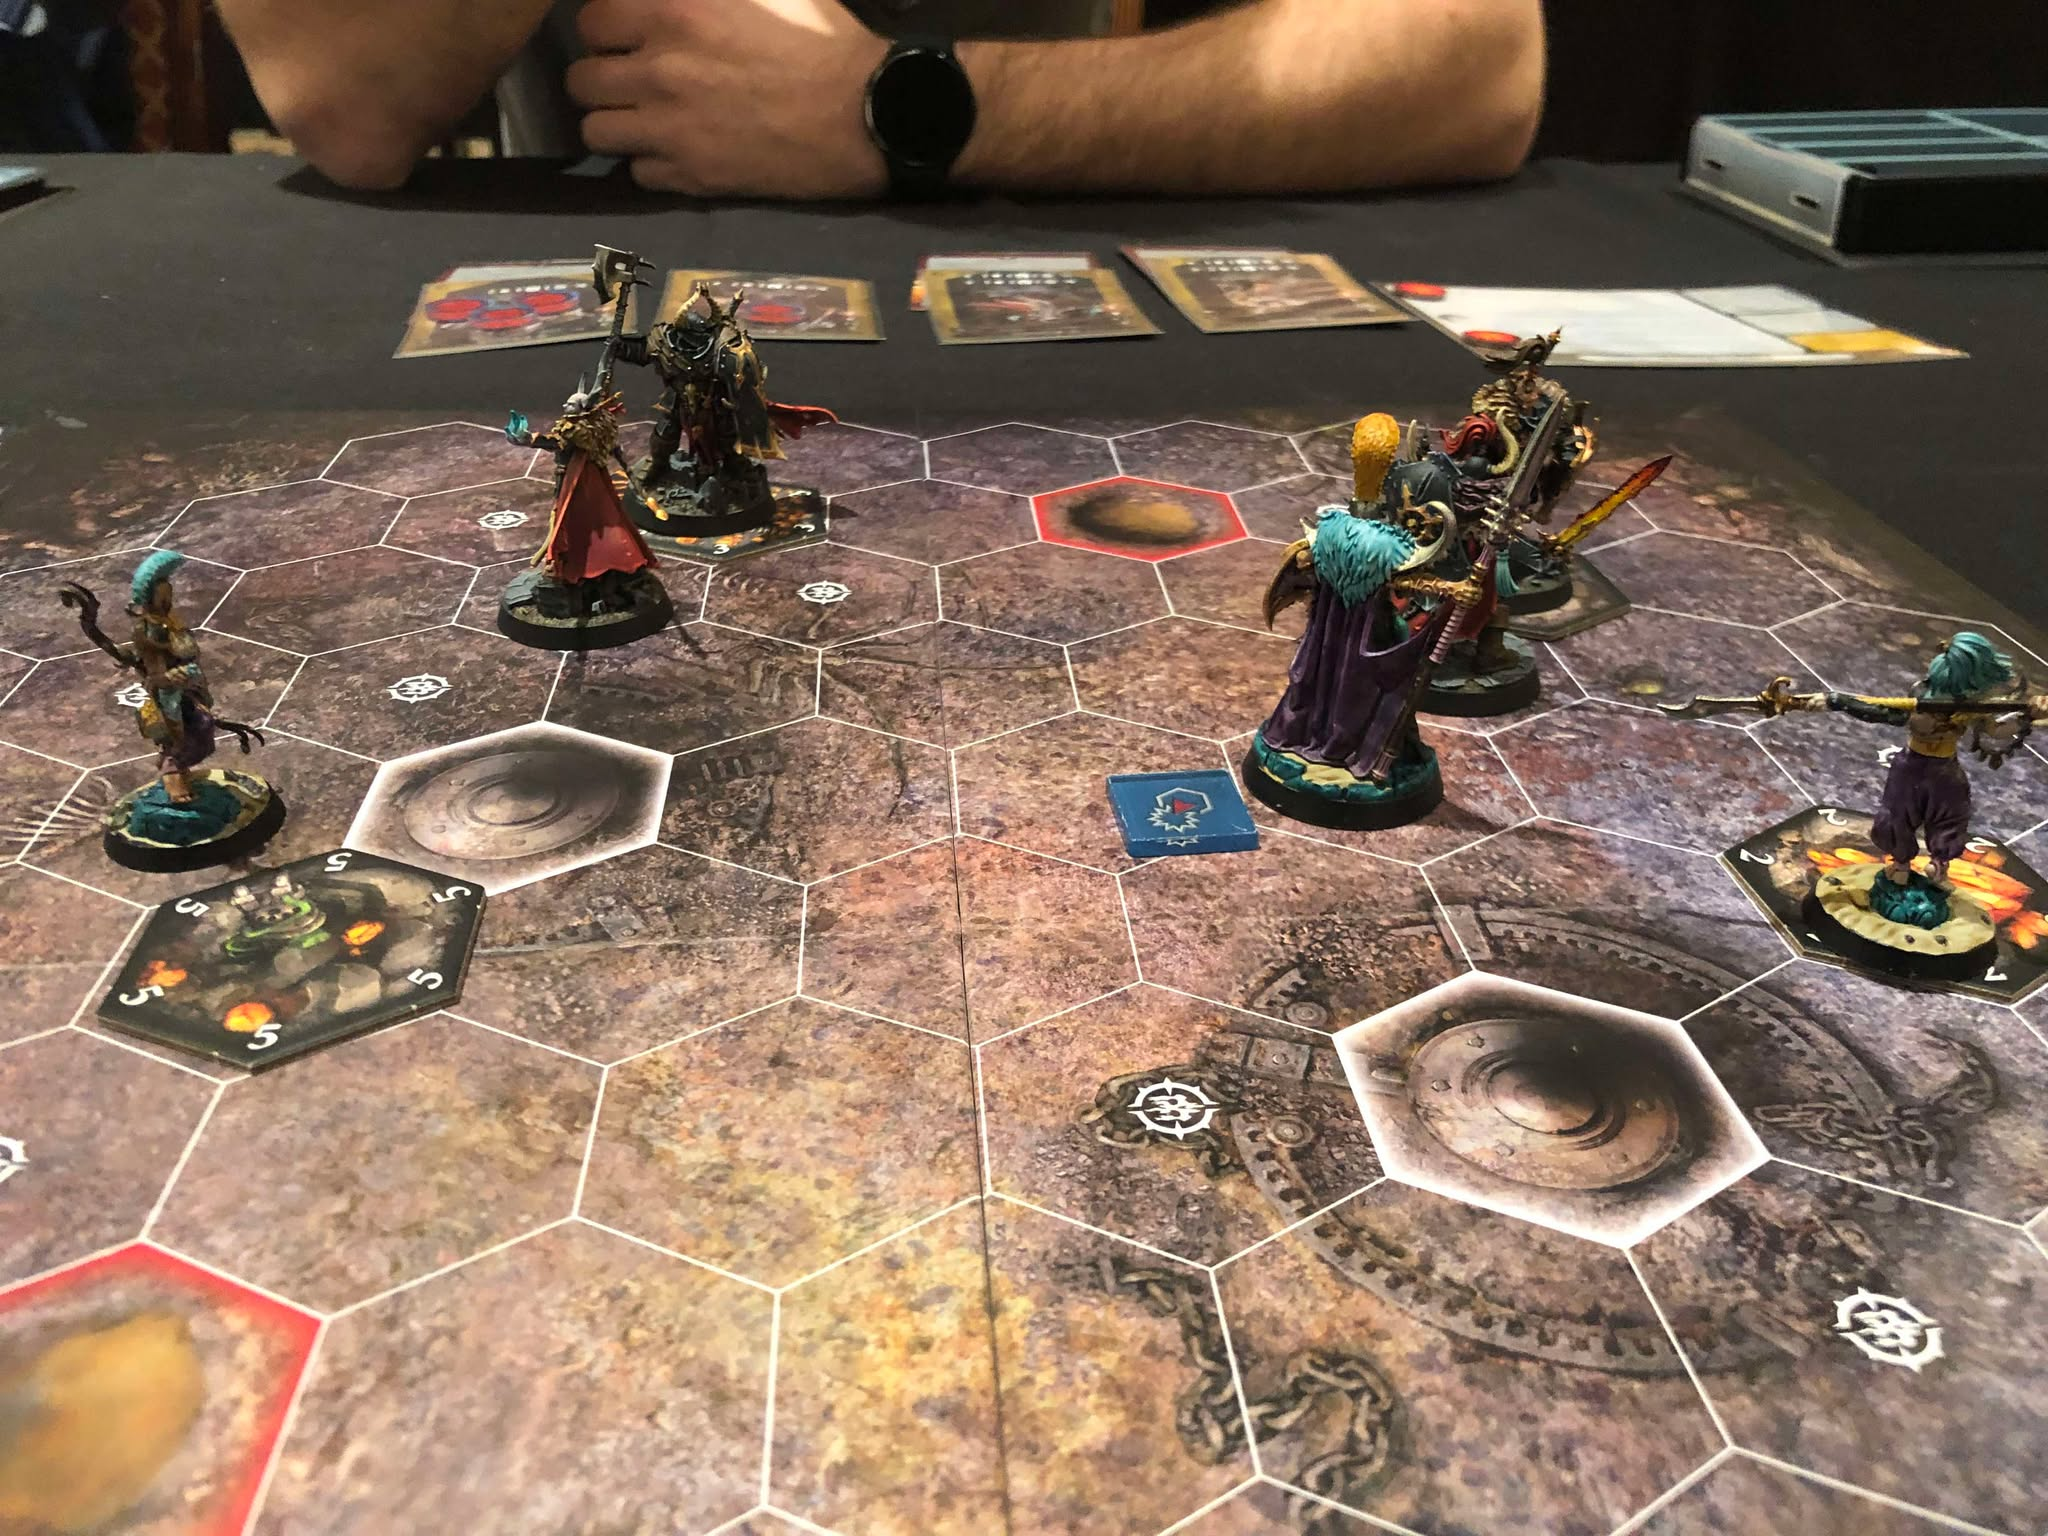
Blocked hexes present a special problem for range 2+ attacks, as you can’t ‘shoot’ along the edge or through them either. Blocked hexes can make a range one fighter go around, and a range 2+ fighter come in closer than they’d like, both great things if you think your opponent will invade your territory. Position your feature tokens in a way that you can ‘hide’ behind a pillar or a wall while occupying them in those scenarios – but know you’ll have a harder time shooting your own attacks while in this position, so it’s a warband specific consideration. You may want to place your opponents’ side feature tokens near blocked hexes as well, making a longer trek for their fighters to step onto them.
Relative to Waystone Hexes
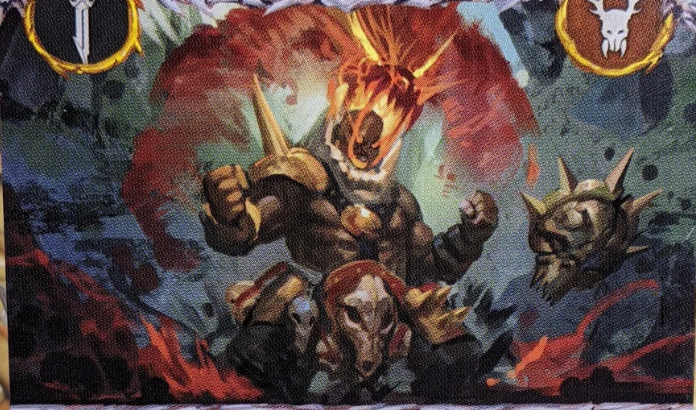
If I’m placing a token on my side, I usually like to avoid being adjacent to Waystone hexes, as it gives a relatively safe place for my opponent to charge into and attack my fighter on the token AND increases the odds they hit me with their attack. The last thing you want is for your fighter on the token to get hit, and then have your opponent’s model with a boost to defense if you try and hit them back. If you have to do this, try to get the Waystone hex ‘behind’ the feature token so it’s harder for your opponent to reach, and gives you the potential to charge into it while displacing their fighter instead. If placing on the opponent’s side the opposite is true – you want a safe place to charge into, and fewer safe places for them to countercharge you from.
The added wrinkle with the offensive reroll on Waystones means attacking from that position ups the odds of an overrun pretty substantially. If they want to hold, put one adjacent to a waystone so you can fish for a crit to take it from under their feet. If you want to hold, keep them away from Waystones so the opponent has a harder time overrunning against you. Better yet, just don’t lay on a waystone board if you have the choice.
The Four Scenarios
As a reminder, there are two general board configurations as discussed previously: Wideboard (Fives) and Longboard (Nines), and you can either place feature tokens first or second.
Placing First in the Wideboard (Fives) Configuration
If you want three on your side, and are worried about getting hit by aggro, place your first in a back corner, with a focus on preventing them being able to ‘zone you out’. You may end up with one very near the midline and one in the center of the board, but at least one token should be ‘safe’. Fail to do this and you might only get 2 tokens, or have two of them be quite accessible for round 1 charges out of your opponent.
There’s the chance they’re trying to limit the amount of neutral territory that exists based on your warband or rivals deck pairing, and if you need that for cards then you definitely want your first placed token to be in no-one’s so you can prevent getting zoned out of that space. You may only be able to get one token in no neutral since the wide board makes that a five-hex territory, but that’s better than zero. Don’t let their orientation of boards cut your scoring opportunities down too heavily!
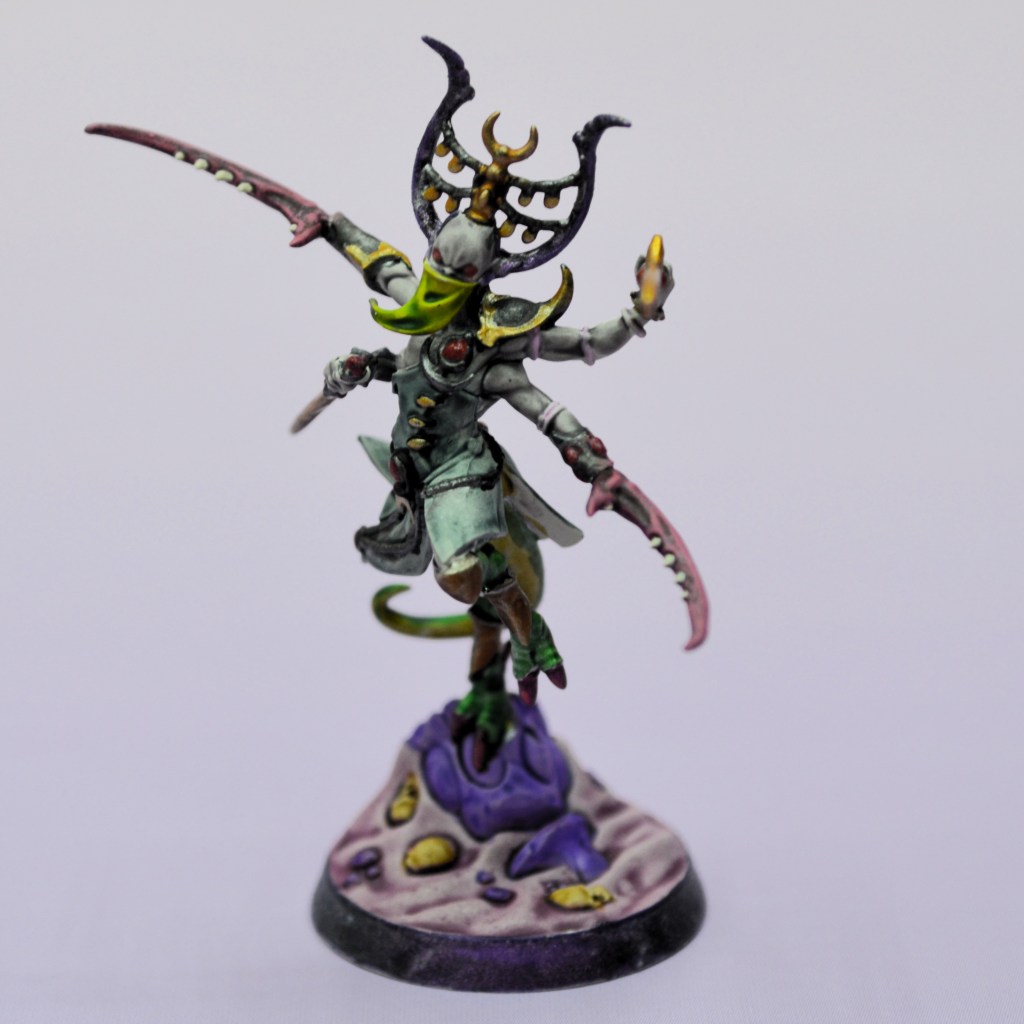
If you’re playing as ‘the beatdown’ warband who is interested in invading the other side, a very good opening move is to place a feature tokens on their side of the board, but in a way that ‘zones out’ as much of their good locations as possible. The opponent can’t place within 2 hexes of the token you place, so look for obvious ‘great spots’ and try to put your tokens in a way that forces them to avoid them. If you have a great board chosen by your opponent, you might even be able to make it so that they have only 2 tokens on their side. The other option for the invading player is to place tokens on your side to prevent them from having very many if possible, or placing ones on their side near neutral territory so they’re easier for your invading models to reach in round 1.
Placing First in the Longboard (Nines) Configuration
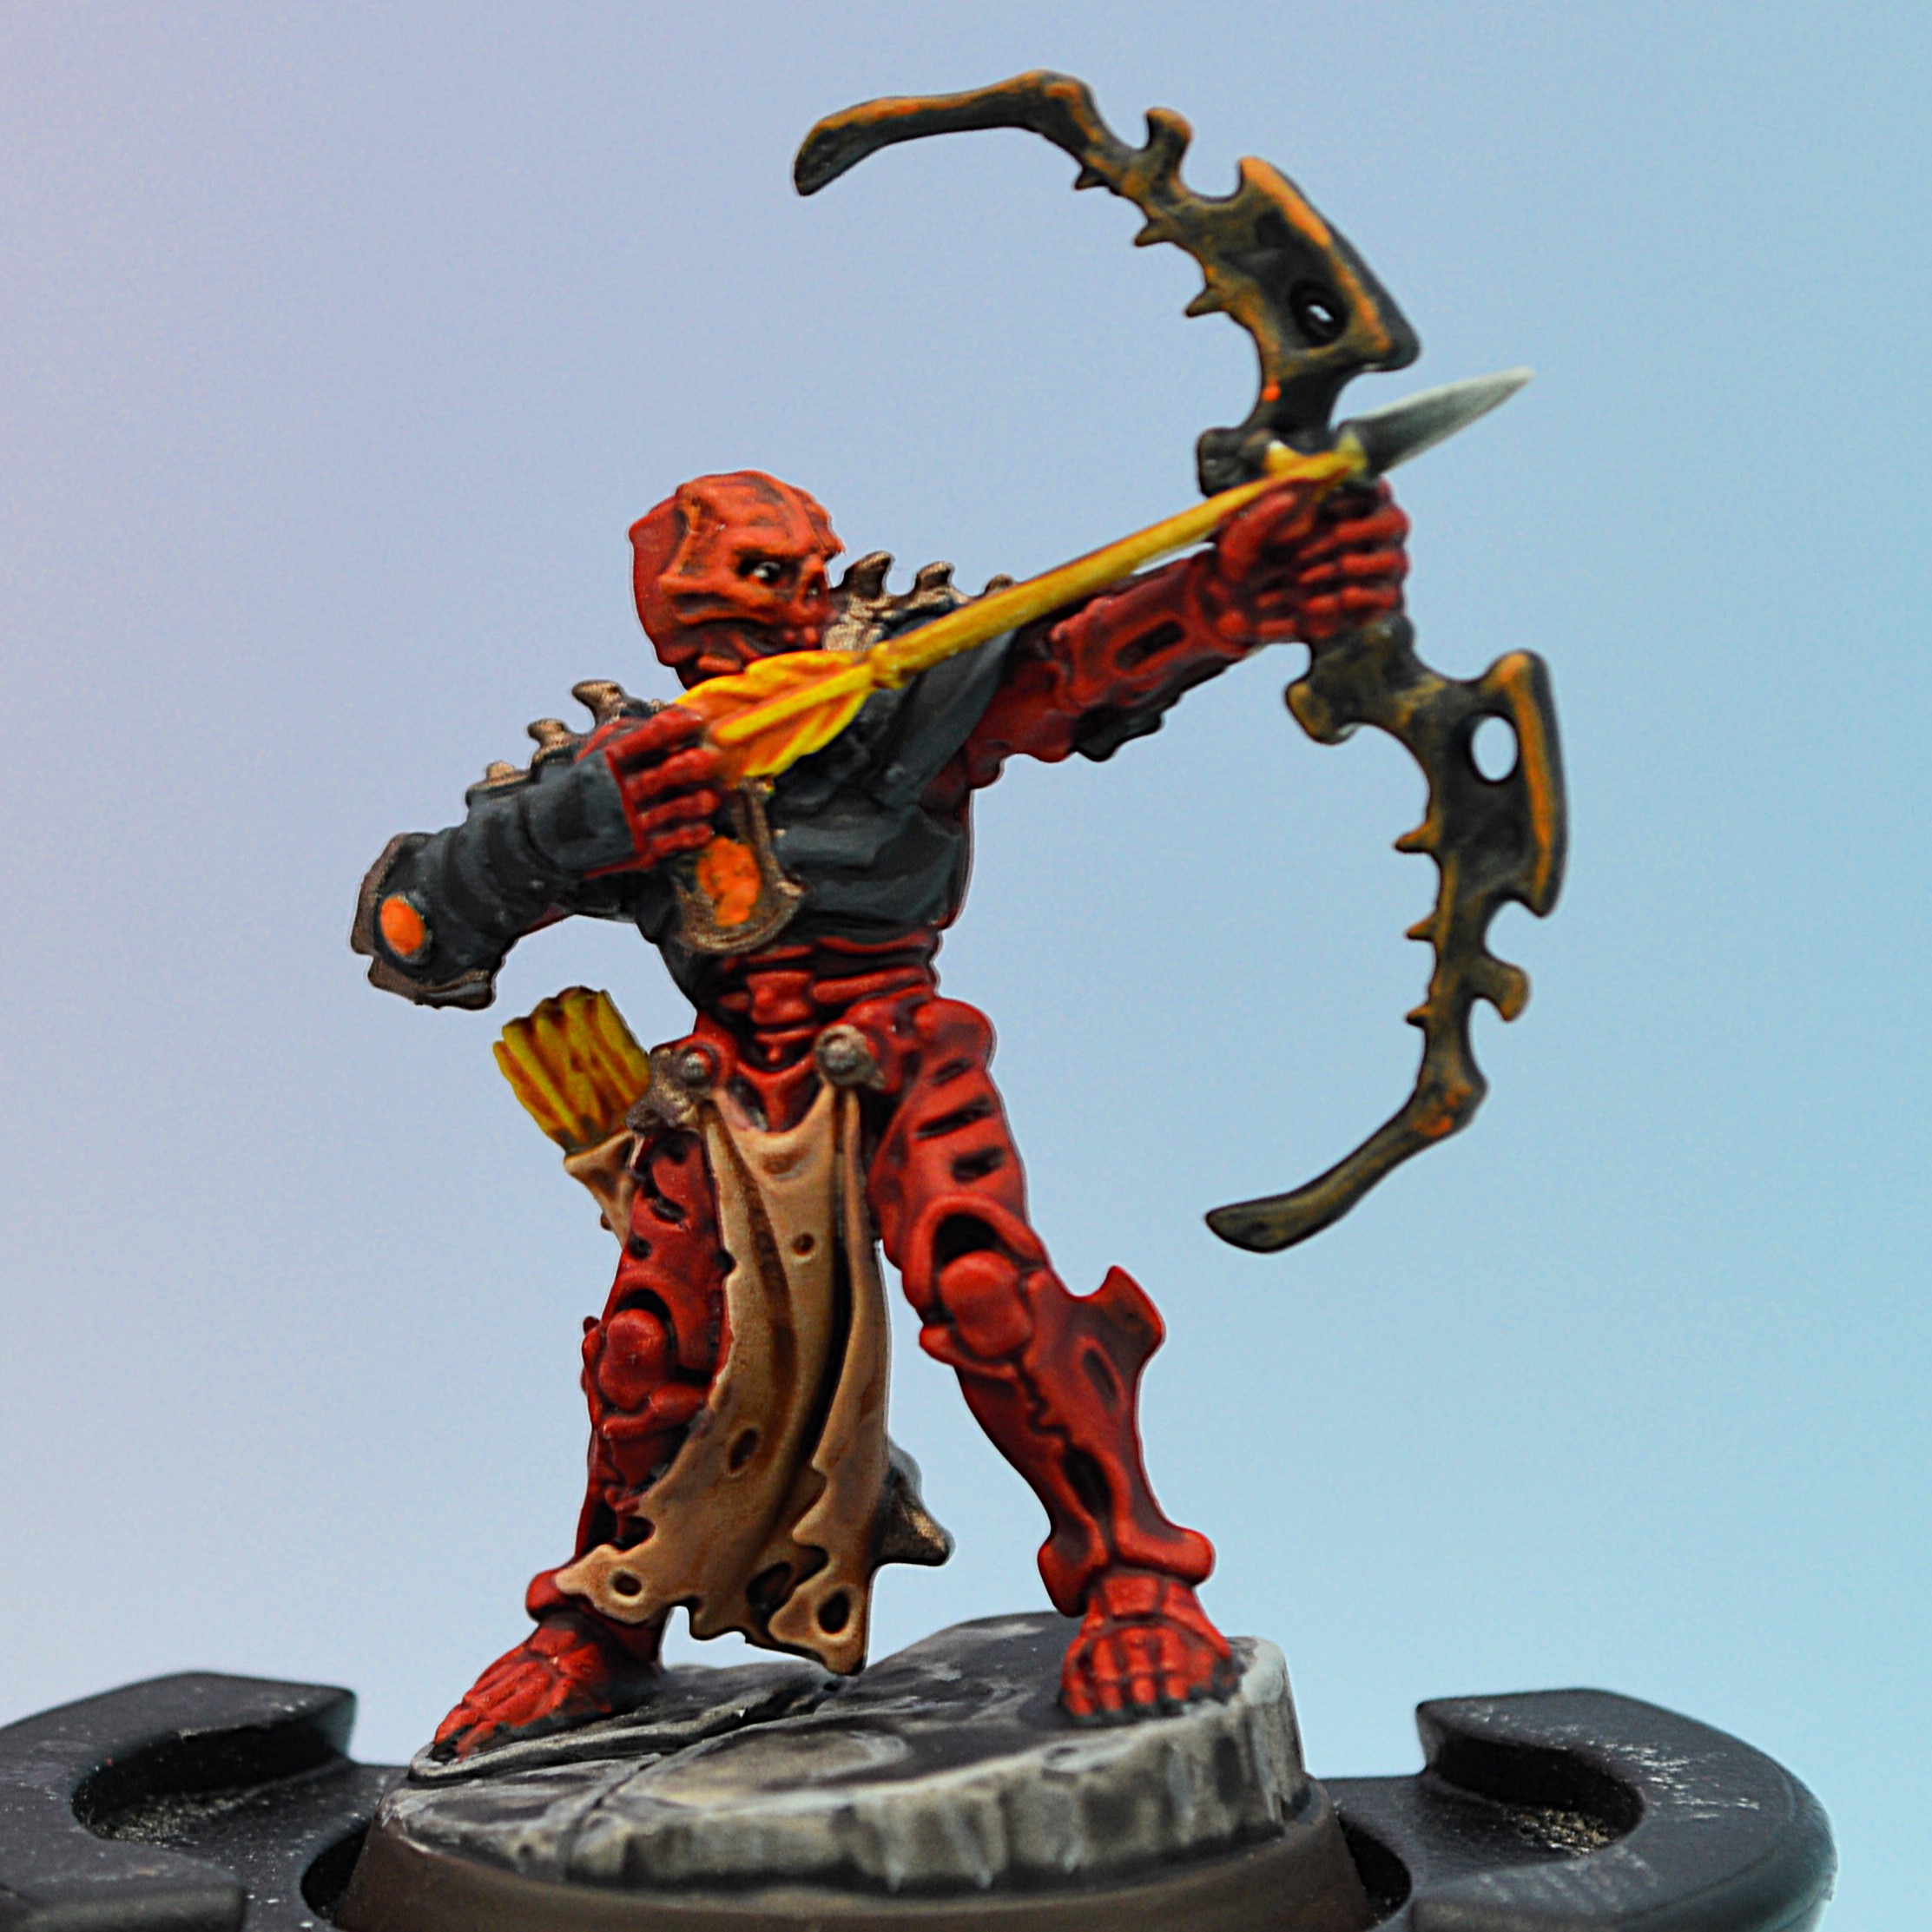
Some people who longboard are simply doing it to stay away from you. If there’s a chance they want to interact with feature tokens, try to place ones near the middle to back of their board first, as close to you as you can to prevent any of them from being totally ‘safe’. Dead center on row 3 is potentially the place to land. If you think they’re aiming for a ‘hold everything in one territory’ approach you can try to stack their longboard with three feature tokens to make that harder, but you might not know that at the outset of the game.
Placing Second in the Wideboard (Fives) Configuration
Presumably, you chose to start close up because you want to rumble. I like your style. If your plan is to invade, do the same stuff you would normally do to disrupt their hold plan as detailed in the blocked-hexes-and-what-have-you sections. If you plan is to do a midboard scrum and you want to hold some tokens while you do so, get one in no-man’s or just over the line so you can score whatever objectives you took.
Placing Second in the Longboard (Nines) Configuration
If you chose to longboard because you’re trying to keep away from Aggro, you’ll need to accept that you’re less likely to get three feature tokens on your side if they’re trying to stop you. Try placing one in the back, not on the center line, so that you have a better chance of putting one medium-back on the other side.
If you’ve done this to increase availability of neutral territory, either try to place your first one there if you plan to stack multiple inside, or place one a single hex outside of it to try and zone it out if your opponent (or prevent their zoning of you).
An Important Note on Aqua Ghyranis
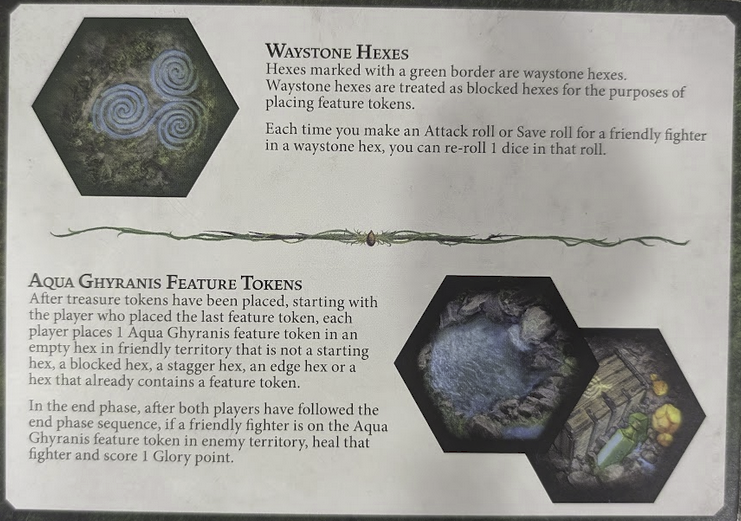
When placing your Aqua Ghyranis feature, you’ll have a lot to think about too. It’s yet one more thing you’ll have to think about controlling or denying. Can you afford to let your opponent sit on it, heal, and gain a glory? If they’re on one, they’re not on a treasure or waystone hex though, which might be better for you in the long run. Do you drop yours near the back to make it harder to reach, or do you leave it in the front so you can hit people as they step onto it? Do you put it somewhere you want to stand so you can occupy it and deny it to your opponent? Do you risk giving them a chance to overrun onto it and get even more benefits for swinging at you than usual?
The biggest thing I can confirm from my own play experience is that if you are playing a Take and Hold strategy and want to stand defensively on your own tokens, DO NOT place your AG token adjacent to any feature tokens in your territory. If you do, your opponent has the opportunity to attack you from that spot – this has the double-downside of potentially taking you off a token and giving them a heal and a glory point at the end of the round. You want to force a hard choice for them and make it harder to both disrupt your holding as well as stand on AG.
Don’t Forget To Look At Your Dang Hand!
In second edition, we have already drawn our cards and made the decision to mulligan or not prior to board placement and feature token placement. Pause, take a deep breath, and read your cards, dummy. If you are currently holding something that cares about tokens, strongly consider putting one in a spot that helps you use it. It feels bad enough to say ‘man, I really with I had a token within movement distance of this fighter’. It feels so much worse when you’re the one who placed the token. Read your cards. You have this information prior to token placement.
Wrap
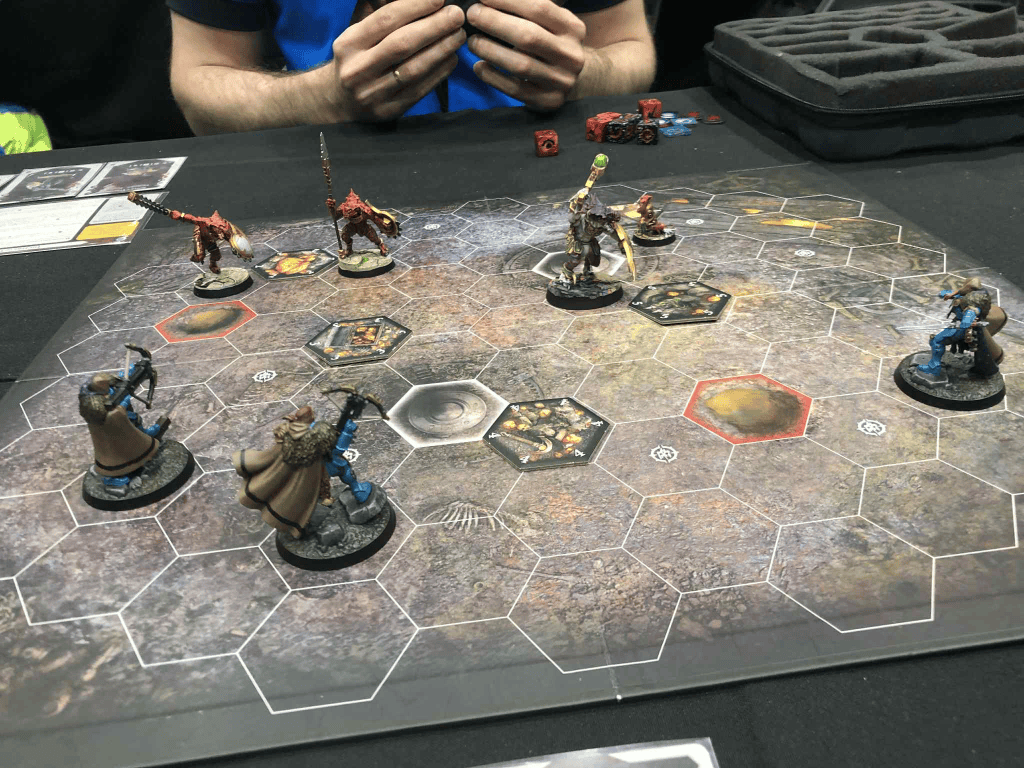
As I have stated before, I’m far from the authority on feature token placement, but I have picked up a few tricks. In general, try to mess with your opponent’s plan, and know that you can put them on either player’s board. Be mindful of feature hexes on the board you’re using and make sure they’re ones you can accept or take advantage of. Look at starting hexes and make sure you have them in mind when placing feature token. After the Tokens are placed, you’ll move onto deploying your fighters, which we will look at in the next article. Until then, get out there and spend some glory!





Leave a comment