
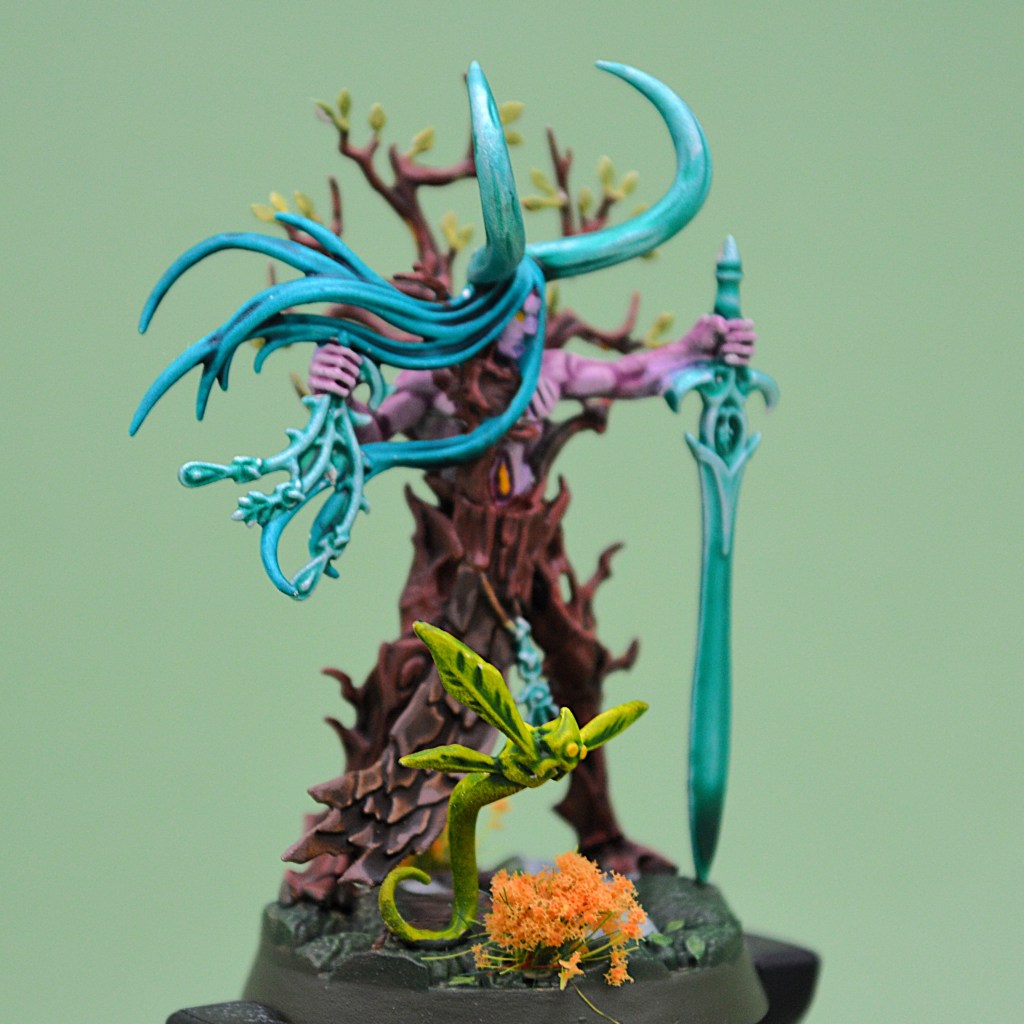
Continuing some retrospective warband reviews, today we get lost in the woods with Ylthari’s Guardians. This four-fighter warband is classified as Strike, and while their raw stats lack some of the punch that might suggest, their warscroll is among the most flexible and has some amazing utility for nearly any playstyle. The warband was reviewed by others at the launch of Embergard, but those were all done in context of the original 4 decks only. It’s also had the inspire condition clarified and updated since then. I figured they could use a second look!
Click here to see a Master List of all warbands in the game
Ylthari’s Guardians: The Lore

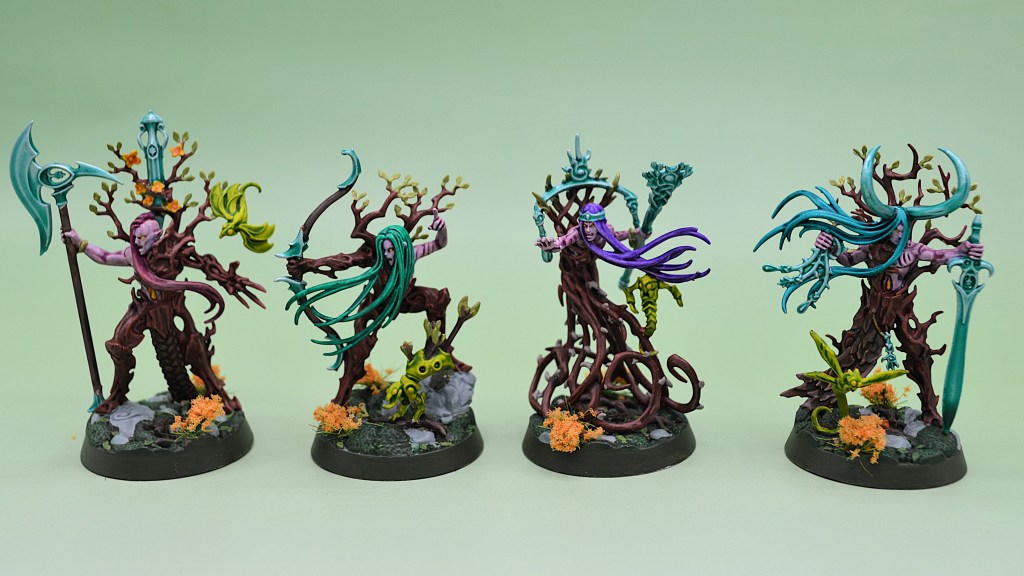
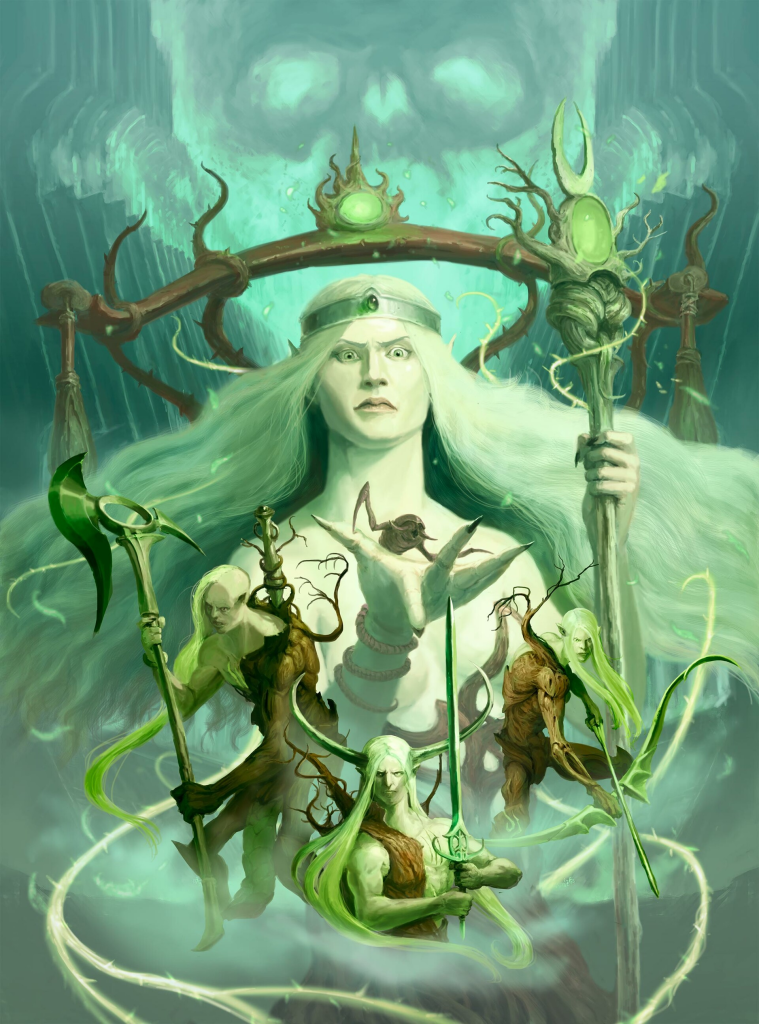
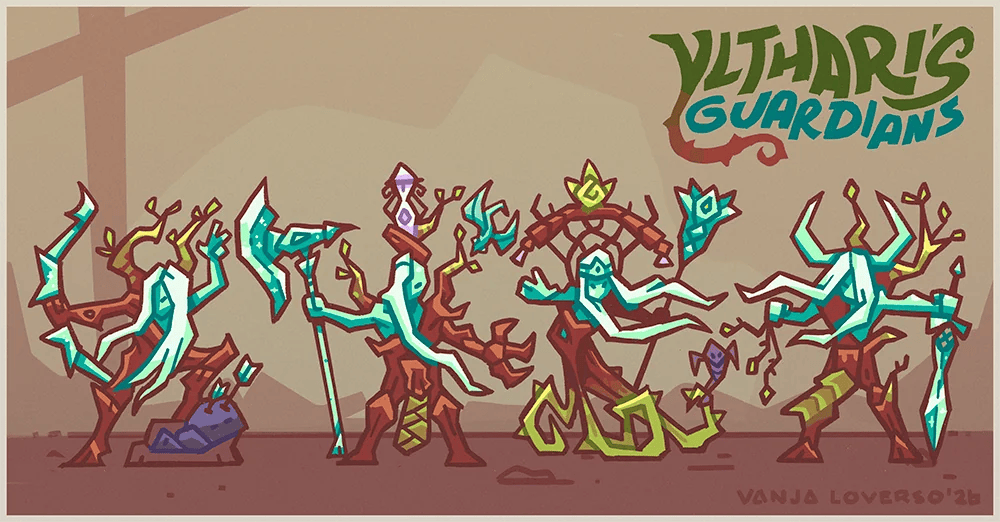
Ylthari’s Guardians are a Sylvaneth warband of Tree-Revenants led by the ‘Thornwych’ Ylthari. Long ago they worked for the Everqueen before stumbling into Shadespire thanks to some good old fashioned Nagash tomfoolery, and were dormant there for a long time while the Katophrane Curse did its thing in the pocket dimension between Ulgu and Hysh. The Necroquake that followed allowed some cracks in Shadespire’s walls, and Alarielle’s life magic was able to seep in and wake them up. During that time, they wandered the lost city looking for soulpods of other Sylvaneth to awaken, and were focused on healing magic in first edition.
In second edition, the healing focus is long gone, as is apparently the goal to find other treefolk and get them back to business; now Ylthari and her crew are back to being bigtime angry and taking it out on anyone and everyone who interferes with the natural order of the seasons, which appears to be just about every warband in the game.
Ylthari’s Guardians: The Warscroll
Inspire
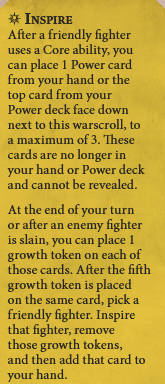
The inspire part of Ylthari’s warscroll is probably the most convoluted one in the game and requires two paragraphs as well as a rules update/errata to explain – I’ll try to make it relatively simple. The warband has a fancy Card Draw Mechanic which is the main portion of the rules. Once a card is drawn via this mechanic, you can pick a fighter and inspire them. You’ll start inspiring fighters early round 2 in most games, and you can choose whichever fighter in any order you please.
Thematically, I like to think of the card draw mechanic in two components: ‘Plant a Seed’, and ‘Water the Grove’.
First, after you use a core action with a friendly fighter (so anything other than Focus or the Pass action), you take a card from the top of your deck (or your hand) and place it face down without looking at it. This is the ‘planting of the seed’ in the little grove of saplings next to your warscroll. You have the option to take from your hand, but I would only do this very rarely in the case where you know you want this card sometime next round but can’t use it now and want to free up space to draw more cards in the end phase. The mechanic already functions like putting a card on layaway, but taking from your deck lets you see more total cards and is the option I would spring for nearly every time. You can place up to three cards in the grove in this way, and I would keep doing this every opportunity until round 3 so you can get lots of cards.
Next, you get about watering those saplings so they can grow into nice inspiring extra power cards to give you some mid to late game Chutzpah. After your turn (so after the power step) you drop a counter/token/whatever on every face down card in your grove to represent the seed growing a little bit. If you slay something by any means, you add another counter. Once a given card hits 5 tokens, you get to put it in your hand and inspire a fighter.
Since you add a counter/water every seed an extra time with each kill, the warband does have a bit of built in ‘strike’ archetype. The faster you kill stuff, the faster you water, faster you inspire, and faster you get extra cards to play with. As a result the warband is excellent into hordes. This warband will reliably see every card in their deck every game even if you play with 22 power cards, so don’t be afraid to take some of those lesser-chosen cards and enjoy your team having access to more options than your opponent as the game ticks onward.
Once-Per-Round Abilities
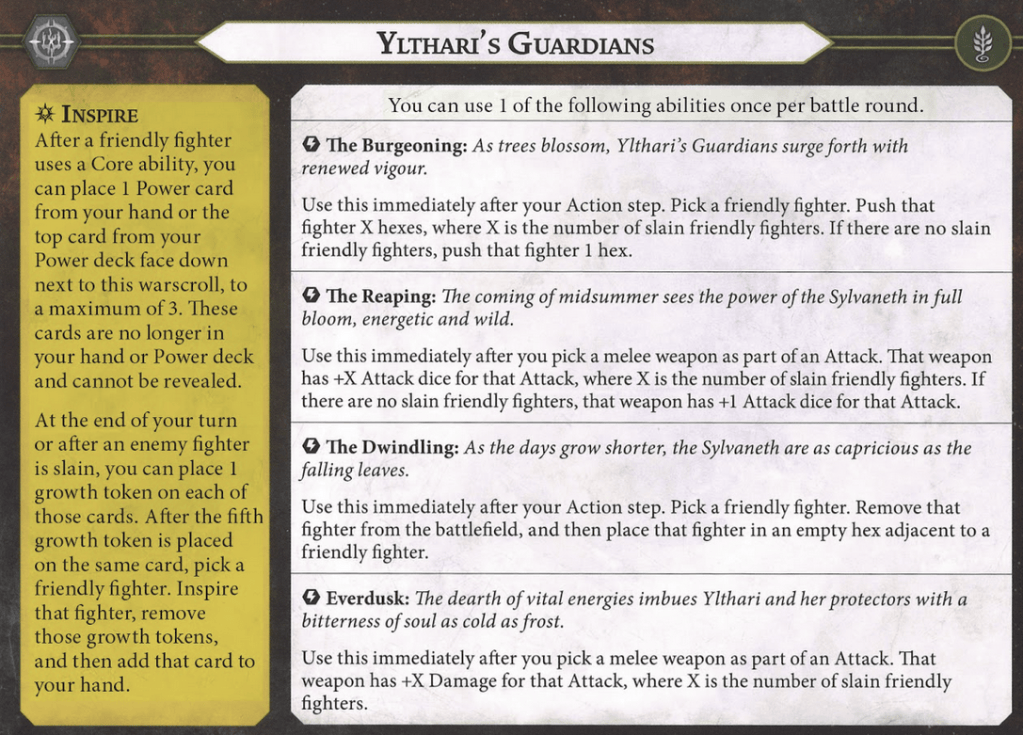
The following can be used once per round, but you can only select one of these seasonally themed abilities. You don’t need to decide until it’s time to use them, so your options remain very open and your opponent needs to be wary of you springing any of these traps on them until you’ve made your choice. Some of them become more powerful the more friendly fighters are out of action, so the warband gains power as the game progresses and more fighters are slain, which is a unique and awesome way to slot them in as a ‘comeback’ warband.
Which one you use and when to use it will be the key to winning games with Ylthari’s Guardians and is going to take some practice to ‘figure out’. Once you do however, opponents beware!
The Burgeoning
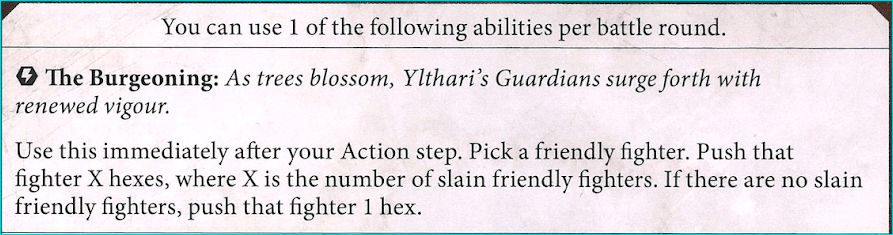
After your action step, push a fighter friendly fighter X hexes equal to the number of slain friendly fighters. If there are no slain friends, you can still push 1 hex. Have you heard of Sidestep, the best card in the game? Now you have one for free every round if you feel the need, and as the game goes on it could become a push 2 or even a push 3.
It has to be after your action step, so it’s not as easy to get the best use out of, but you’re still super happy to see this on your scroll. Keep in mind you can choose any friendly fighter to push regardless of who you used in that action step. Gold star ability right here.
The Reaping
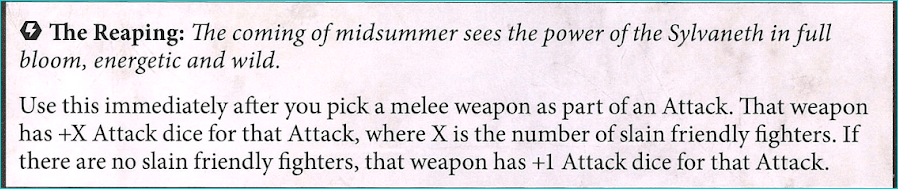
Immediately after you pick a melee weapon to attack, add +X dice to that attack – if no slain friends are around, then it is still +1 attack dice. Sometimes you really need to land an attack and this can help make that happen especially towards the end of the game. I tend not to use this one very often despite how awesome it is because the other ones available to you are just so good, but you’ll rarely feel bad about picking The Reaping either. This works only on melee attacks but can apply to upgrades which is great too. There’s not even a range restriction, so if you’re swinging with a range 2 on Gallanghann, a range 2 upgrade, or extending your reach with Nexus of Power, you can still get silly.
If the game is on the line for your final attack, this is the salvation many other warbands would pray for. Say you just have to hit one more time to kill their critical fighter. Maybe you really need to drive them off a position to deny some end phase scoring. Maybe you are really digging for an overrun. 1-3 extra dice might be just what the doctor ordered.
The Dwindling
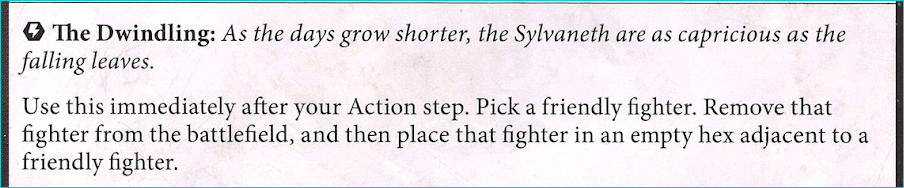
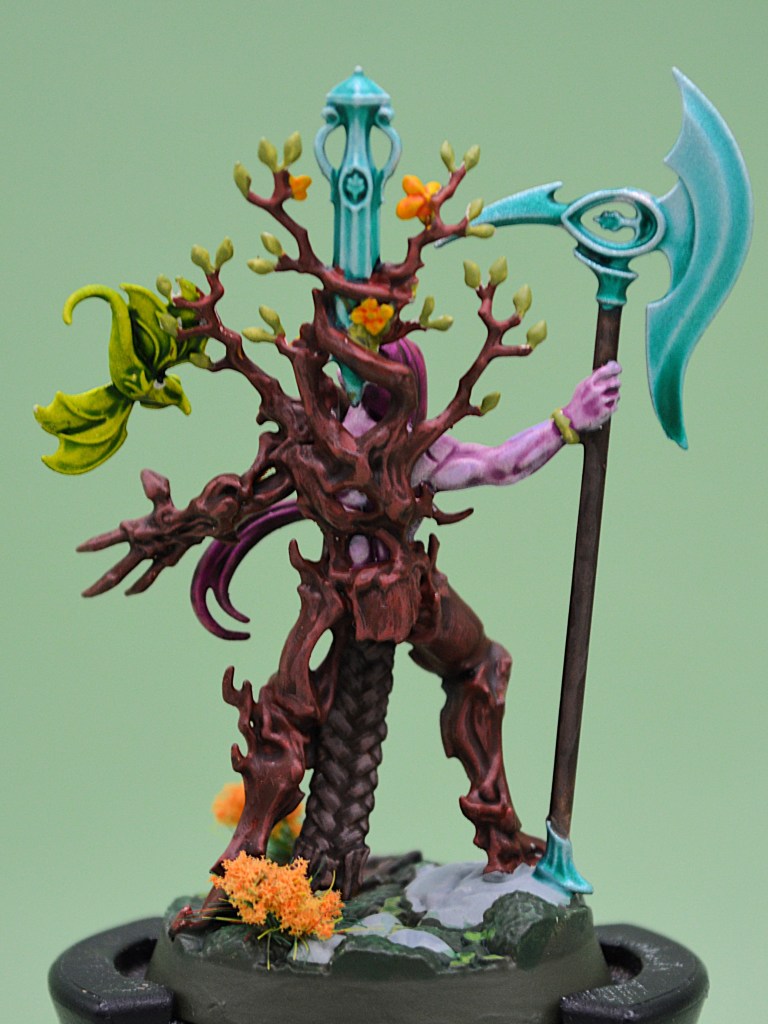
Immediately after your action step, pick a friendly fighter. Remove that fighter from the battlefield and place them adjacent to a friendly fighter. This one might actually be my favorite and has gigantic potential. Since you can choose any friendly fighter (not just the one who activated) and place them adjacent to any friendly fighter (not just the one who activated), you can do whatever you need positionally.
Some tasty options I have used myself: You can charge into a risky position and then yo-yo that fighter back to safety. You can relocate a fighter who is too far away to contribute and put them in the thick of things. You can get a charged-out fighter into position to swing again. You can force the United condition in Deadly Synergy. You can knock someone off a token, and even if you don’t overrun onto it you can plop a friend there instead. You can make sure the right fighters with charge tokens are in the right territories to score Arena Mortis or other Reckless Fury cards. You can get a fighter who is on the ropes out of the range of whoever is about to kill them.
This ability has such huge upside that I often struggle to convince myself that choosing another ability is worth it. The things you can do here are just nuts. Since this is the only one that doesn’t care about slain fighters, it’s equally useful all game long unless you’re down to your last surviving model. The ability to augment your own scoring or offense, as well as your denial of enemy scoring or just survival/defense make this among the most useful warscroll options the game has to offer – and you get to do it potentially THREE TIMES.
Everdusk
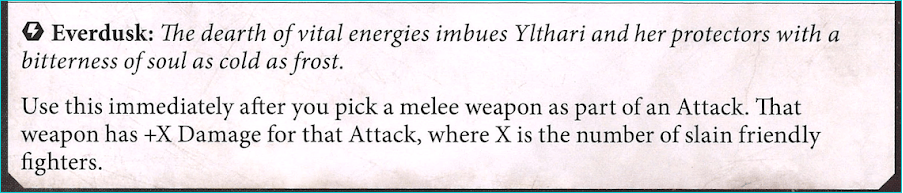
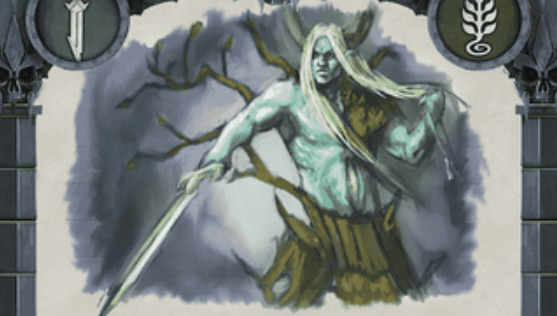
Immediately after you pick a melee weapon for an attack, add +X damage. This is the thing that gets the most talk out of this warscroll and for good reason. Some warbands have access to a +1 damage situation though the use of Grievous. This one is NOT a runemark and does NOT conflict with Grievous (or Cleave, or anything else). At will, you can potentially get a +1-3 damage spike in melee. Three of your fighters have damage 2 on their melee attacks, so you could potentially be looking at 4-5 damage before runemarks get involved in the late game. Since this does apply to upgrades, you can feel comfortable taking a 1 damage hyper-accurate card and reliably put out some real hurt with it, or a big 3 damage upgrade like Desperate Rage to swing for the fences with a potential hulk smash.
Note that this is the only option with no value until a friendly fighter is slain, so you’re unlikely to feel the need for it in round 1 unless things are going pretty poorly for you.

Ylthari’s Guardians: Fighter Cards
Ylthari
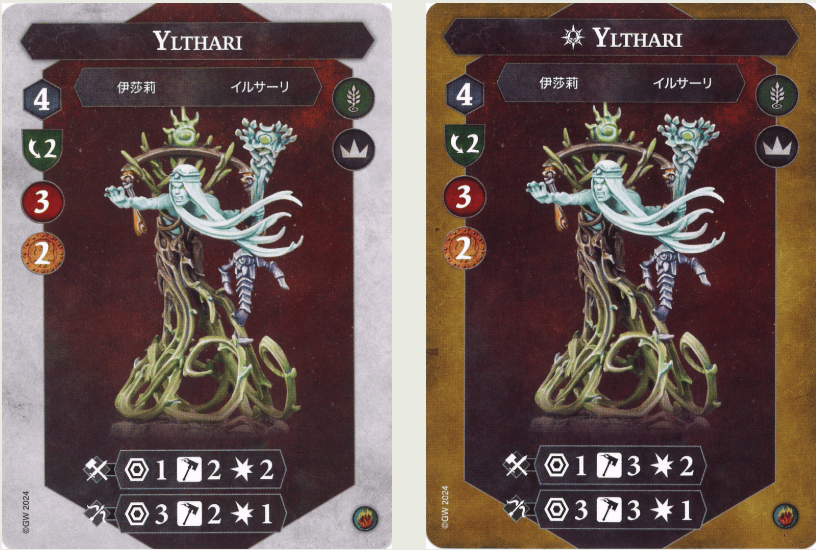
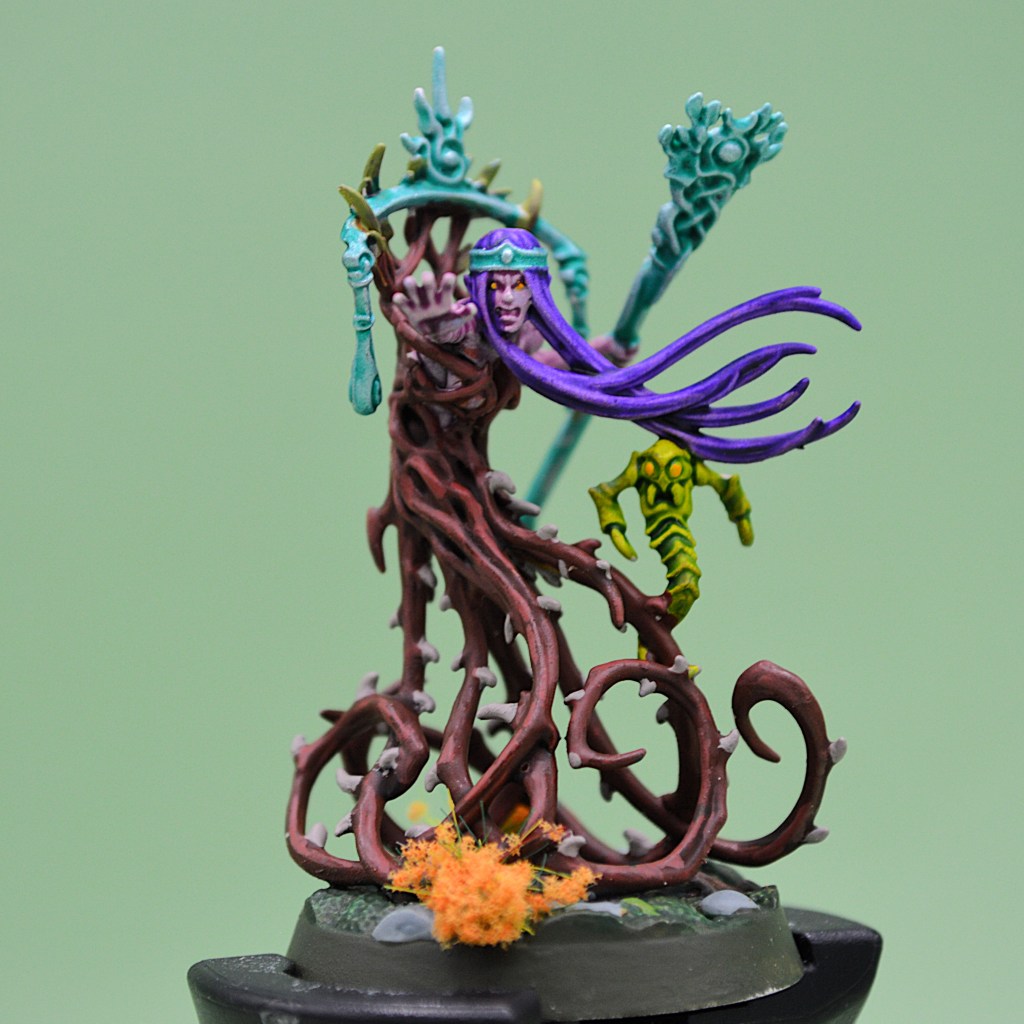
Your leader starts out on 2 dodge which isn’t too shabby, but she carries the unfortunate 3 health stat and is worth 2 bounty. This puts her in early kill range for opposing warbands with the right tools, so you should be quite careful with her positioning during deployment. She’s a pretty accurate fighter however once inspired, and you could definitely do worse.
Ahnslaine
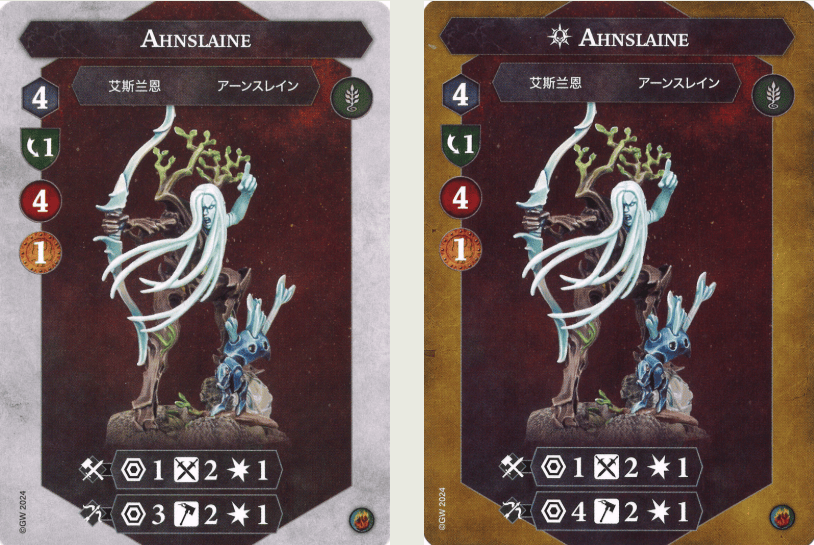
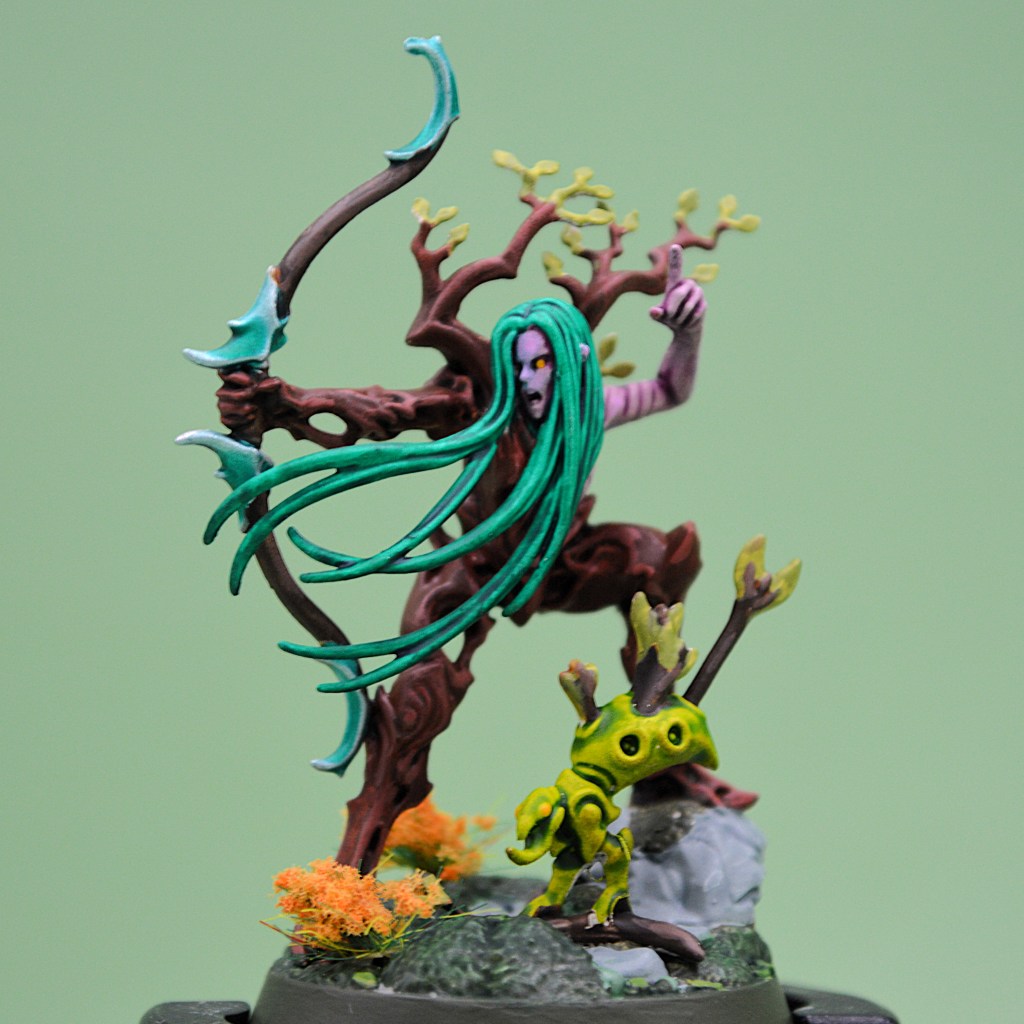
Your archer has a pitiful 1 dodge profile that never improves, but at least she’s 4 health so she’ll survive a hit or two. Additionally, she only gives up 1 bounty. Clearly the lowest priority for inspiration on the entire team, the only change that status confers is an increase on her ranged attack from 3 hexes to 4.
Her best use is likely to be placed in front and even take an early action to get the seed planted and possibly divert attention away from your more valuable pieces. If playing a token-based approach she’s fine as a backfield holder taking potshots. If you want her involved in the combat, you’ll probably either need to burn a warscroll ability on her, give her an attack upgrade, or both.
Skhathael
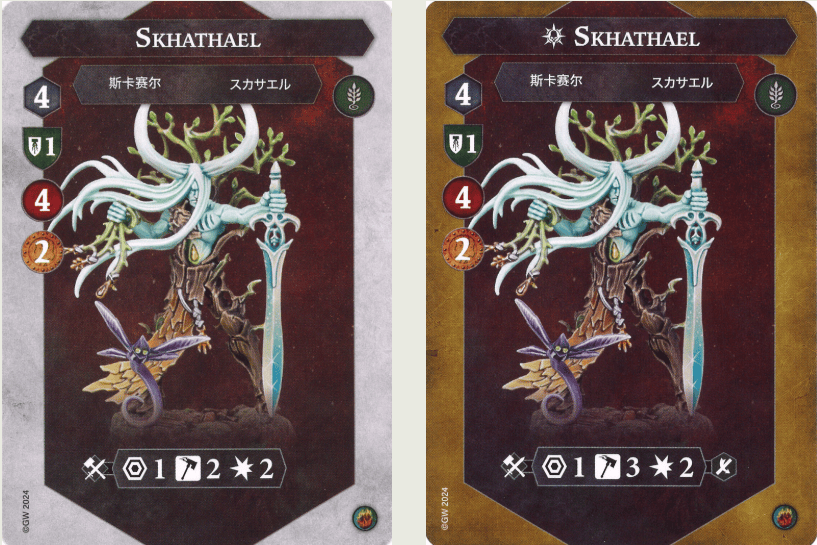
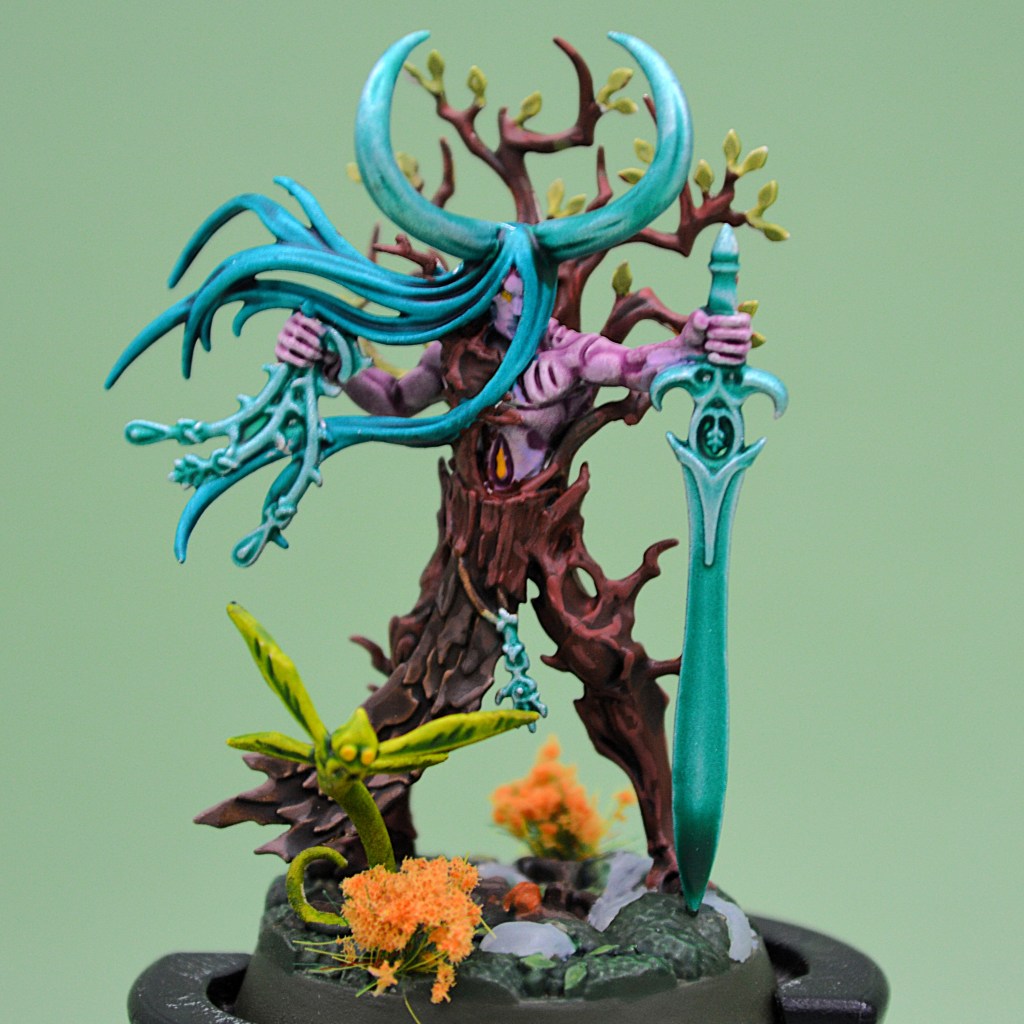
This man is the hero, and he knows it. With a reasonable 2 hammers 2 damage profile and 1 shield 4 health, he’ll be able to do work for you, and once inspired jumps to 3 hammers with ensnare for a pretty accurate output as well as a great candidate for Everdusk. This is the fighter I’m most interested in giving defense and health upgrades to, as losing him early can really hurt your offensive output.
Gallanghann of the Glade
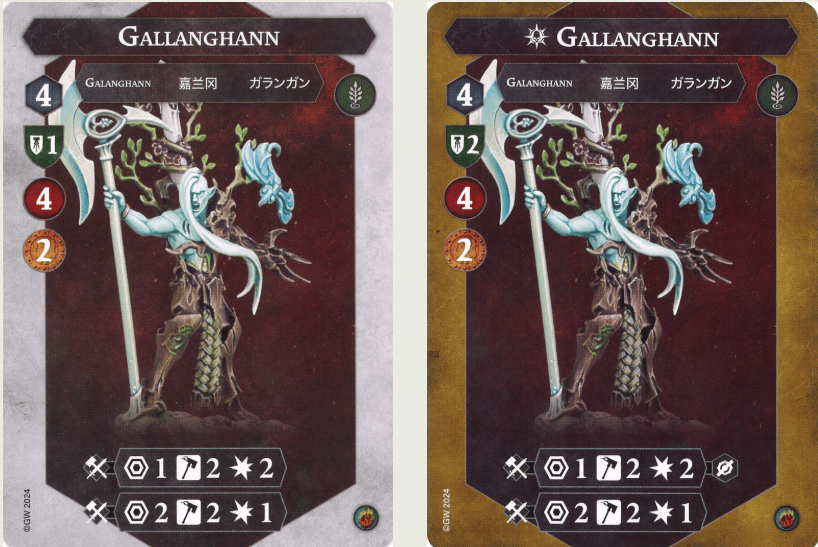
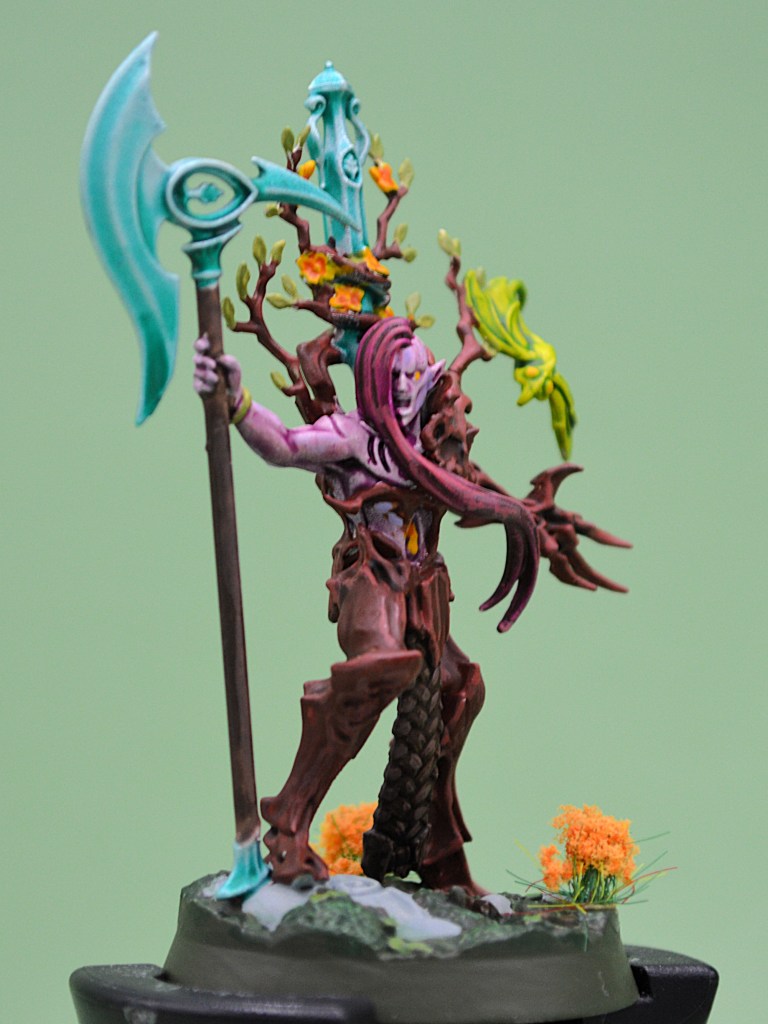
Finally, we come to Gallanghann. His profile is fine but took a big step backwards from his first edition card which is too bad, really. He has a range 2 attack which is always welcome, but it never improves in accuracy or damage even when inspired and you’re really hoping for something more in a Strike warband to be honest.
Inspiring to 2 shields makes him a reasonable first or second inspire target, and he does well with Keen Eye or Great Strength. The Brutal runemark on his inspired range 1 is nice but often doesn’t make a big difference in his accuracy as he’s still only throwing 2 hammers.
Potential Pairings
Blazing Assault is a great choice for many warbands, but especially so for Ylthari and co. Let us be honest and say that this warband really needs help in the damage department, and probably wouldn’t mind the rest of that card package either. BA has the strongest power suite you can find anywhere, and this warband will be able to draw all of them every game.
Countdown to Cataclysm allows for more dice and damage, mobility, and general flex-aggro play that Ylthari’s Guardians appreciate. Since you water your cards every time something is slain, no matter how it is slain, you’ll enjoy ping finishers to access more cards earlier.
Reckless Fury is an excellent choice for the warband. It helps with some aggro gameplans and with the warband’s teleport flexibility and access to more card draw, you can mess with charge tokens more reliably, locate your fighters where they need to be for scoring, and have better positional options than more RF teams.
Deadly Synergy is compelling since they have access to pushes and teleports for adjacency so you can become united pretty easily, and you won’t sniff at flanking for accuracy and defense alike.
A less proven strategy would involve Take and Hold adjacent approaches. Considering the warscroll’s pushes and teleports you can try for token-focused gameplans in Pillage and Plunder, Emberstone Sentinels, or even Nexus of Power. Combining those with Hunting Grounds is reasonable as well to boost their offense if you can compel them to come your way – and should you have to leave, you can even teleport back home afterward.
In Practice

Taking a peek at the Nemesis Statistics Project data, we see that the Guardians have a 49.7% win rate across 346 games (50.5% if you exclude the overpowered legacy rules for Thricefold and Zarbag, etc). Their strongest pairings across different metas/rules updates have been Emberstone/Pillage, Blazing/Pillage, and Wrack/Pillage. They seem to fall right in the middle of the pack competitively in and out of tournaments, which is exactly where you’d want to see a balanced warband.
Taking a look at some published tournament results, Ylthari’s Guardians has made an impact across the edition despite being a little older and less flashy. Rowan McGee took them to the 2025 World Championships with BAPP and took advantage of the flexy aspects of the pushes and teleports. Stefan P has used BACC in the 2025 WTC, and Goyo did quite well at that same event with BA/RF. Both players showcased the potential aggro output of the warband there. Interestingly Daniel D did quite well at the WTC with BA/ES, so a hybrid hold deck is possible for them as well. Finally, Skyler/OmniOps from the WtH/Madison Crew took second place at Adepticon 2024 with this Pillage/Wrack flex-fest and used the pushes and teleports well to help force Strip the Realm.
Personally, I have enjoyed a few experiments with DS/RF, as their teleport really helps to unlock the scoring in nearly all of the potential Objective cards, and you’re not as motivated to slay things, being happy enough to simply make charges and attacks while united. This offsets the lower damage on the fighter cards pretty well in my experience! BA/DS also seems like quite a strong choice but I have not tested it yet.
Wrap
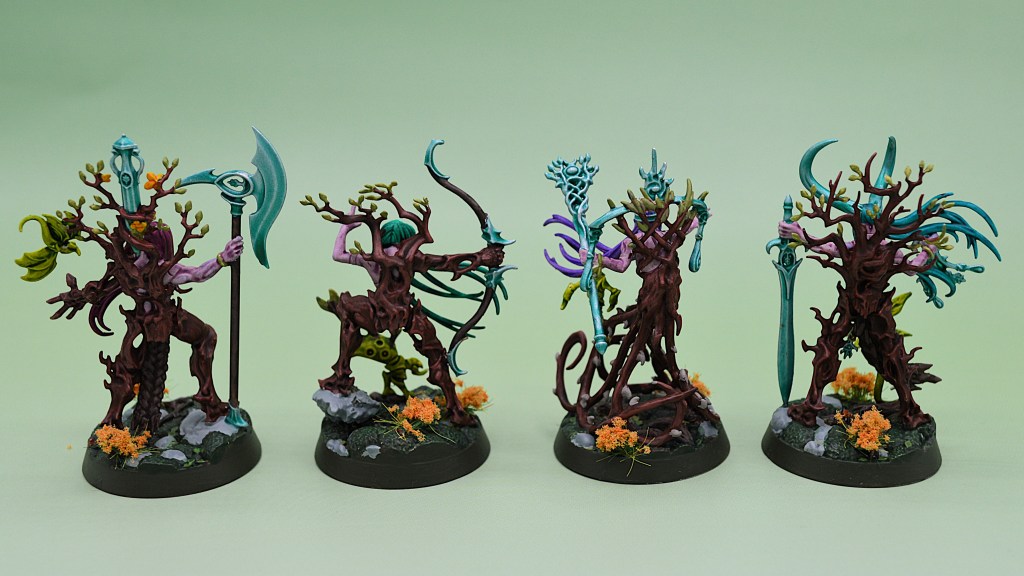
So, there you have it. The old trees on the block finally got a look on Spent Glory, and with their incredibly high utility warscroll the Spitewood may well be their oyster. However you play them, I hope you enjoy spending some glory on your hand packed full of extra upgrades after you draw through your deck!
Click here to see a Master List of all warbands in the game






Leave a comment