
Today the Contender Series will continue with a discussion on warbands with the Elites composition and how best to use them in your games in a competitive sense. The Contender series is intended to provide tips and tricks for newer players who are setting out to better understand the competitive aspects of the game, as well as longtime players who want to increase their odds of winning in a tournament setting. As such, I will be covering this information with a more simplified view and try as best as I can to keep the series ‘evergreen’ – I will mention specific warbands and cards/decks to illustrate a point but will generally try to use more genericized concepts to keep the information relevant for anything that is released in the future as the meta shifts and things may or may not ‘rotate out’ of competitive validity.

If you are interested in listening to a discussion on Elite warbands along with other warband types as well as warband and deck archetypes such as Flex, Strike etc, you can listen to this Underworlds Underground Podcast episode.
Articles in This Series:
Warband Selection
Choosing a Deck/Pairing
Deckbuilding Overview
Evaluating Surge Objective Cards
Evaluating End Phase Objective Cards
Evaluating Ploys
Evaluating Upgrades
Deckbuilding: How Many Cards?
Opening Hand and The Mulligan
Board Choice and Orientation
Feature Token Placement
Fighter Placement
So You Won the Roll-Off – Do You Choose First or Second?
Practice
Event Format Considerations
Elites
Big Boys
Hordes (Coming Soon!)
Check out other tournament related articles:
Counterplay Series
Participating in Your First Tournament
What to Expect at your First Grand Clash
How to Run a Local Tournament
Building Your First Nemesis Deck
Let’s take a look at what exactly Elites are, followed by the general playstyle approach to Elite warbands and how best to use them on the table. After that, we will check out what cards you may want to consider taking in your Nemesis deck when playing an Elite Warband, which to avoid, and why. Finally, we’ll conclude with some tips on how to play against Elites, so if you find yourself staring down a scary 3-fighter warband you’ll know how best to keep them from doing what they want to do.
General Description of Elite Warbands

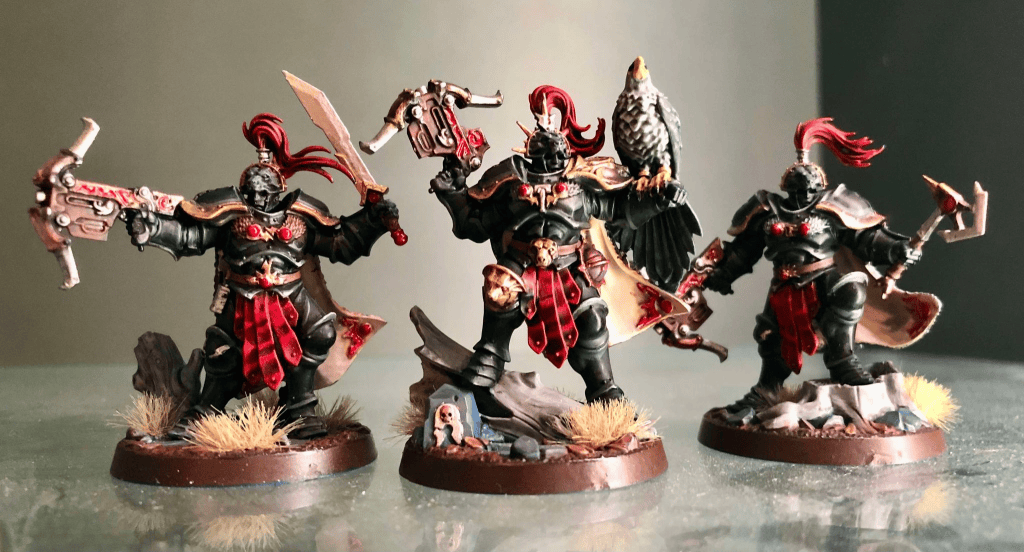
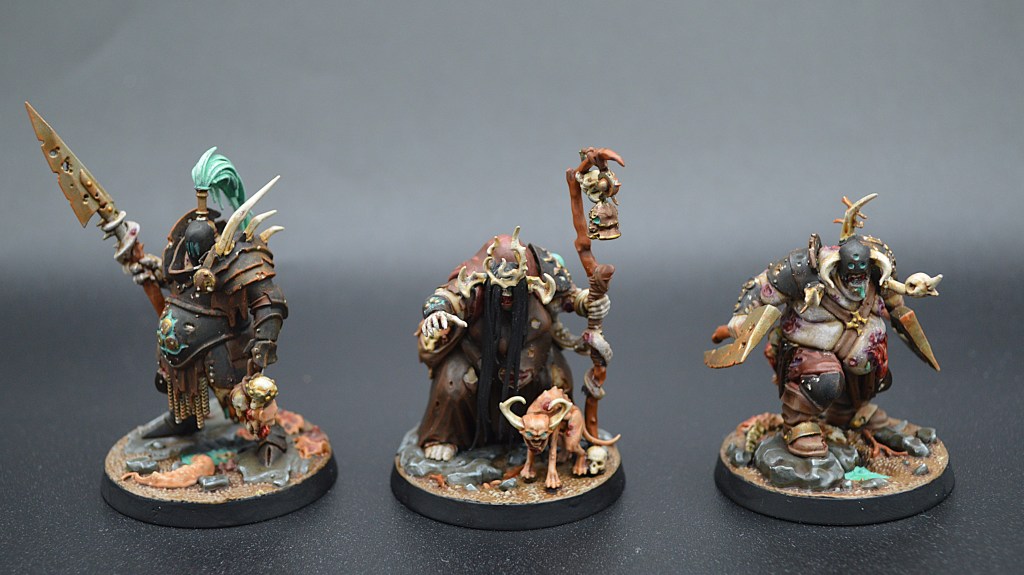
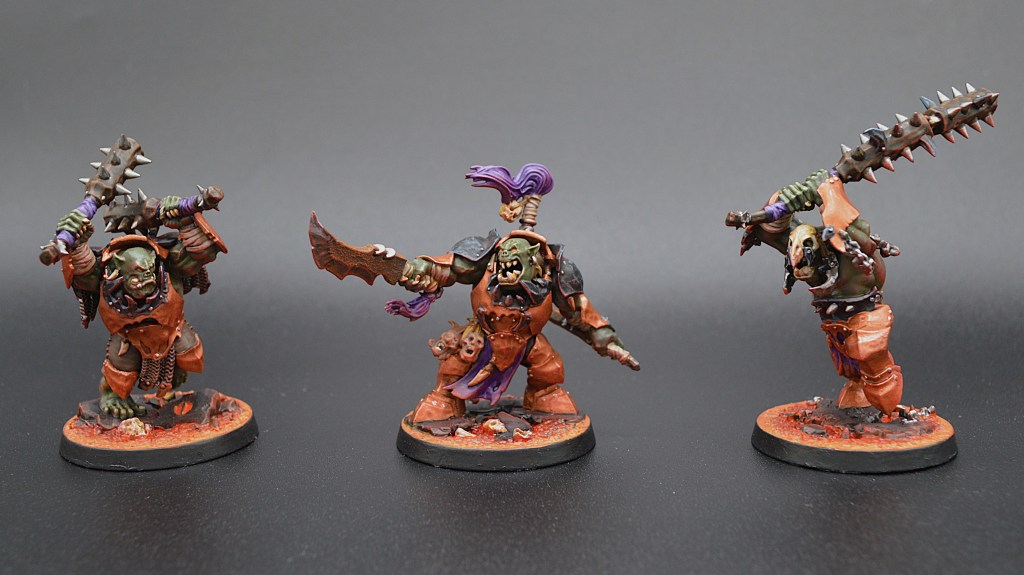
Elite Warbands are those who have three models (and the Jaws of Itzl are roughly so, with a fourth zero bounty model and inbuilt move efficiency, which I have included in this group). Each of the three elite models is generally a strong stat-block that can go toe to toe with the best model in any warband with at least a puncher’s chance of coming out on top. Your bounty breakdown is in most cases 3 for the leader and 2 for their friends, with the notable exception of the Gorechosen of Dromm who boast two 3-bounty fighters and one 1-bounty fighter. They tend to do best in Strike or Flex gameplans (and approximations of the same in Mastery decks) and are also excellent candidates for new players to learn the game with.
How to Play Elites Optimally
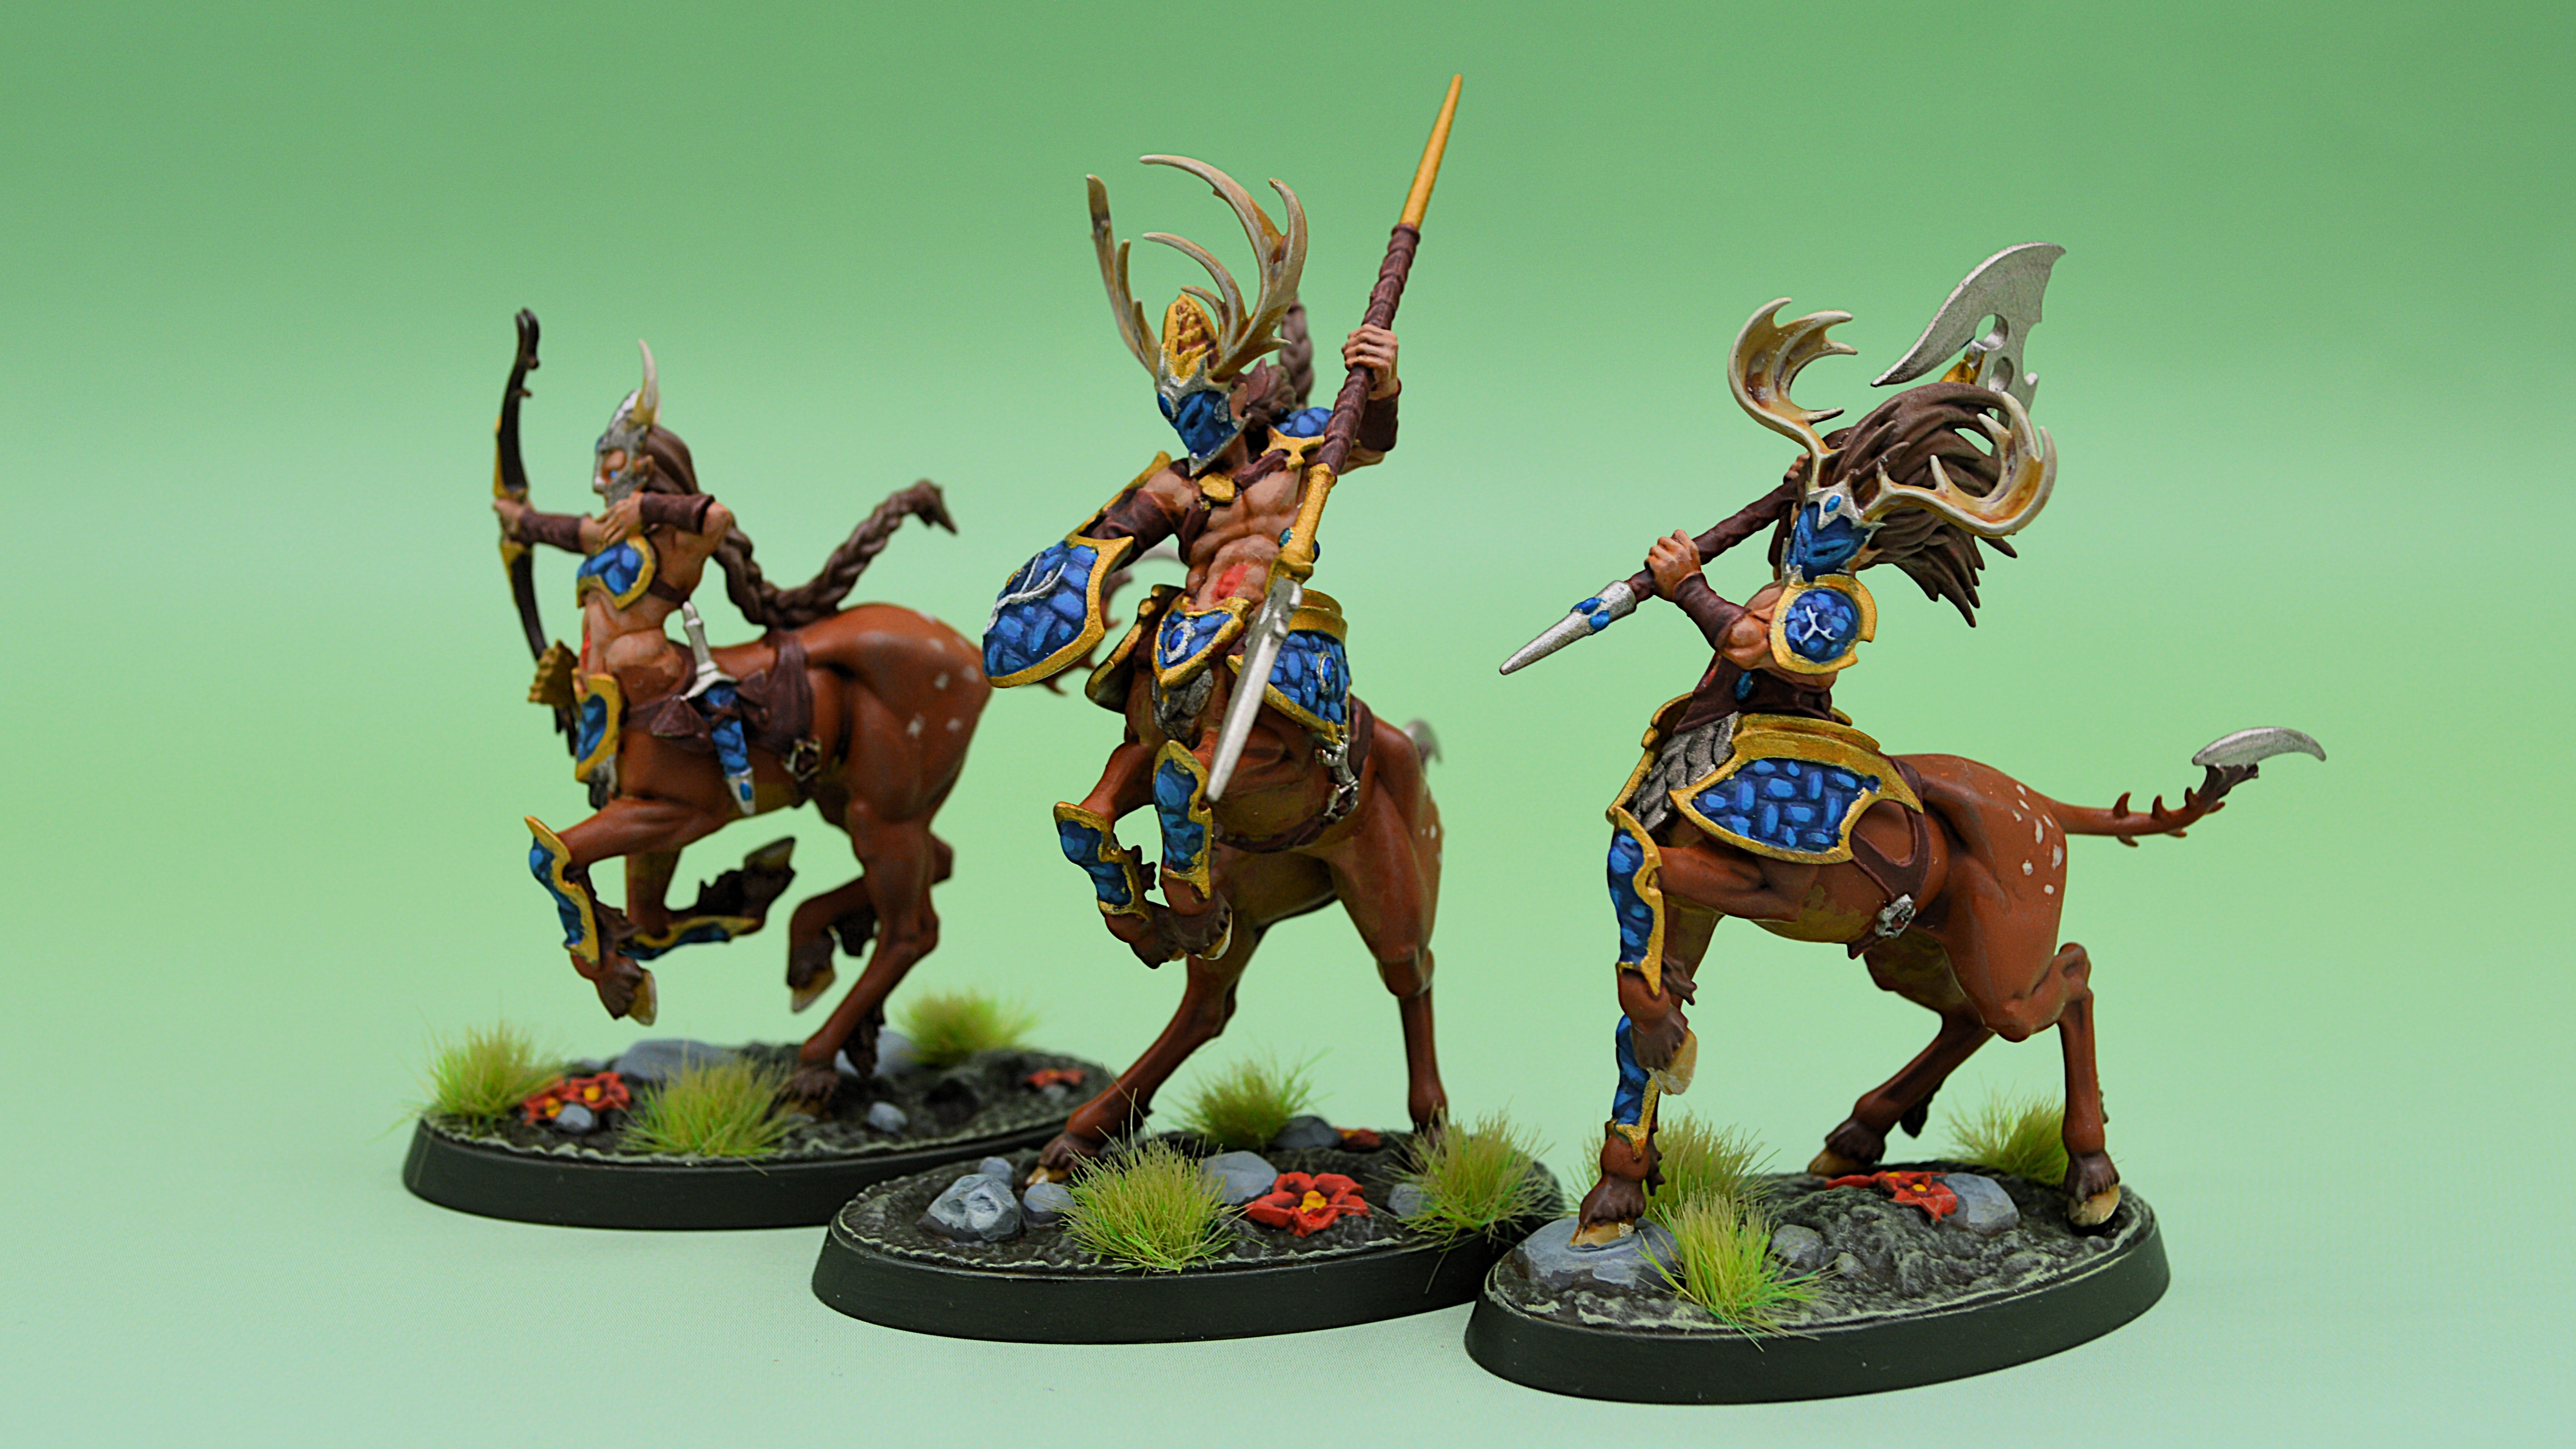
Generally speaking, if you want to win with Elites you’ll want to avoid playing the Take and Hold strategy. They have 3 bodies, and at a minimum you’ll want to be able to hold 2 tokens to score most of the valuable cards Take and Hold asks you to do. These warbands also often do not have pushes or out of sequence moves on their warscroll that enable Hold strategies to succeed, and their fighters are quite liable for being driven back off of tokens and bricking out your scoring hand.
There are a few notable exceptions: Jaws of Itzl has a special niche to hold with their venomites as the snakes get a free move once per round, and the warscroll ability Obstinate will keep at least one saurus from being driven back. They also have a range 2 fighter to allow for some attacks from tokens to work. Emberwatch have the Alone I Stand push as well as Vanguard Dash to potentially reposition near a token and step onto it in the last power step. Morgok’s Krushas have a warscroll multipush (assuming the leader lives, you can push his friends) and the ability to drop a guard token to prevent a driveback once per game. Some players have found success using hybrid Hold styles with these three warbands. Despite this, I’d recommend avoiding it in most cases as Elites are better positioned to play Strike and some degrees of Flex Aggro/Positional stuff.
When getting into why Strike works so well, let’s talk about the “Charged Out” rule! The rulebook states that once a fighter has a charge token they cannot ever charge again that round and cannot take certain core ability actions (move attack, guard) until every fighter in their warband has a charge token. For most warband archetypes, this means once you charge with a fighter, they’re done contributing for the round. Not so with Elites! You have three fighters but four activations; If you charge with all three, your fourth action you can select one of them who has already charged to act again – perhaps make another attack, which helps with Strike gameplans (and in general). Ther fighters generally have great stats and so have the capacity to access yet another powerful attack and increase their overall efficiency. Strike teams flourish when their fighters can reliably hit, especially for higher damage, and as a class Elites are the best positioned to do this.
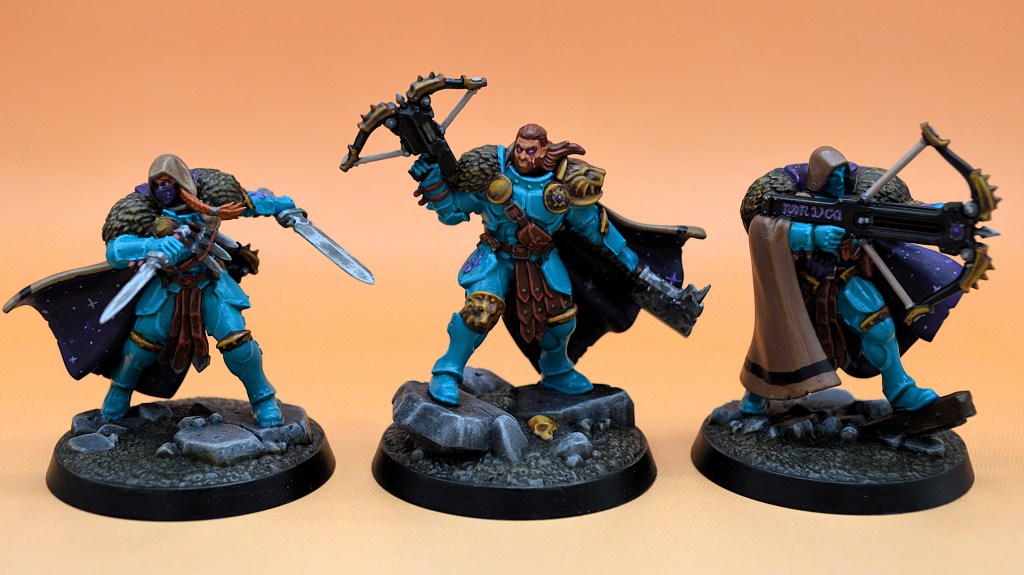
Flex playstyles (so long as aggression/strike is part of the mix) can do well with Elite teams. Many flex cards require positional things out of your fighters, asking that they all be doing something or within some distance of enemies – the fewer fighters you have, the more reliable this is. You can reasonably be making your attacks and placing your pieces where they need to go chess-style if you have only 3 of them and won’t be struggling to figure out how to move guys where they need to be with too many bodies.
When applying Upgrades, you have a general benefit with Elite fighters. Each fighter is stronger, so the upgrades may be disproportionately effective for them. +1 attack dice is better n a fighter who does lots of damage, grievous is better on a fighter who already is likely to hit, and so on. Your fighters will also likely live longer than their counterparts and thus will have more opportunities to benefit from those cards. Additionally, thanks to the ‘charged out’ rule, you may be able to activate a strong fighter loaded up with good upgrades 2 or even 3 times per round; something that Standard and especially Horde warbands have trouble accessing. As a result, your capacity to ‘Voltron’ a single fighter with a handful of high-cost upgrades while still seeing a good benefit is higher for Elites than any other type save for perhaps Big Boys.
What Cards Elites Favor
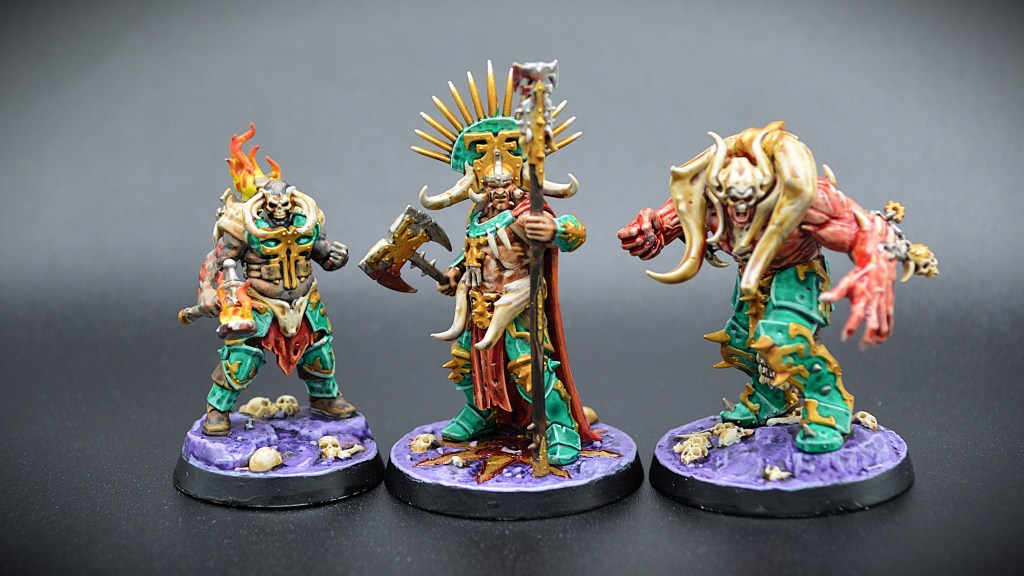
Cards that ask for a fighter to do something in enemy territory – they generally have the health to survive there for some time. If you need to succeed on an attack in enemy territory, stand on a token in enemy territory, have multiple or all fighters in enemy territory, Elites have the tankiness to pull this off where other warbands’ fighters might be slain before you score.
If a card asks that all of your fighters have some condition, Elites usually have an easier time accomplishing this and doing so earlier in the round as they only have 3 at most to achieve it with. If you need to have all of your fighters in enemy territory, all of your fighters damaged, all of your fighters with a charge token, and so on, it’s much easier to do with elites than other warband types as they can reasonably do so with less effort, needing fewer fighters to meet the condition compared to the rest of the field.
Cards asking for a total bounty of fighters satisfying that condition are also generally easier to accomplish for an Elite, as you can generally achieve this with one or two of your fighters depending on the ask. A horde might need four of their fighters to do something since each is only 1 bounty, and that can be far harder to do (especially as many of them will simply die before you get to 4 total). Elites not only have a better bounty spread for this type of Objective, but also have the resilience to survive until your scoring window in many cases.
Objectives that specify your Leader are always risky, but Elites have among the best opportunity to benefit from investing in them. Your leader is likely a very strong fighter and can perform such Objective card asks as hit multiple attacks, slay a target or two, and so on, but also is likely high health, defense or both. This means you’re more likely to have that fighter survive much of the game and be able to meet those scoring conditions for you – Horde and Standard leaders are usually easier targets and are likelier to die, as well as having to ‘share’ their action economy with more fighters and thus have fewer activations for themselves to meet the conditions. In some cases, those other archetypes also need to protect their leader in the back, and are much less comfortable risking them. Elite leaders often serve quite well as front-line combat units.
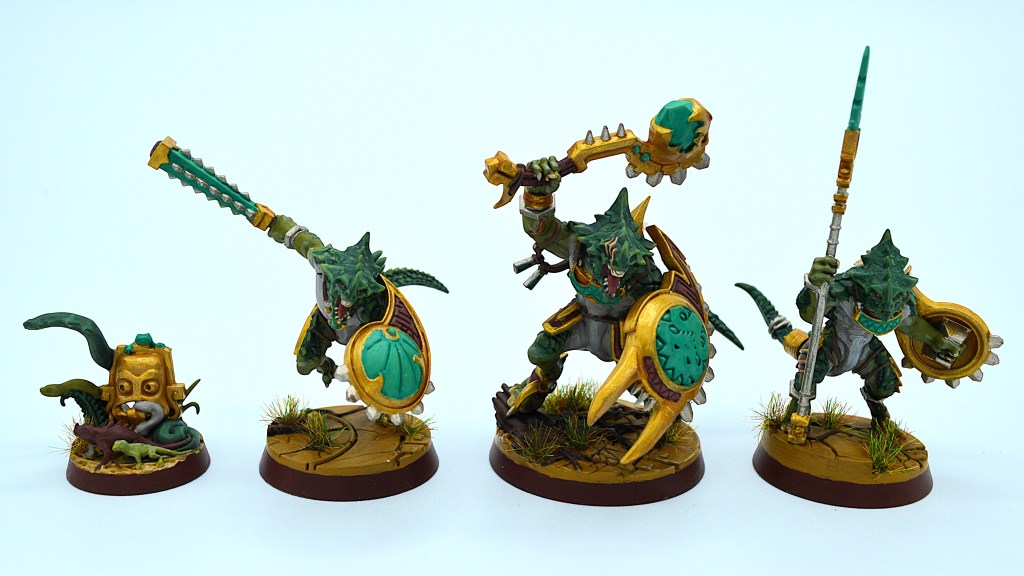
Finally, Objectives that require your fighters to succeed on attacks (or their enemies to fail attacks/fail to slay the target) are higher-value for Elites. Since your baseline stats are better, you’re likely to hit 2-4 attacks per round, and probably will succeed on defense or at least not be slain when targeted as often as Standard or Horde warbands.
Ploy cards that provide pushes are great for everyone but can be especially impactful for elites. A challenge that elites are often faced with is being out of position and not have a fighter able to do something you need doing – maybe they have lower base move or have already charged and killed their target and now have nobody in range to take a swing at. With fewer fighters, they can’t just take another one to charge the target you need to hit and need to find a way to make use of the limited number that they do have on the board. A push card can be a nice surprise in the power step right before your next action to put a fighter in a scenario where they can take another attack your opponent wasn’t expecting.
When selecting upgrades, Elites have a special ability to leverage high-cost, powerful upgrades as their fighters will see more benefit from them across that game. They’ll live longer, have more opportunities to roll saves or attacks, and are more likely to hit or do solid damage since their baseline stats are generally better. Look for things that provide boosts to their already strong stats (+dice, health, damage, accuracy via rerolls or runemarks) and lean into your strength.
Cards to Avoid for Elite Warbands
Be cautious around cards that ask you to have a specific number of fighters doing something that is greater than 1. My general rule of thumb is you can do things that ask for 2 fighters to do something if your warbands has 4+ fighters, and 3 fighters to do something if your warband has 5+ fighters, with the formula of ‘you can score cards that ask for your warband’s model count X-2’. If you need 3 fighters in a territory, 2 fighters adjacent to something else, 3 fighters holding treasure, and so on, it will be a challenge for elites. You have less redundancy should one of your fighters be slain or pushed/driven back, out of position to charge, or what have you. You will likely find as the game progresses that you have lost a model or two and simply do not have the bodies left to score it at all.
For similar reasons, cards that specify having a fighter in every territory are very tough for elites. This constitutes a minimum of 3 fighters with no wiggle room at all – if you can’t score it in round 1, you’ll probably never score it at all. Even if you do have 3 fighters, you’ll then have to make the hard choice of doing the special thing with all three or do something that’s more beneficial to the overall board state.
When considering ploys, there are often highly-rated cards that people will tell you are strong because they allow you to make a move action out of sequence. These are great, but they apply a move token to your fighter. Elites often desire the ‘charged out’ state, and giving a move token to one of your fighters precludes their ability to charge afterward. You should only pack one of these in your deck if you’re able to move with somebody who already has a charge token, and that’s rare.

Guard token ploys can be very powerful for Elites – not only does it increase their durability and lean into a strength, but guard prevents being driven back. With only 3 models, the consequence of having a fighter mispositioned by a driveback is exponentially larger. You’ll be more likely to stay in charge range on your important target or prevent being pushed out of adjacency with something so you can make a standing swing/charged out attack later on.
In many cases, weapon Upgrades are relatively noncontributory to your success. in almost all cases, an Elite will have an attack on their profile that is equivalent or superior to the attack granted by the Upgrade, and you’re far less likely to find it a useful and sensible expenditure of glory, especially when you probably have other modest-to-good Upgrades to choose from. The one exception to this can in some select cases be a quality ranged attack or range 2 melee weapon – even if the accuracy or damage output is worse than your fighter’s base profile, extending your threat range can help with making more attacks; they can allow you to be able to charge a target you couldn’t reach before (thus scoring cards and allowing the a ‘charged out’ state) and can also allow a ‘charged out’ fighter to make another attack if nobody is adjacent when the time comes.
Strategies for Beating Elites
The single best thing you can do against an elite team is to prevent them from being able to charge out. If you are able to deploy defensively or even take moves away from the midline, you may be able to keep at least one fighter from being able to charge, and they will instead need to take a move action in the hopes they’ll get to charge the following round. This limits their efficiency tremendously as you’ve dumped their action economy down quite a way and reduced their offense output by 25-50% over their optimum. Taking cards that are able to apply a move token to an enemy fighter are enormously powerful against elites for the same reason.
Often you will need to ‘focus down’ a single fighter. Unless your cards ask you specifically to spread the damage out or target fighters in certain positions, you’ll benefit by choosing somebody you think you can take off the table and commit most of your damage to that fighter. If you can remove one fighter per round, you are probably doing quite well. Identify which is the biggest threat to you (a fighter with cleave when you’re a shield warband, or a fighter with 3 damage when you have higher-health fighters) and try to take them down first. If you think you can, their leader is often a great choice as it will give up more bounty and is often their most potent offensive threat, as well as potentially having some objectives tied to their performance.
Another thing you can consider doing against Elites is to spread out and/or ‘run past them’. Since many elites are playing Strike and want to have all of their fighters in enemy territory, if you take fighters across the line with move actions, teleports, and so forth, they’ll be forced to decide whether they need to turn around and deal with your fighter in the ‘wrong territory’, or stay in your zone and score their cards. This reduces their glory cap by either limiting kill bounty or scoring efficiency, and either way you’re slowing them down.
When possible, you want to be driving their fighters back or attacking them with range 2-3 weapons from a comfortable distance so that they won’t have fighters adjacent to yours. This will force charges so they can’t stand and swing multiple times with a strong fighter, and once charged out they’ll be lacking in valuable targets to attack again. This can potentially score you positional cards or deny them theirs but also helps reduce their violence reward.
Wrap
There you have it – a brief overview of the general approaches for maximizing Elites’ competitive strength as well as a few strategies to counterplay them. Keep your eyes peeled for further discussions on other compositions: Standard, Big Boys, and hordes are coming down the line, as well as overviews of the four playstyle archetypes of Strike, Flex, Hold, and Mastery.
Until next time, I hope you have fun spending your glory and encourage you to do so in competition if you’re able!






Leave a Reply