
Today on Spent Glory’s exploration of the wider Hobby of Warhammer Underworlds, we will discuss basing your miniatures. What does it mean, why is it a good idea, and how do you go about it?

Articles in this series:
The Benefits of The Hobby
Building Underworlds Models
Painting Supplies
Primer, and Why to Use It
Contrast/Speed Paint
Acrylic Paint
Miniature Basing
Lore, Novels, Art, and Fan Fiction
Making It Manageable
Why Should I Care About the Base?
On old school adage for miniatures painting is “Faces, Bases, and Maces”. These are the aspects of a physical model that are reference points – areas that draw the eye first and longest. If you only put effort into three things on a model, it should be those three. Everything else can honestly be a grey, black, or brown and hit with a quick wash and/or drybrush and then you can move on. On these three key areas, however, it benefits you more than usual to apply more complex and layered schemes. Nobody is going to remember how well you edge highlighted the belt pouch if the face, base, and mace look bad. They might not even notice it if the face, base, and mace look good.
This is an Underworlds-focused page, and so I’m going to speak mostly from an Underworlds perspective. We have the tremendous advantage of every model in the range coming with sculpted bases, so if you want you can do nothing extra besides painting them (with as much or more care as the ‘normal’ area of the model like chest and legs) and the model should still look pretty awesome.
Let’s peek at a few of my own models. First, a wolf model that has nothing special on the base at all, I literally left it black and unpainted. The model itself wasn’t painted super well or with much attention to detail, but that lack of detail stands out a lot more with no base to draw the eye. Second, I’ll post an Underworlds model I did that again is not super well-painted, but has a sculpted base that helps the overall effect. Third, I’ll share a different model I painted that I used lots of basing techniques on.
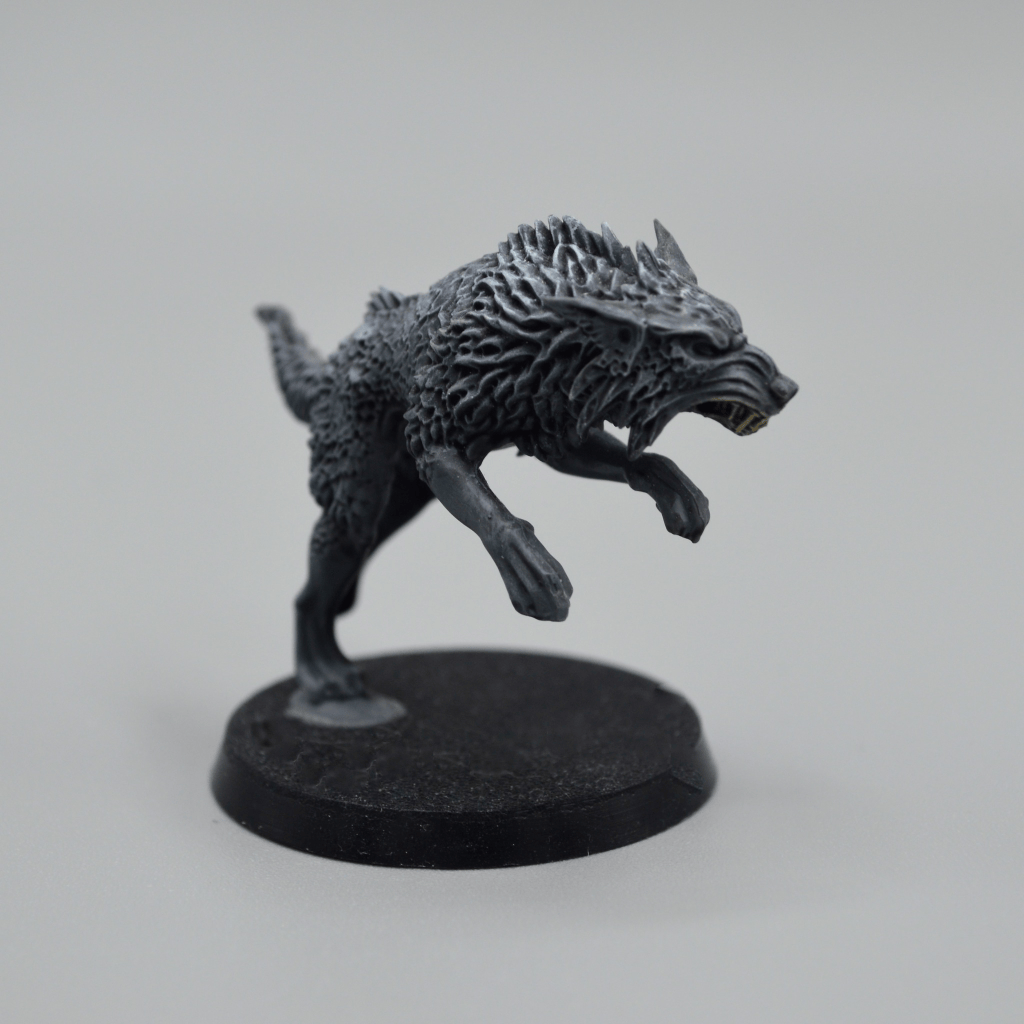
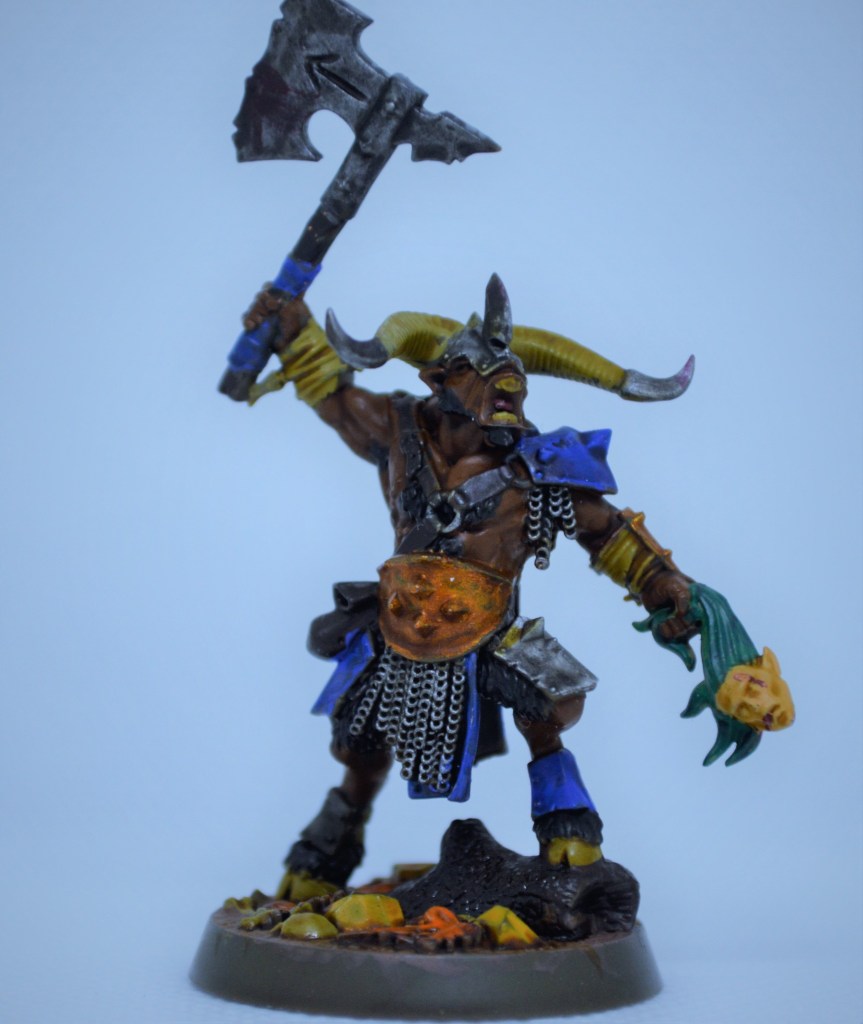
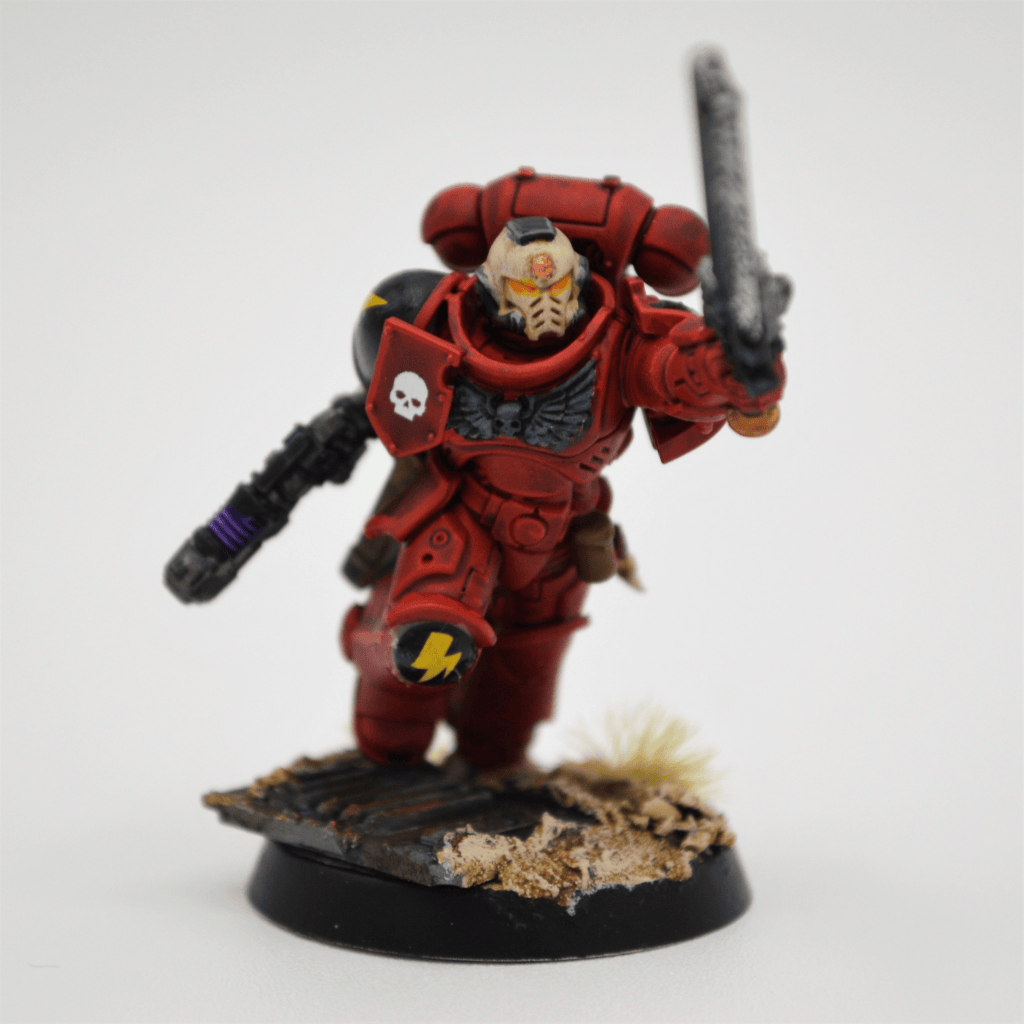
Do you notice anything? The ‘lower quality’ Underworlds model looks a lot closer to the ‘higher quality’ killteam model I painted, though with a lot less experience, skill, and time invested, and would otherwise be roughly equivalent to that woeful wolf up there. Appreciate that we have sculpted bases in the Underworlds and paint them with care. Even with my relatively bad job on Draknar’s base, it makes a difference. When you actually put a little effort into your sculpted base, it elevates your model to the next level.
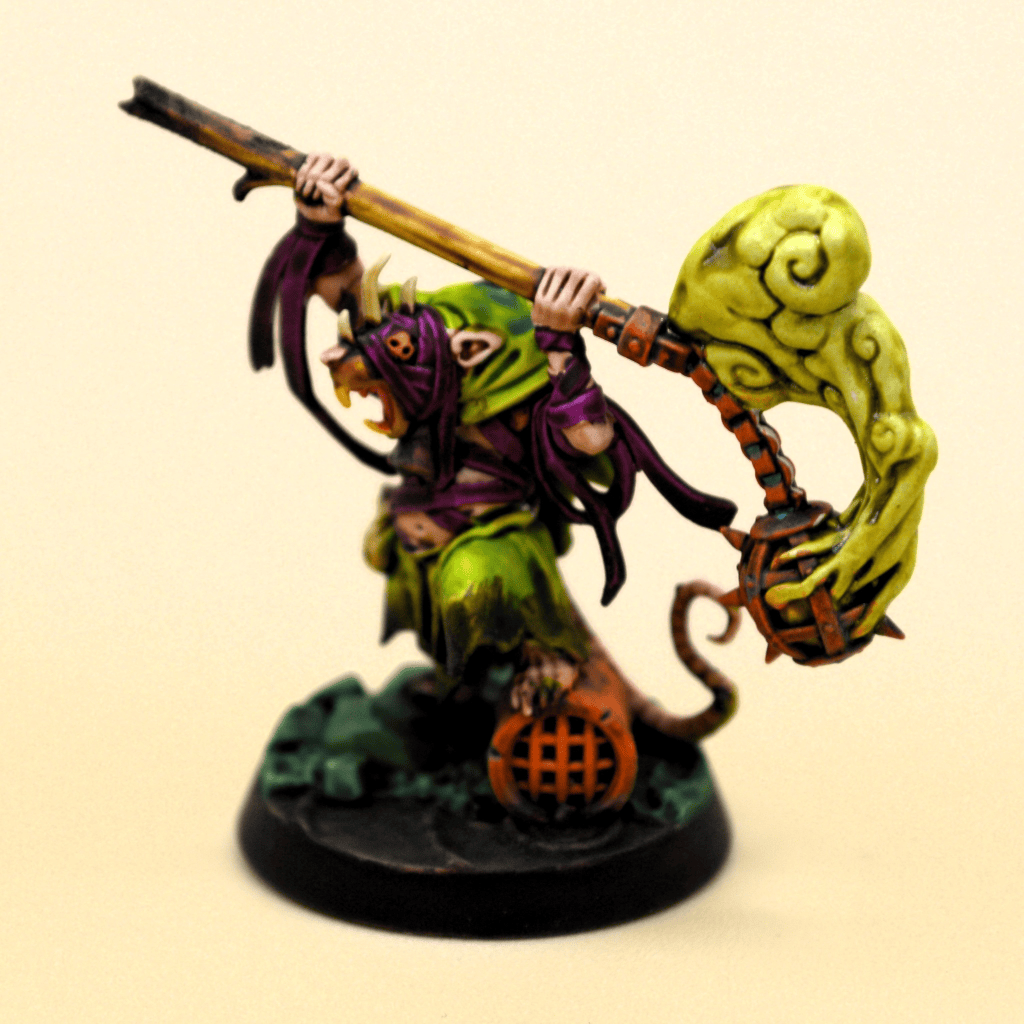
Now I’ll show you a model from my Old World army where I used substantially more basing material, texture variation, color variation, and depth. This, as you’ll notice, disguises my otherwise pedestrian painting skills.
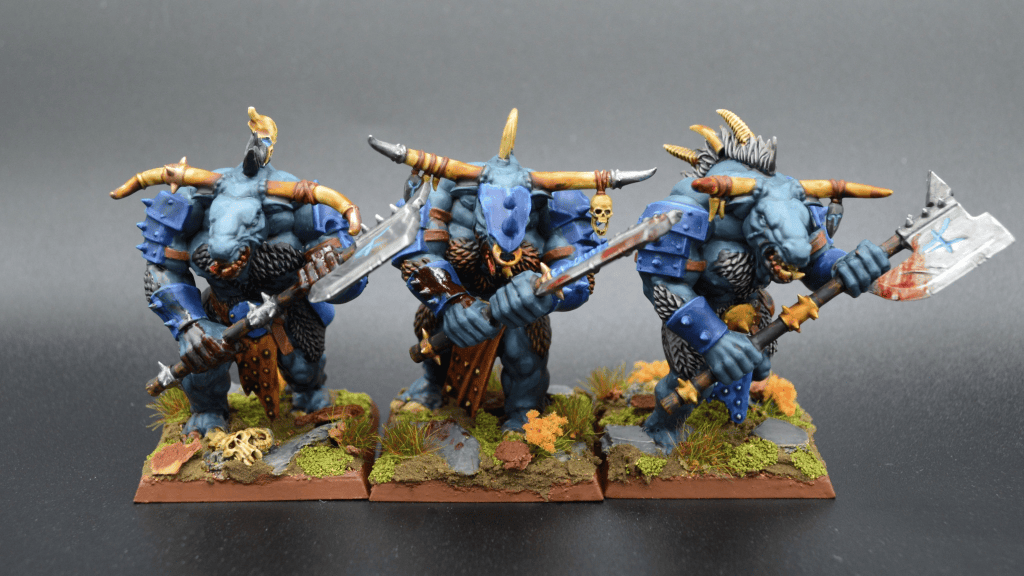

How To Maximize Your Basing
Hopefully this has sold you on the ‘why’ bother with the base. Now let’s get to the ‘how’.
Standard Painting Techniques
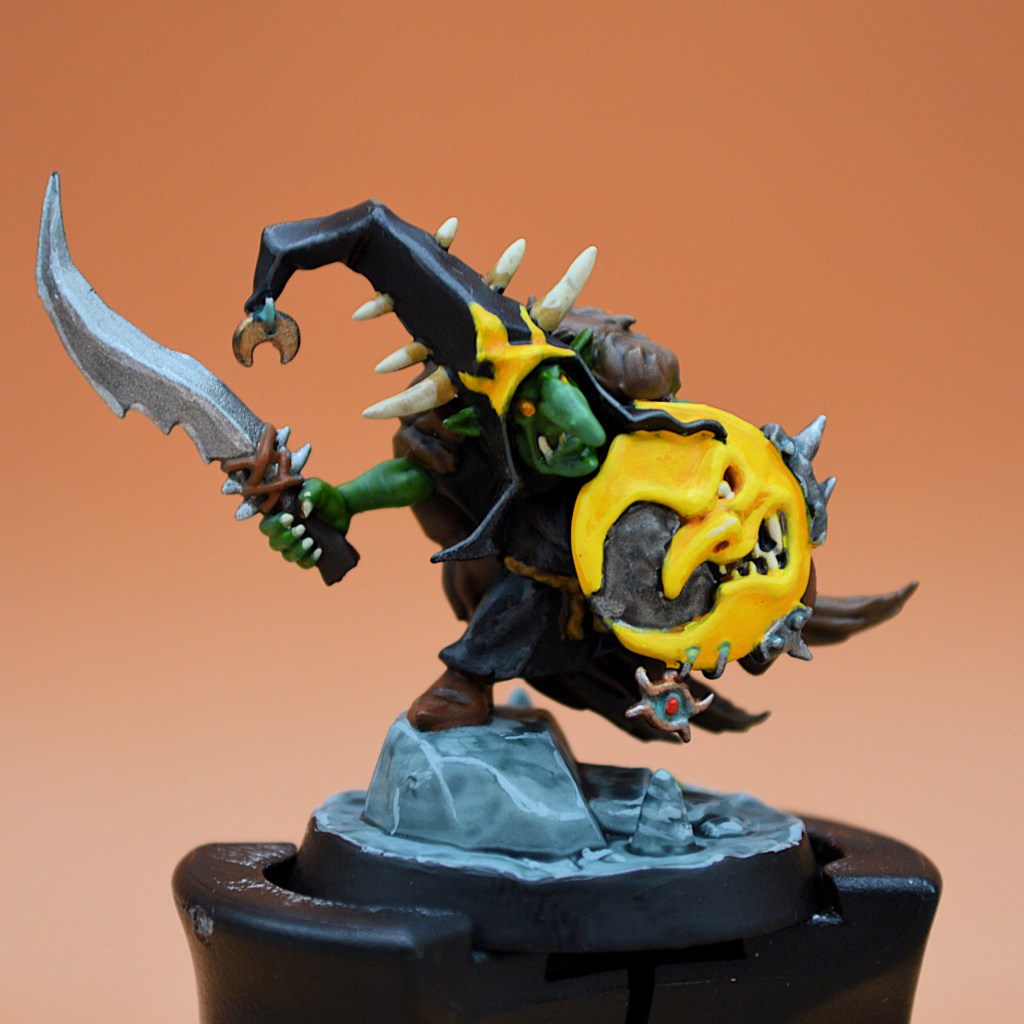
You can, of course, just paint the sculpted bases as they are, and just try to do a nice job on them. You can check out this link to the acrylic paints article in this series for some tips on how to go about that. It’s important to create some contrast and balance with your minis paint scheme, so generally you want to avoid having a mini with blue as the primary color on a blue base, for example – and if you do, make sure the blue tones are not too similar. Here’s the stone basing on Borgit Wolf-Killa that does nothing but add a different grey to offset his darker robes and still provides visual interest.
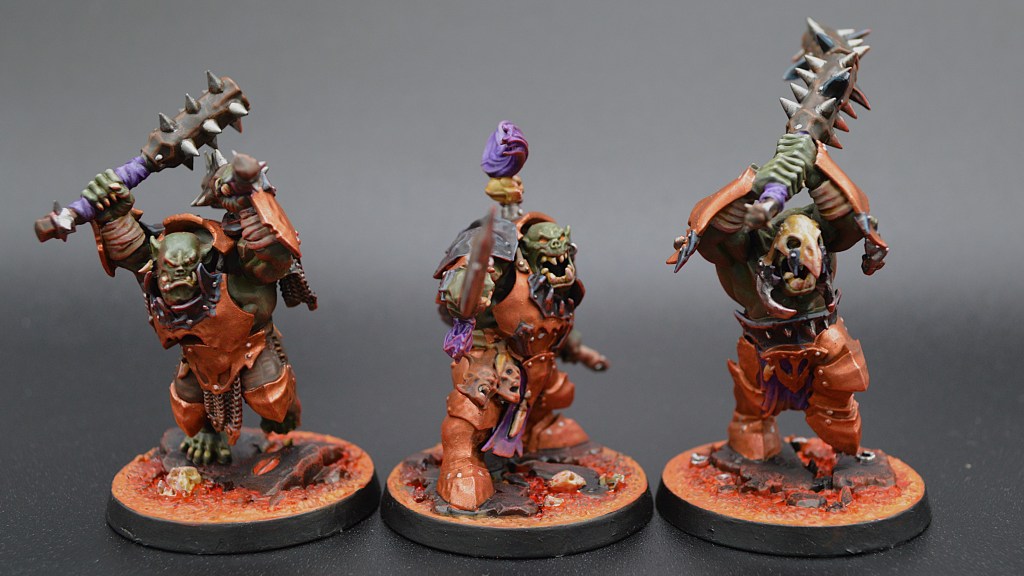
Within the confines of the sculpted base you can still apply some cool painting techniques. I used this Lava Basing tutorial to make my Morgok’s Krushas which also allowed me to try some underlighting to mixed success. Note that the effect is lessened by the fact I used a reddish-orange copper armor and a reddish-orange base – there is probably not enough contrast and variety here between the model and the base to have either contrast well and stand out. Learn from my mistake!
Sand, Rocks, and Grit
This is probably the single easiest thing you can do to add texture to a base – go outside and find some sand (or buy some from a hobby company). You can also use small pebbles from a home aquarium fishtank supplier, or get some fine grit from really anywhere you want. Ideally you have a mixture of fineness so some grains are larger and some are smaller to add more texture. Here’s a step by step tutorial from Tangible Day of the very easy process.
Apply PVA glue like Elmer’s to the areas you want the sand/rocks to stick, which you can thin out with water and spread around that glue mix with a brush you don’t care for. Then you dip the model into your cup of sand and grind it around in there for a bit, then tap the side of the base against some paper on your desk to get the excess off. Let it dry overnight and your sand should be mostly adhered. It won’t look natural (even though it’s natural) because your painted model looks different, so apply paint, washes, and drybrush the sand to give it depth that fits with the model. It’s the first technique I ever used, but it’s dang easy. You can use larger stones in some parts and smaller in others to give the effect of rubble or larger stones while sand provides a lower ground texture.
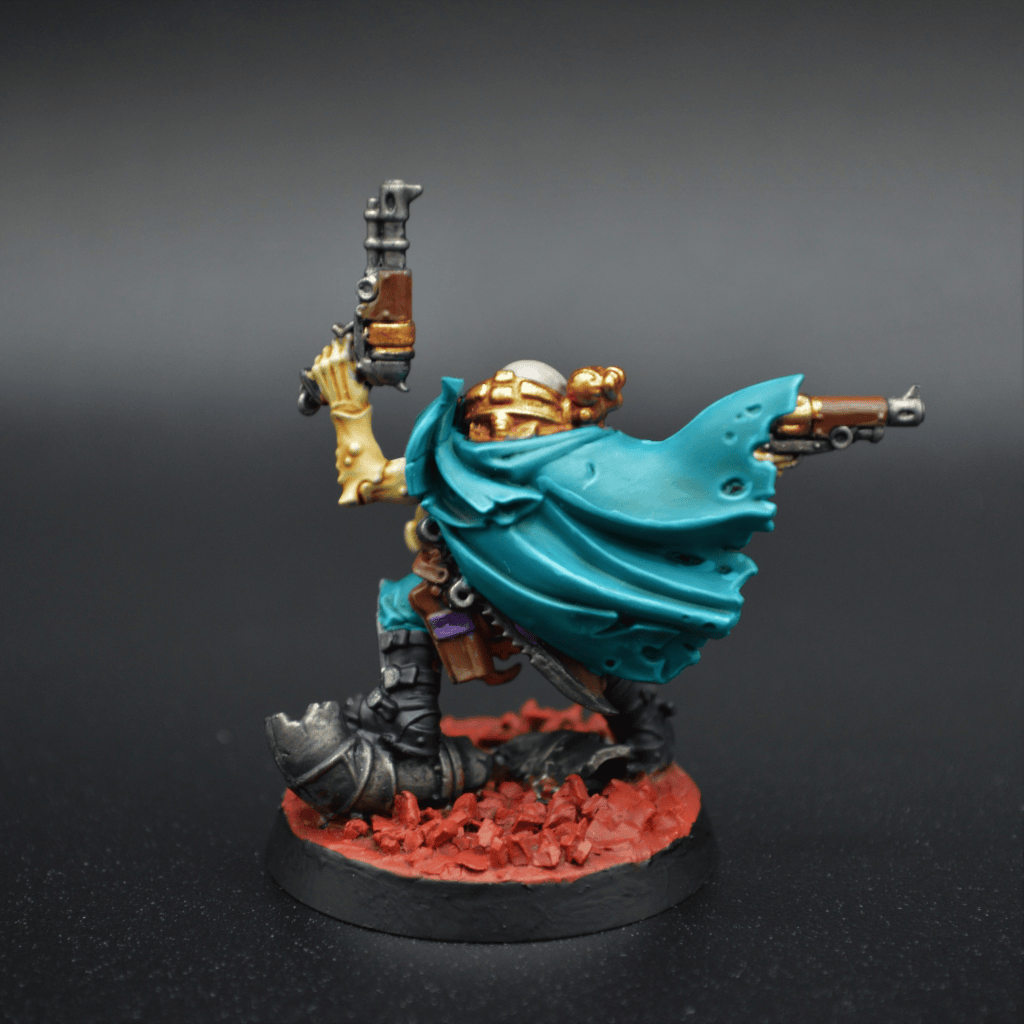
Flock/Static Grass
Static grass can be applied much like pebbles and sand with PVA (Elmer’s) glue and a tub of your grass of choice. Here’s a video of how it’s done.
You can achieve other effects with a similar technique by using flocking – I have a ‘grass’ flock that has various greens and a little brown mixed in. A popular choice is snow flock, which is white with maybe some lighter blue, and when applied sparingly can create the appearance of a snowy field or frost on select areas.
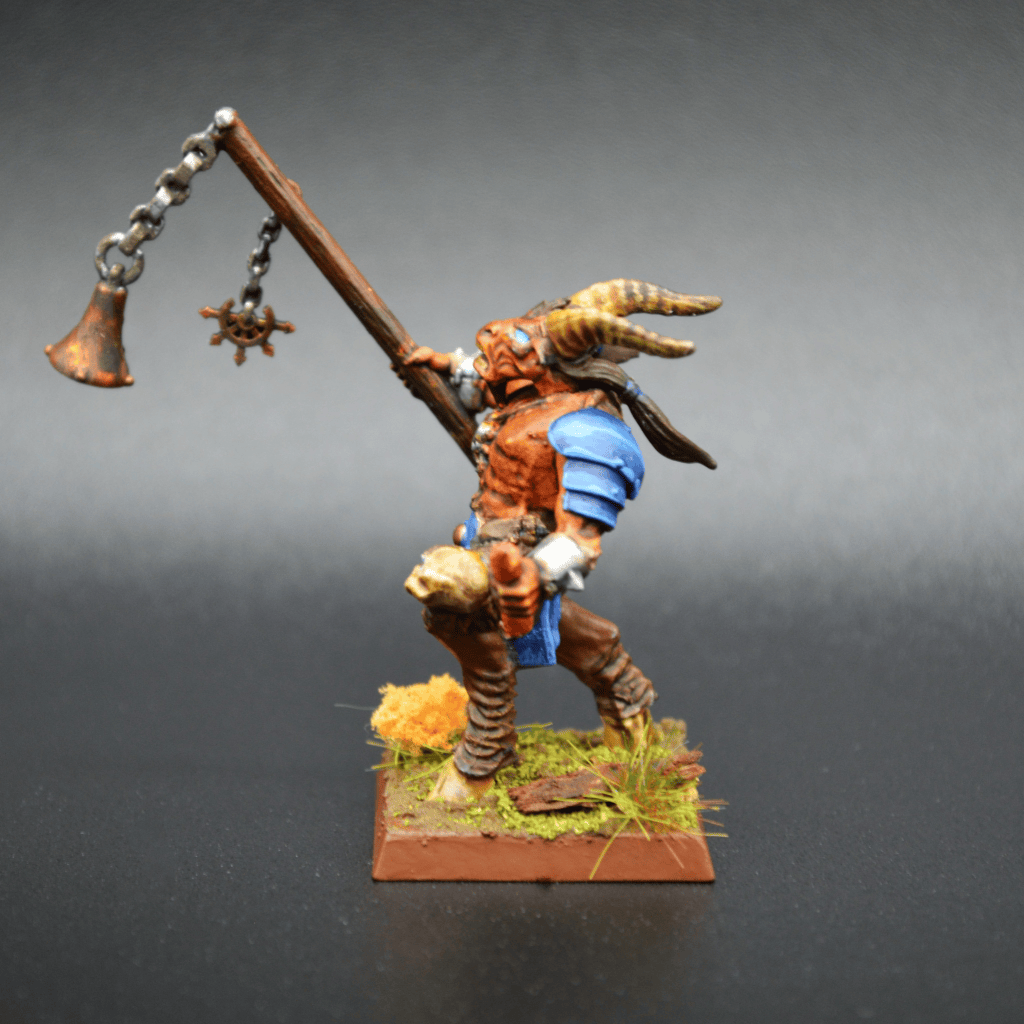
Mud/Dirt and Texture Paints
There exist loads of miniature companies that sell pastes that are textured and colored to look like various types of ground – Vallejo Earth being a popular one. I used ‘Mud’ from Huge Miniatures for this mini – just apply it relatively thickly and let it dry. You could drybrush it if you felt the need as well!
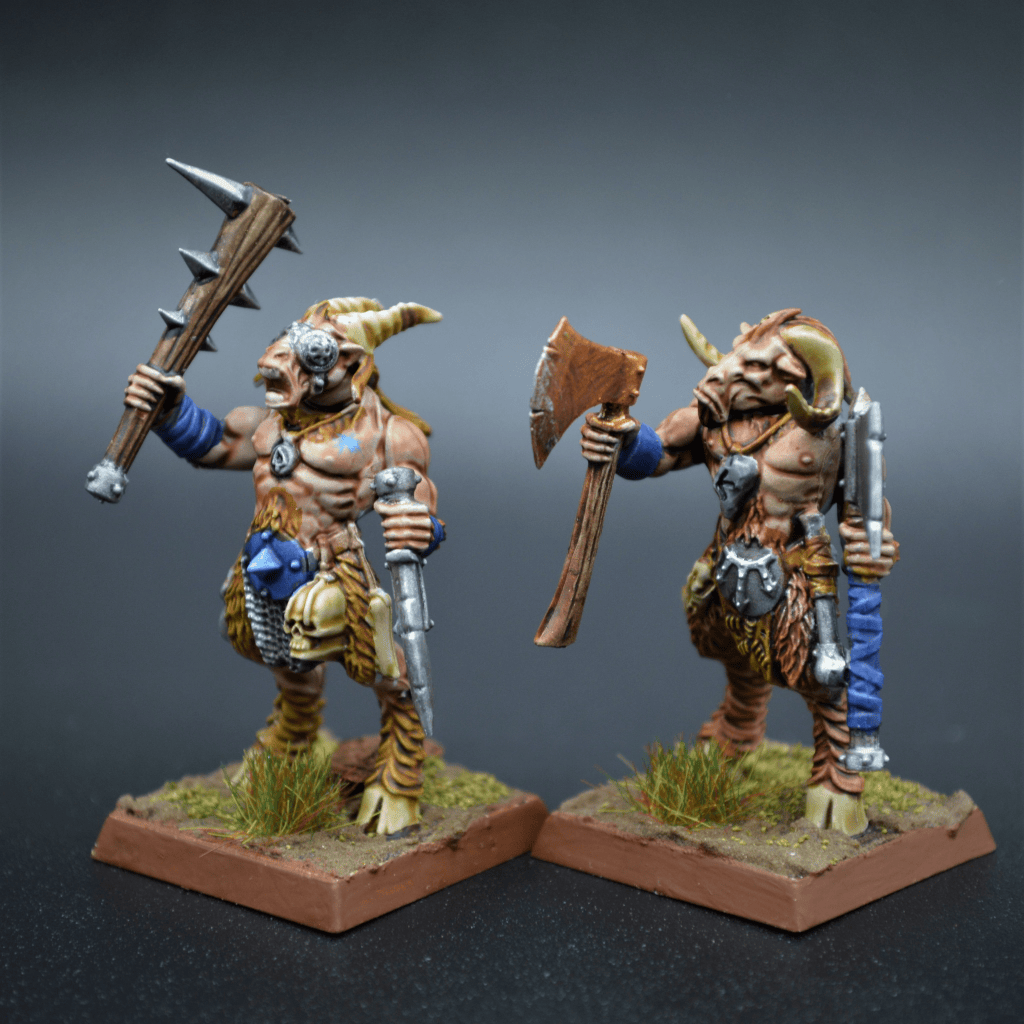
Tufts/Foliage
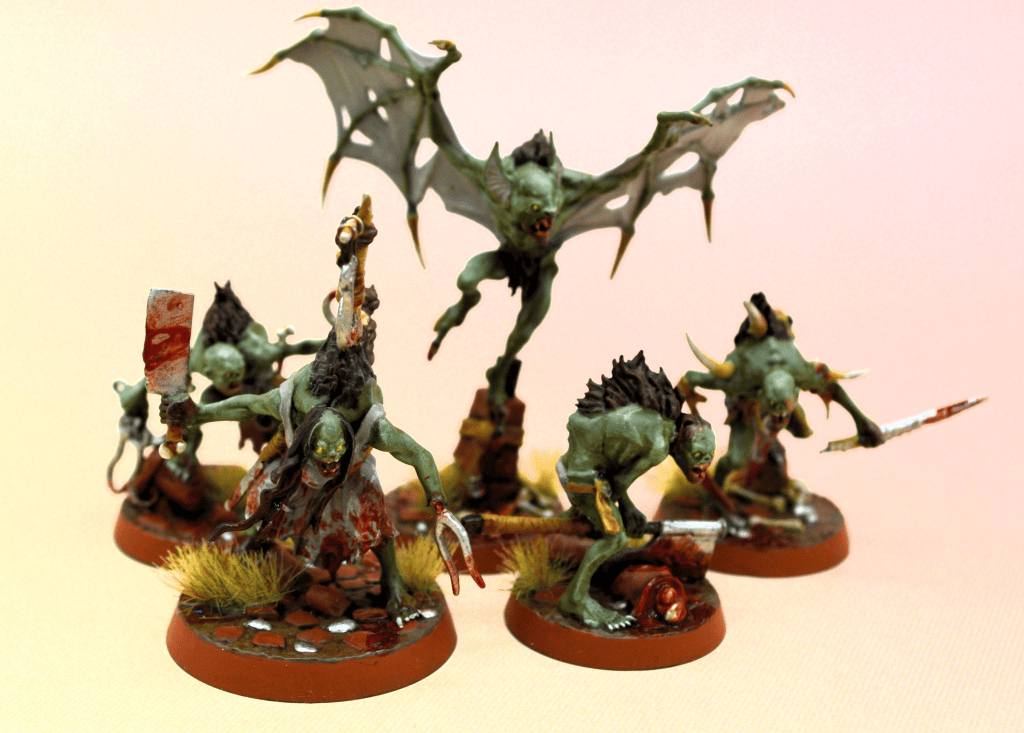
One of the simplest, best bang-for-your-effort-buck ways to spice up a base is to add grass tufts or other foliage. Mini companies including Games Workshop sell these which pull off a plastic sheet and can be glued directly to the base with a PVA glue. You can also look for fishtank plants at a reasonable price point or miniature plants from a railroad hobby company for higher quality and pricier stuff. Those these are often pretty large for our purposes, so you might want to get some snippers or scissors and take of a little leaf or two at a time for this. I used Huge Miniatures ‘Desert Tufts’ for my Skinnerkin.
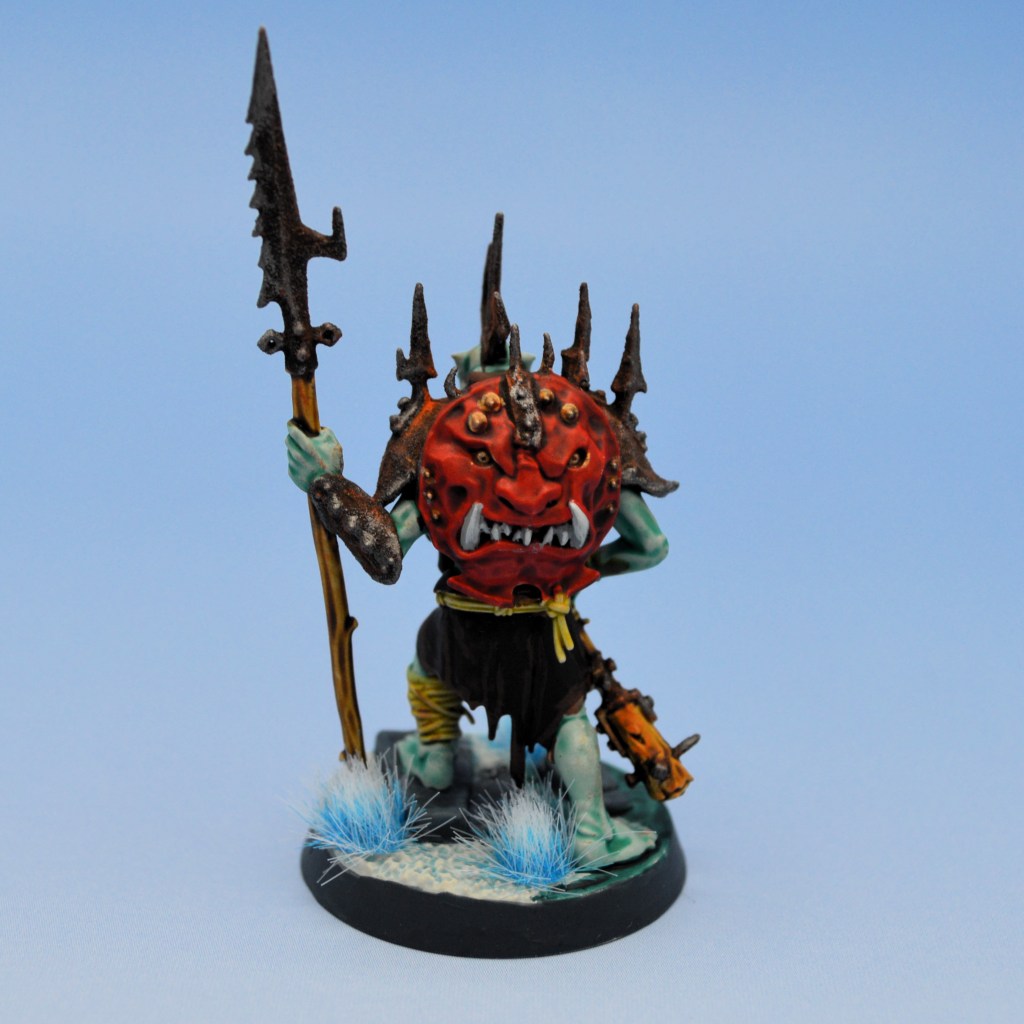
Miniature hobby companies sell literal hundreds of varieties of this stuff, so you can get almost any length, size, footprint shape, and color variation you could want. Here’s some frosty tufts I got from Gamers Grass for my ice themed Deathgorge-based Stab-Ladz
Bits, Bobs, and Scrap
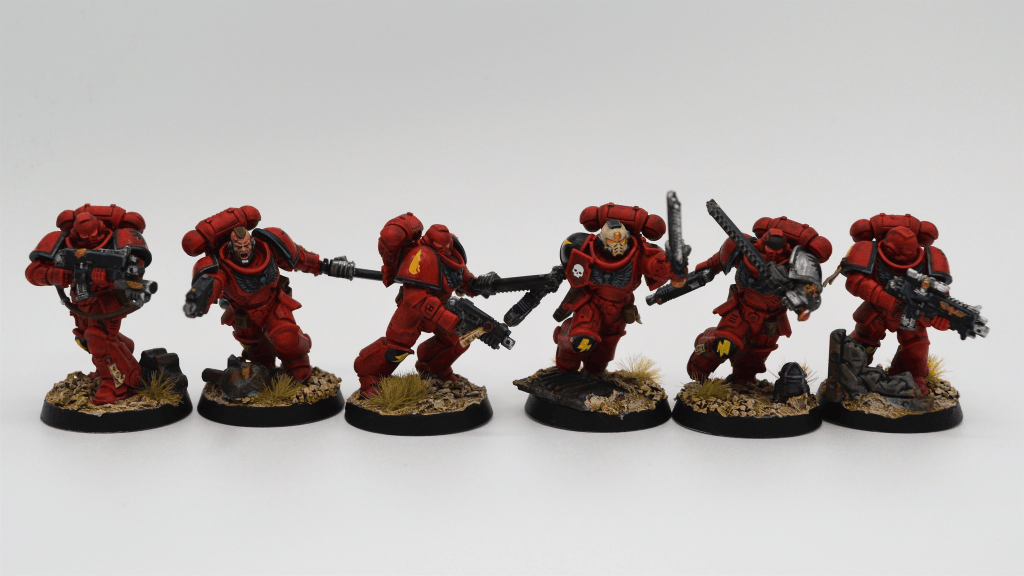
Many hobbyists end up with a ‘bits box’ full of parts they never got around to using from other kits, especially since many mini kits come with more pieces that you’ll necessarily use for a unit build. Underworlds kits don’t have these, but if you or somebody in your gaming group plays another game, this are everywhere. These (and other small doodads and stuff you have laying around the house) can be added wholesale to a base. Got a spare skull, a loose sword, or something else? Drop it on there. You can even cut up a shield or the like to make it look like battlefield detritus, or even a cute lil’ critter to spice things up. You’ll paint this like the rest of your sculpted base, but some bases are lacking in detail and this can be an easy way to make things unique.
Resin/Water Effects
I have never tried this before, and it’s apparently a little touchy to get right, but you can use various resins like Woodland Scenics ‘Realistic Water’ to create a liquiq appearance on your bases. Companies sell these in many colors so you can add swampy/slimy pools, lava, you name it. Here’s a video where youtuber Pega Neko shows you how to use Vallejo water texture acrylic to make various water bases. It has a weird little anime guy, but the bases look nice.
A similar concept uses ‘thermoplastics’, which are a reusable silicone style of this same idea. Here’s a reddit post by Desu_Knight describing the process with some great pictures as they set out to make a pool of see-through liquid blood for some skulls to be submerged in.
Crackle Paint
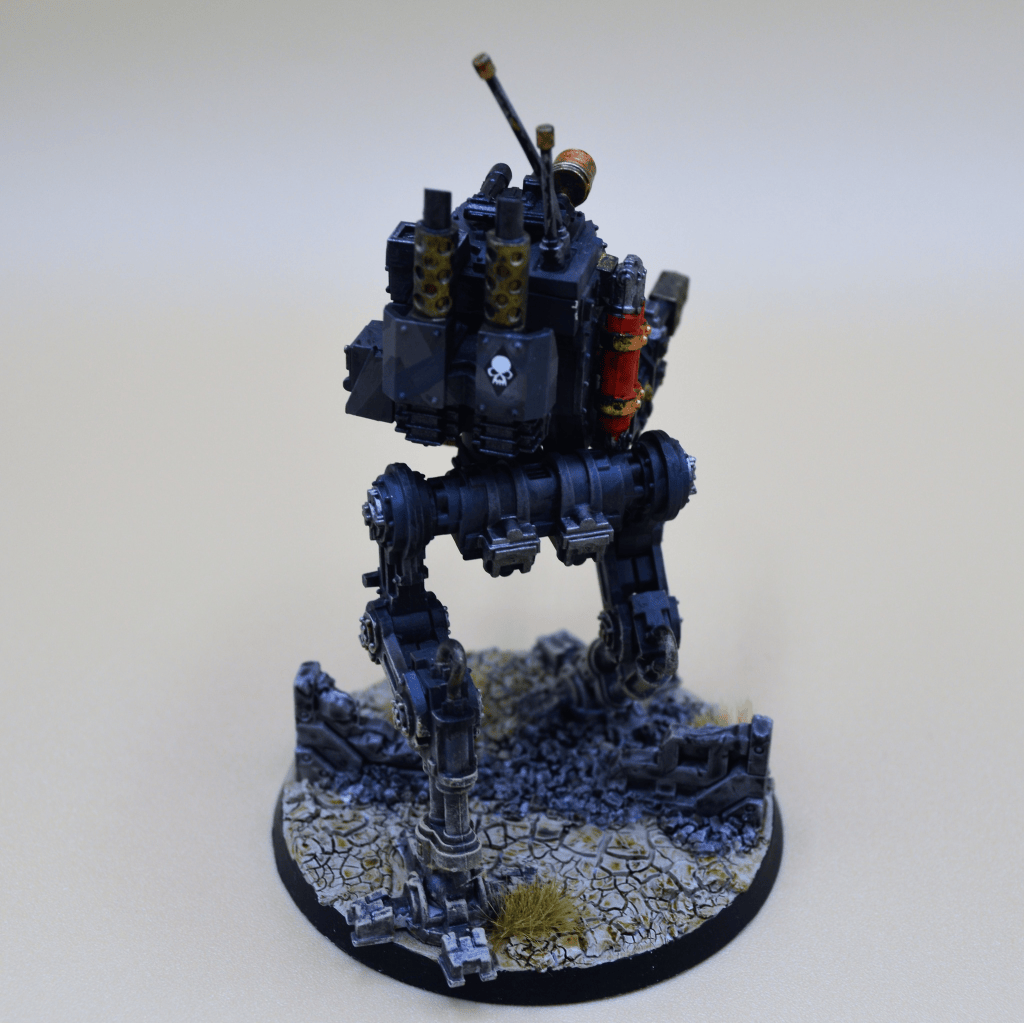
Games Workshop makes a few cracking paints such as Martian Ironearth, which you can paint on quite thick and as it dries it will crack and create little ravines across your models. The GW stuff is colored so you can theoretically just slop it on and call it a day wherever you want some cracked earth, and they even make a ‘lava’ one where the top crust will be blackish and the cracks will be orange-y. Enhance the effect by painting orange underneath before you apply the cracking paint. Here’s a video where Deynon Mod uses GW’s “Mordant Earth” to achieve this effect.
You can also do this yourself in bulk for much cheaper than a dedicated cracking miniature paint. I actually use a discontinued product that’s quite similar to this, and I’m about to run out so I have to look for alternatives. Drop some paint down so the crackle paint has something to stick to, and once it’s dry, smear this in various thicknesses across the basing surface where you want some cracked earth. Let it dry for a real long time, and it will make cracked earth. That can then be painted, hit with a heavy wash, and a heavy drybrush to make it look like parched earth, fracturing ice, whatever you like.
Display/Scenic Bases
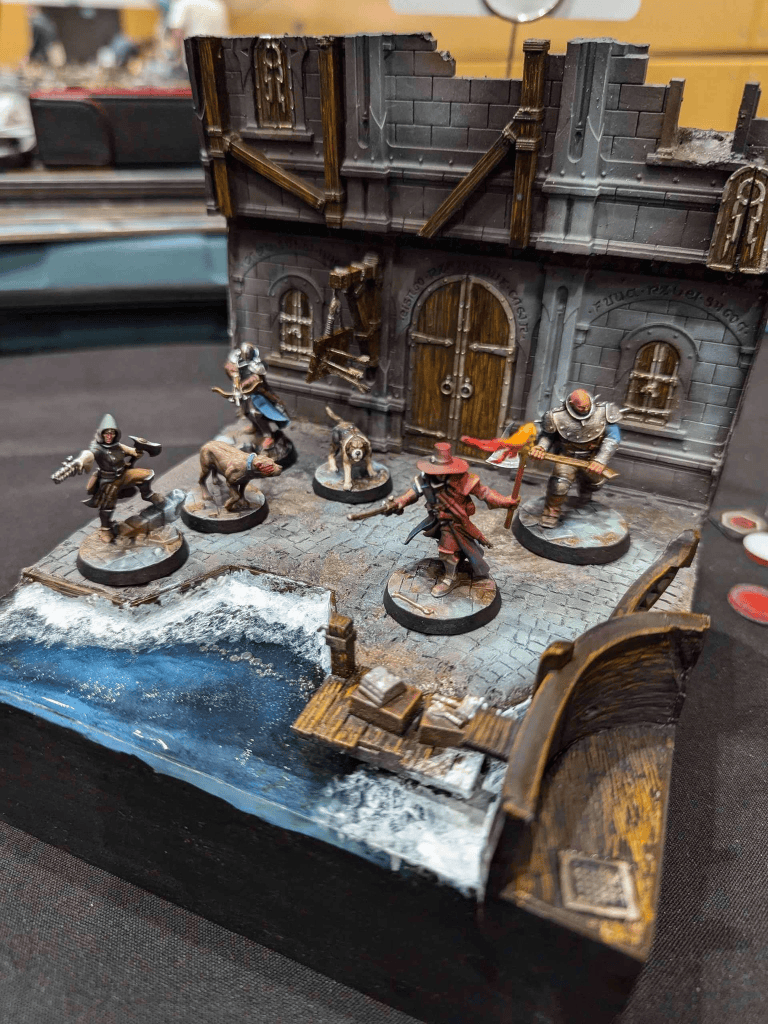
If you REALLY want to take your warband to the next level, you can consider a display base/diorama. I’ve never done this myself, but I routinely see warbands with scenic dioramas win best painted at events I attend, even when the models themselves aren’t painted to as high a standard as other competitor’s warbands. Here’s a phenomenal diorama base for The Gorechosen of Dromm built by Handful of Dice, and here’s an example of a Hexbane’s Hunters diorama being built. Below I’ll show you the last two Best Painted winners from the Tacoma Open which probably could have won on their own miniatures’ merits, but the scenery definitely helped seal the deal.

Wrap
That’s all I have, but there certainly is much more out there to explore – Basing honestly isn’t that hard and can take your miniatures up a notch with little extra effort. Even if it’s a simple as adding grass tufts to an Underworlds base, those touches will add visual interest and texture to your miniatures while improving the overall composition of the model. Just remember Faces, Bases, and Maces, and you should be good to go.
I’d be remiss to not link you to people better at this than I am – here’s the Goonhammer article on Basing 101 and here is a link to the Reddit r/minipainting linktree on basing tips, video instructional, etc on basing techniques if there’s a specific one you’d like to try. A quick overview of basing your miniatures from Paint Your Army can’t hurt either.
With that, grab a little Elmers and your favorite doodads, and get Hobbying! You’ll look even better when you’re spending your glory next game.





Leave a Reply